
Mail Triage
This is a chargeable service which is offered by the Layer, should you require any further details on this please contact your Layer administrator for more information.
The purpose of the mail triage function is to allow your customers to email into a central email address with any of their queries. The will ensure all the emails are going to one place and you will never miss an email from a customer again. As cases are raised from this queue, it ensures that there is no duplication of work (by multiple users having to check the inbox/case statuses via a shared mailbox) and avoids any customer issues being overlooked (where someone opens an email and then fails to respond, for example).
Please find detailed below a summary of the mail triage feature.
Step 1. How to access mail triage
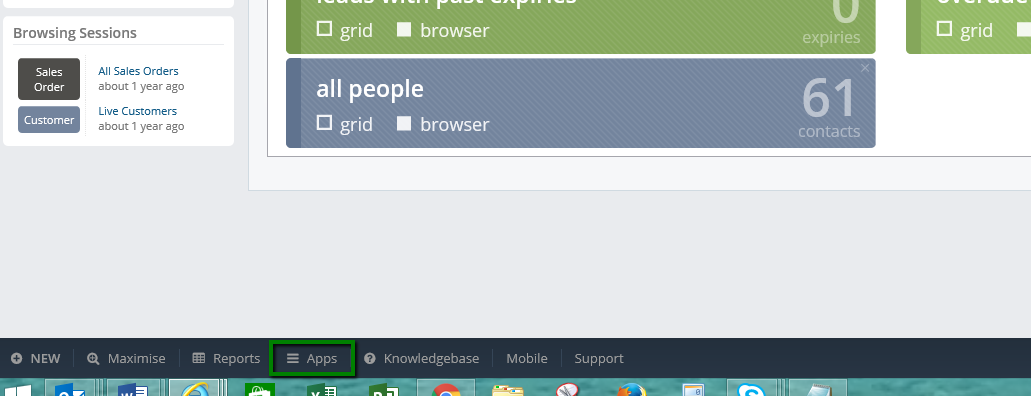
Mail Triage is accessible via the apps section at the bottom of your screen.
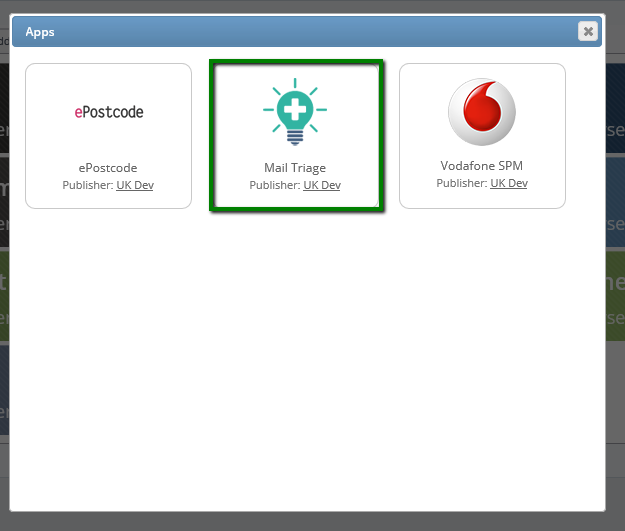
Select Mail Triage from the list of add-on applications available.
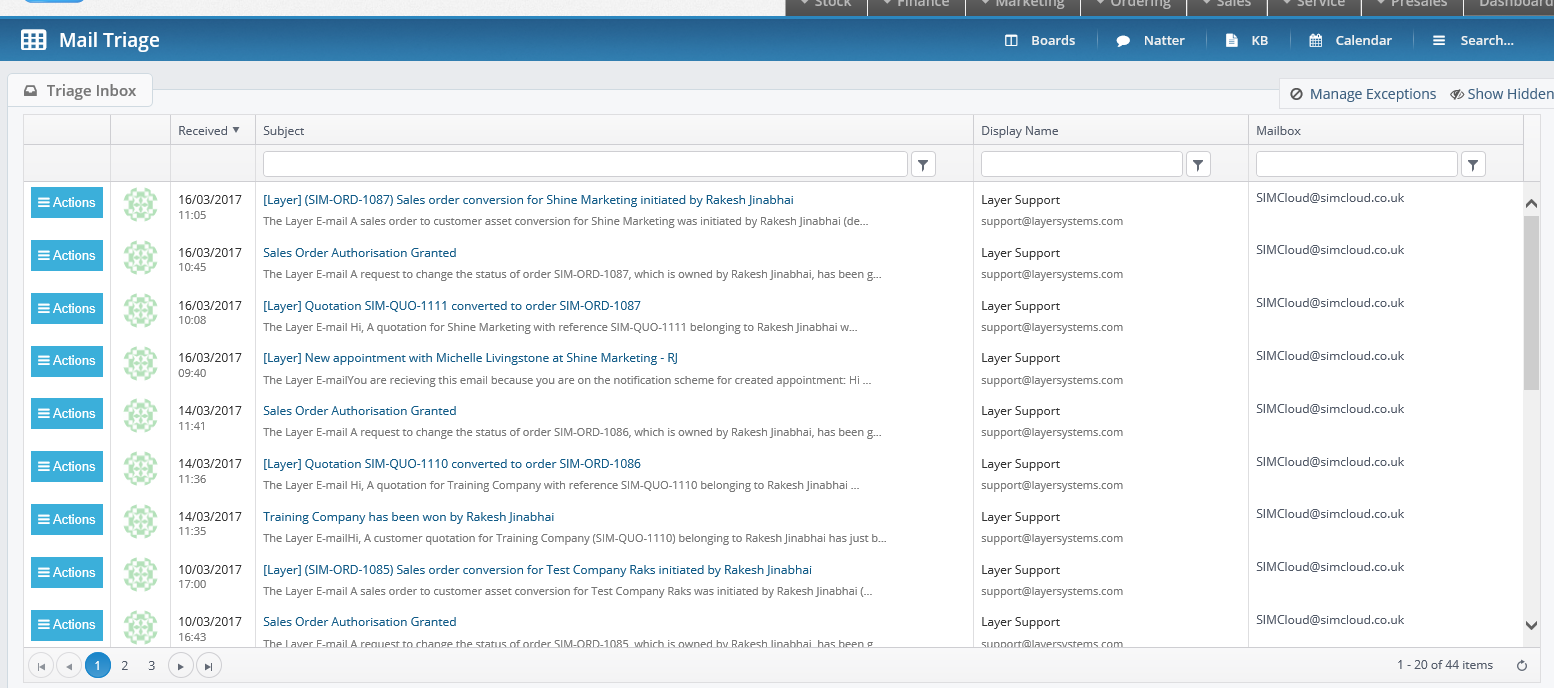
You'll be directed to the mail triage screen as per the image below:
Step 2. How to view an email message
If you wish to view the message click on the subject of the email or hover over the action tab.
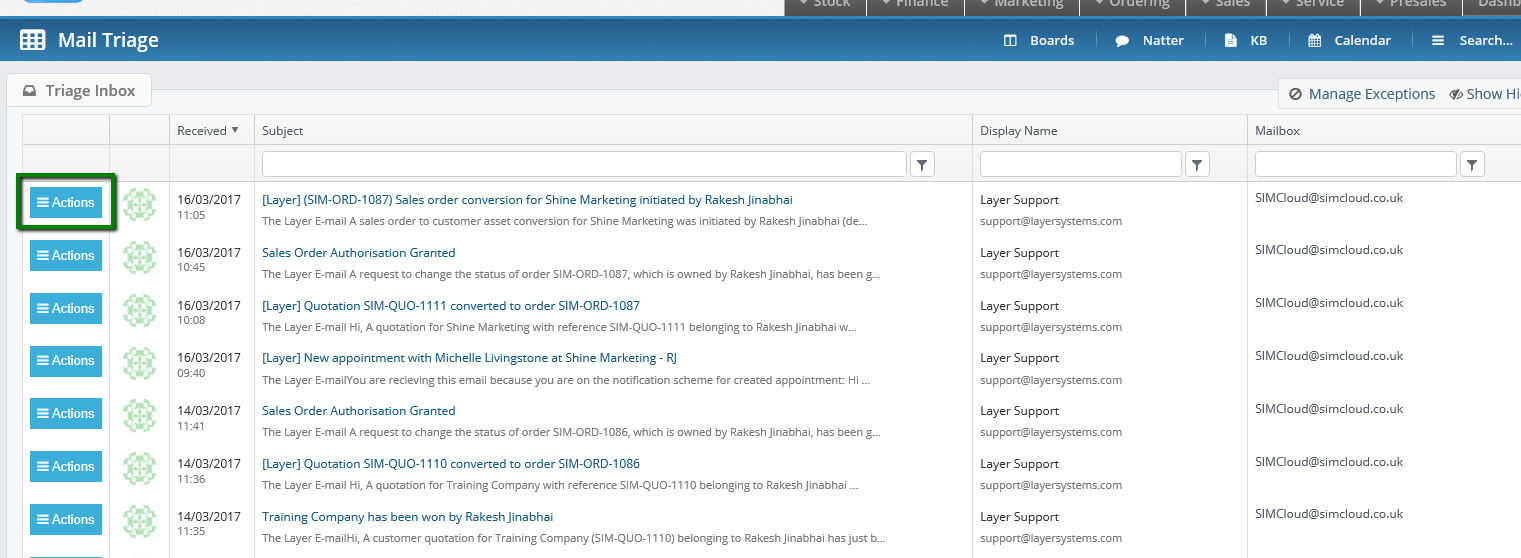
This will present you with a list of options. We will go into each one individually.
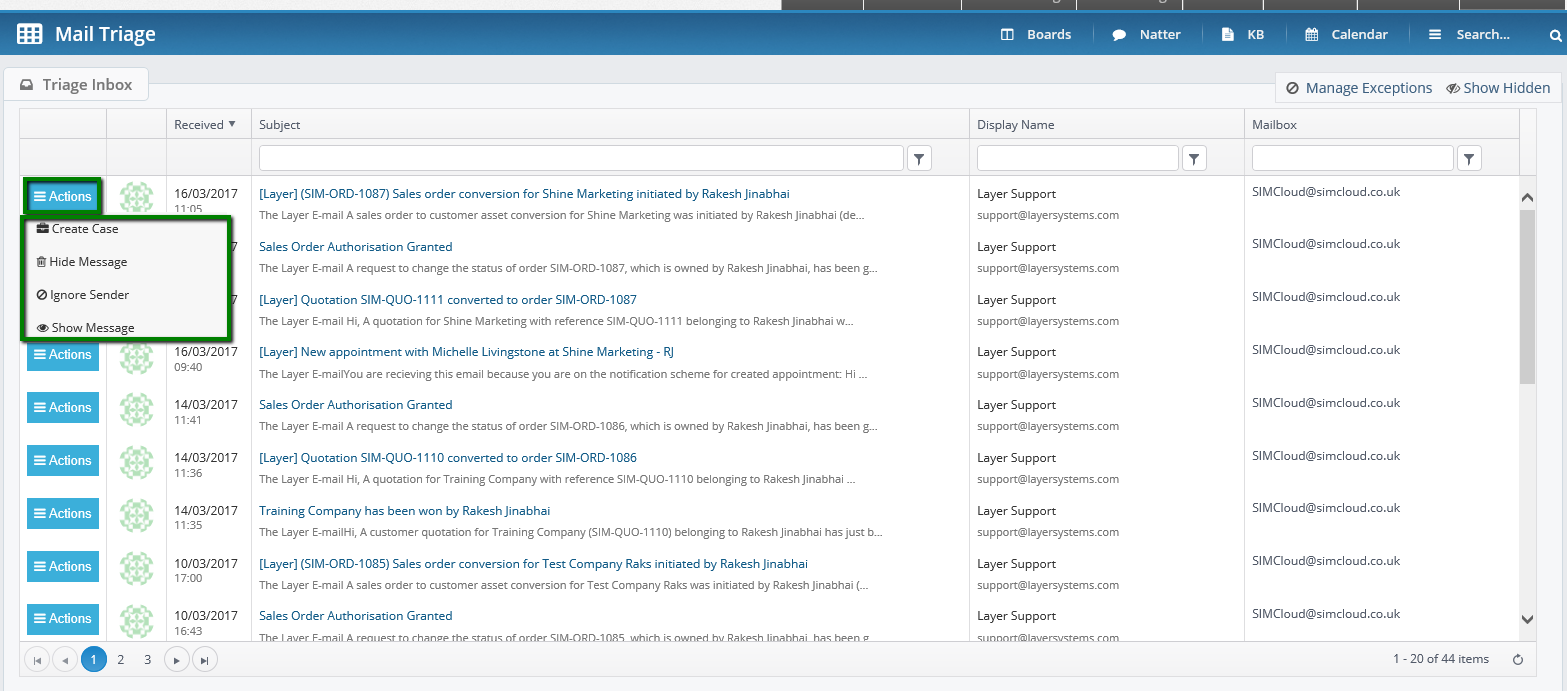
View the message to decide if a case should be raised or not.
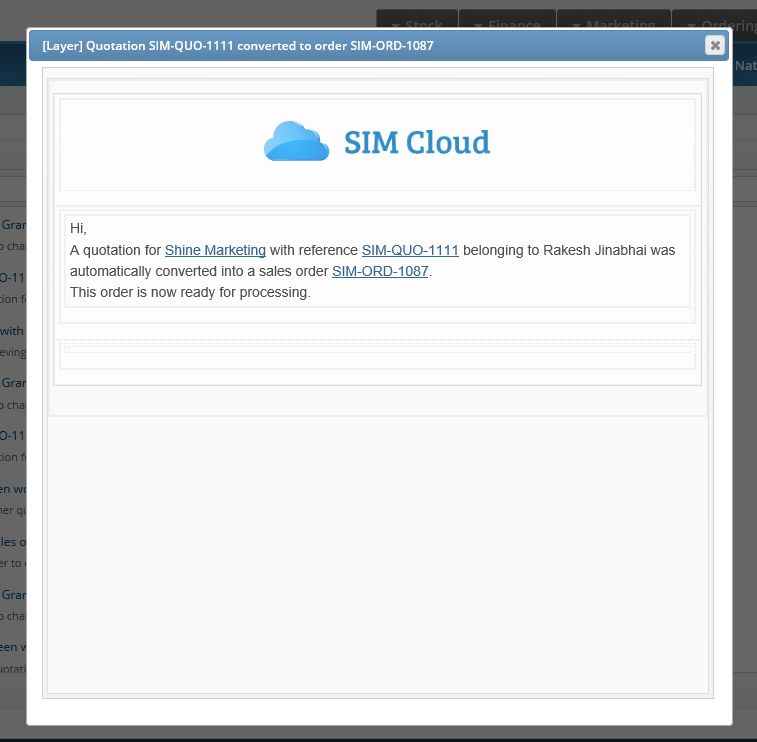
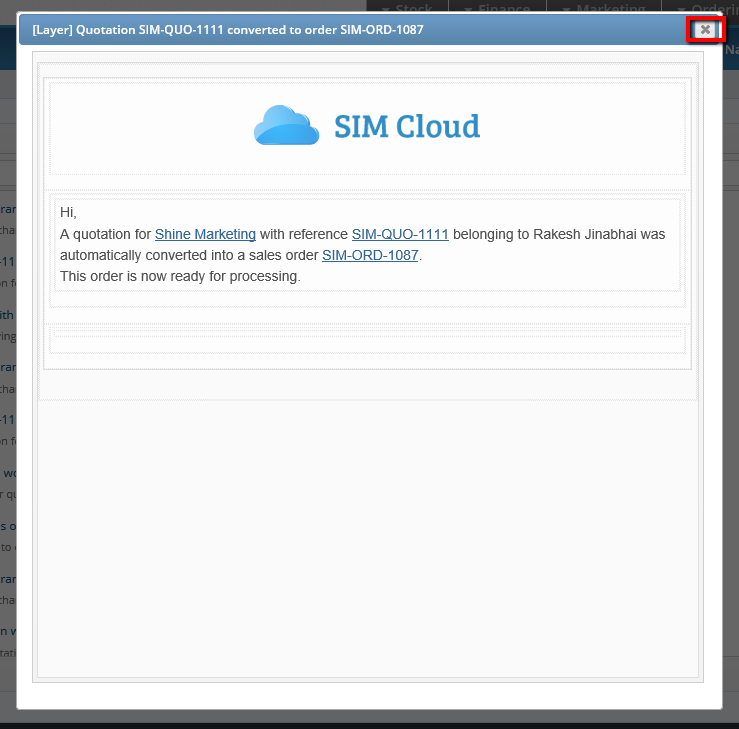
Once you have finished viewing the message please use the cross at the top to close.
Step 3. Deciding if its a Job or Case you wish to create
If you require some help in making your decision please click here for support on difference between cases and jobs.
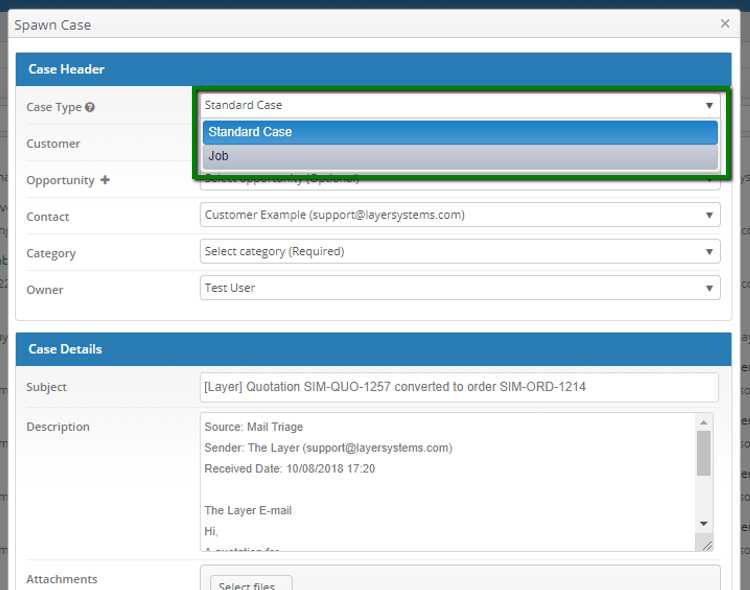
Case will auto populate however, should you require a job you are able to make the selection from the drop down.
Step 4. How to create a case from mail triage
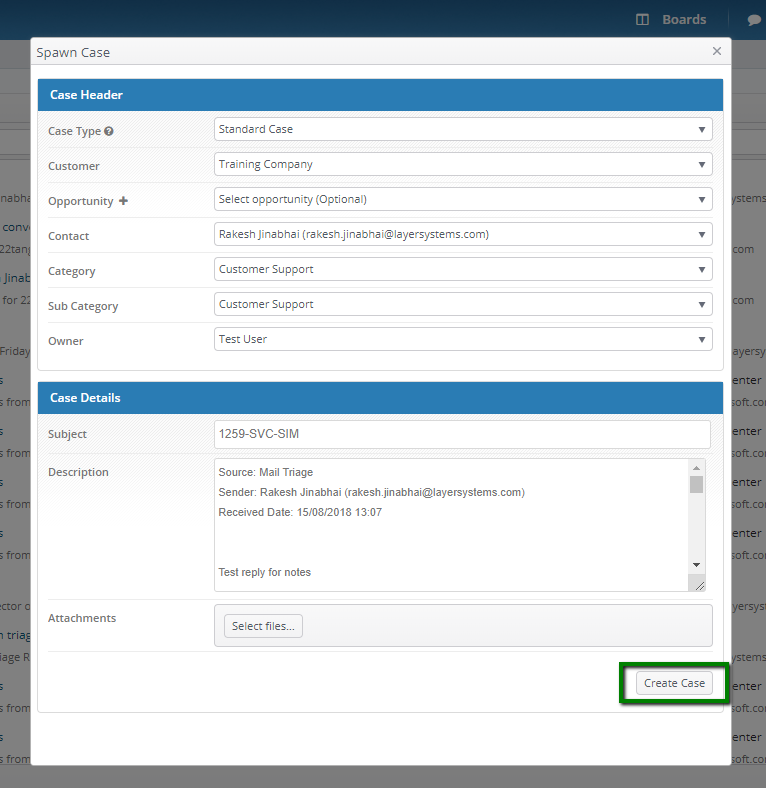
To create a case, select the create case option in the actions tab, this will open the Spawn Case window
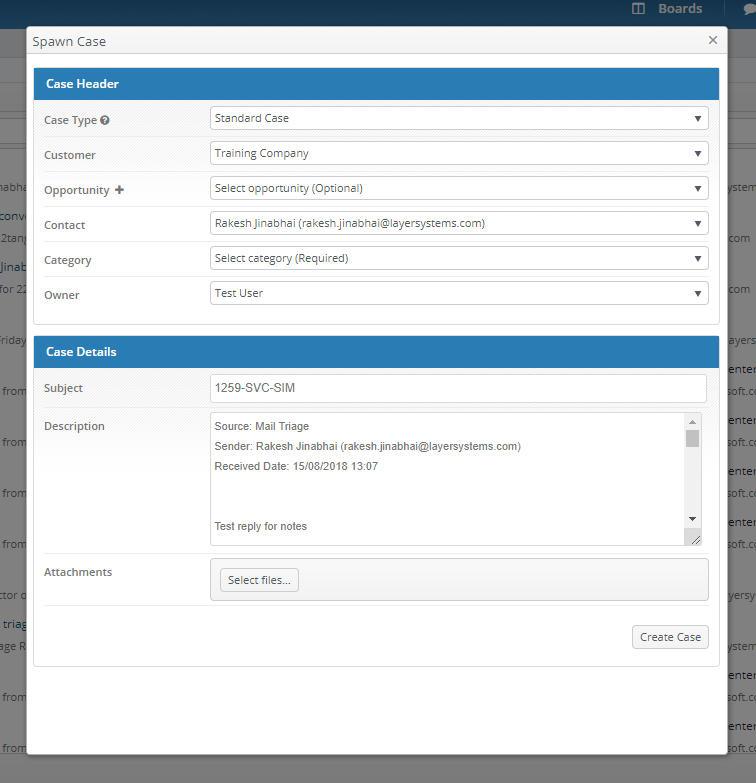
As you can see a number of the fields have been populated for you. The company name has been populated as the senders email address is detailed as a contact in this company record. The email subject header has also been pulled through. The case owner will always default to the person logged in and creating the case. The case contact is taken from the sending email address. Finally the body of the email is detailed in the description box.
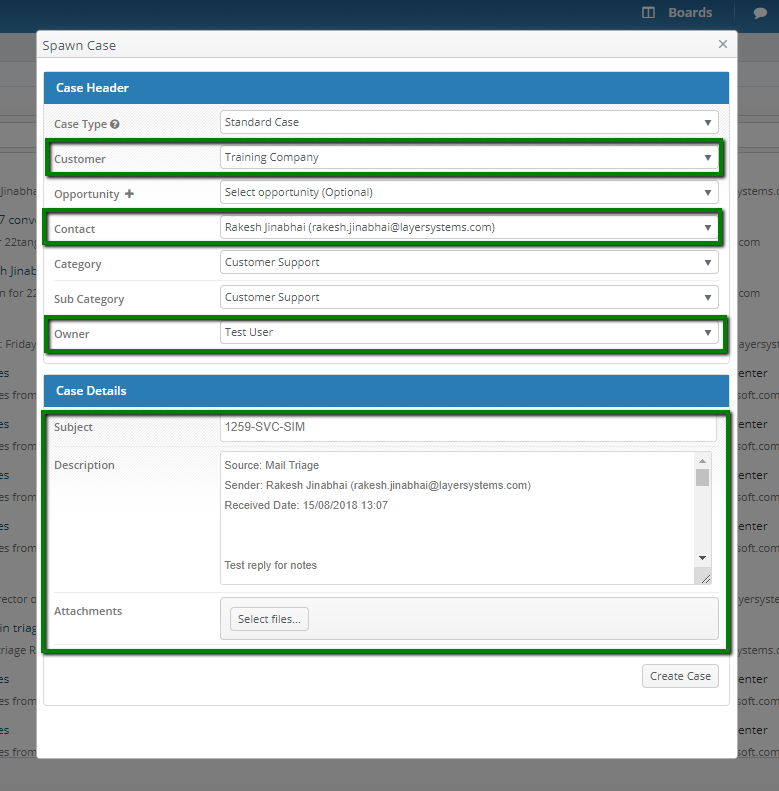
You are able to amend all of these fields should you require to do so.
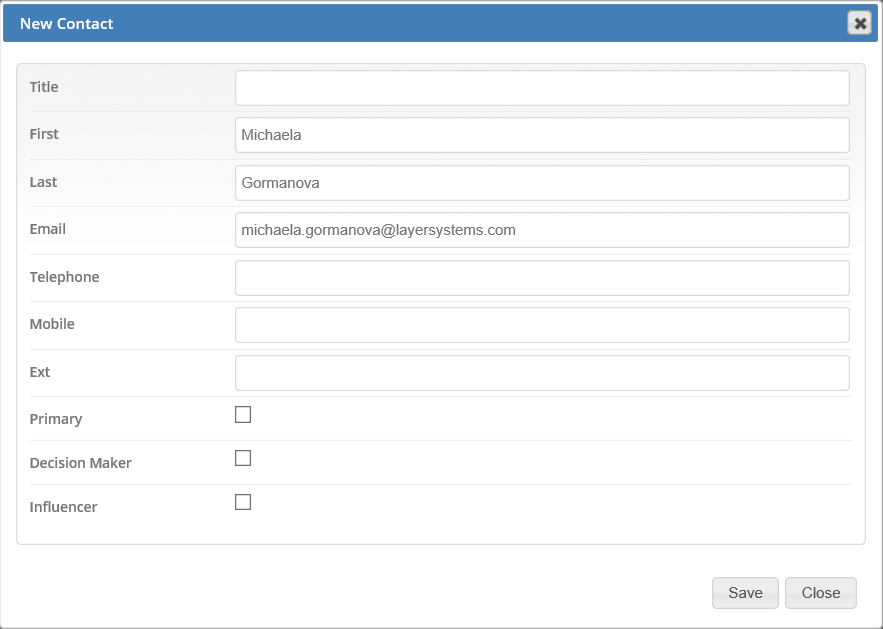
To create a new contact from this screen simply click on plus button next to 'Contact' and fill in required fields.
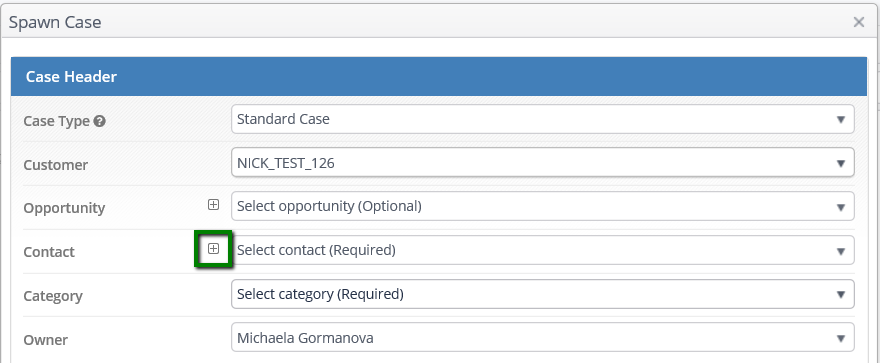
Note: Contact name and email address will be pre-populated from email.
You will also need to select a case category prior to creating the case.
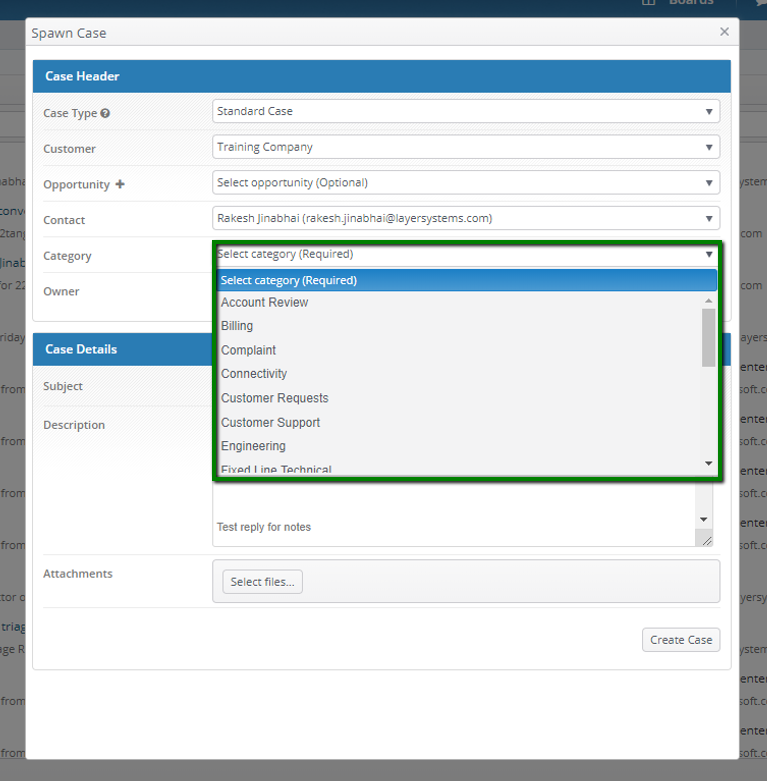
Once you are happy with all the content and have selected your case category please click on create case. This will create your case for you.
You will then be given the option to go to the case and start working on this, if you wish to do so select yes, if not select no.

Step 4. How to hide a message
In Mail Triage it's possible to hide messages if it’s not appropriate to raise a case etc. Hiding the message will remove the message from the queue.
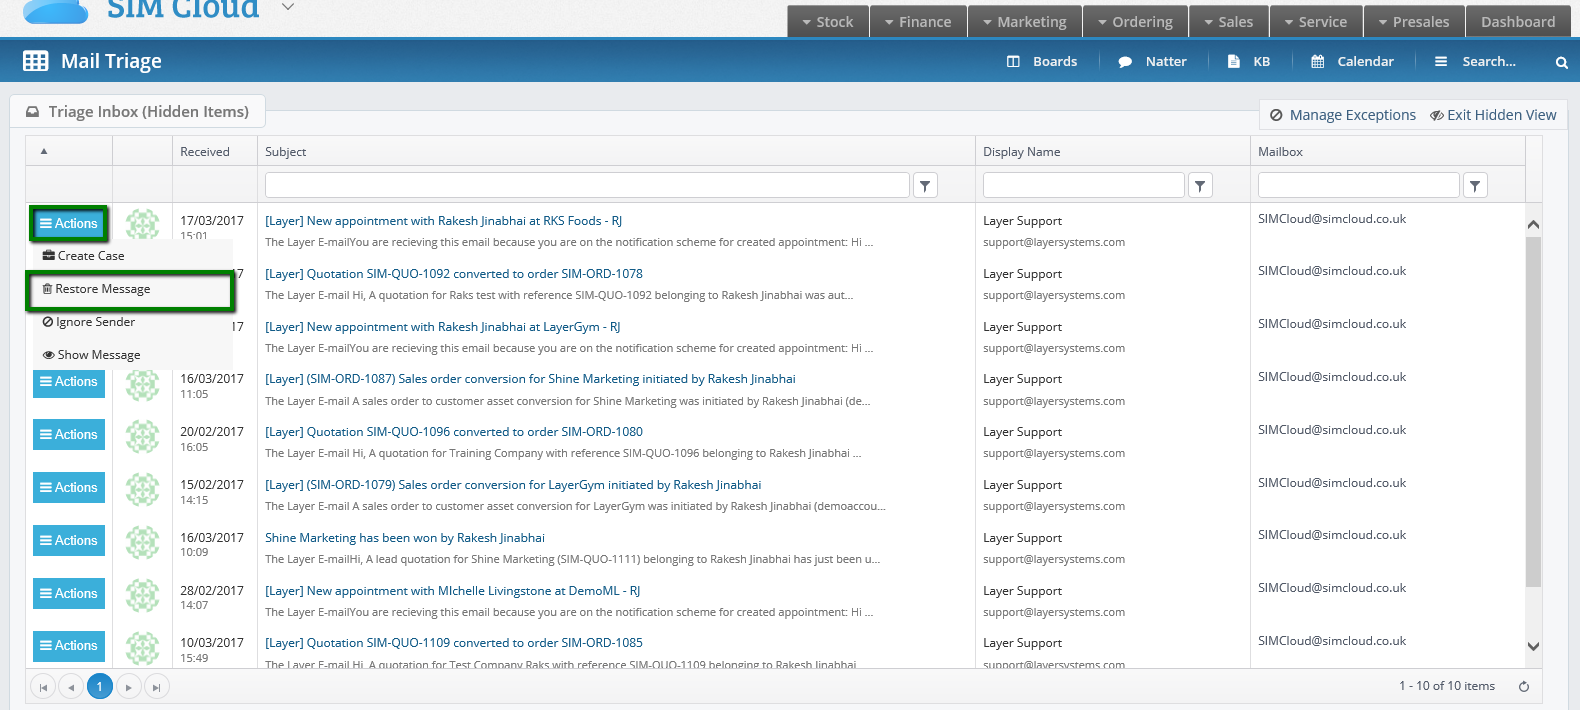
To complete this please hover over the actions tab and select hide message. Should you wish to retrieve a hidden message please select show hidden.
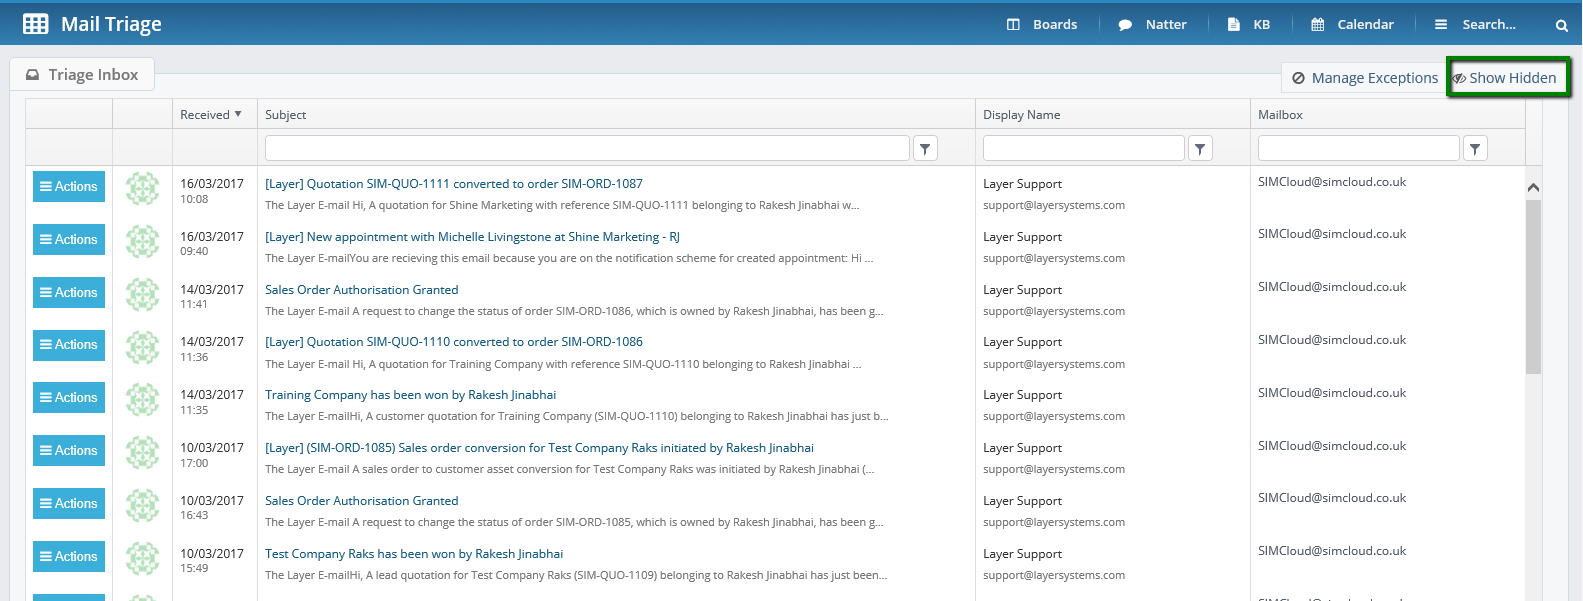
This will provide you with list of all messages which have been hidden previously.
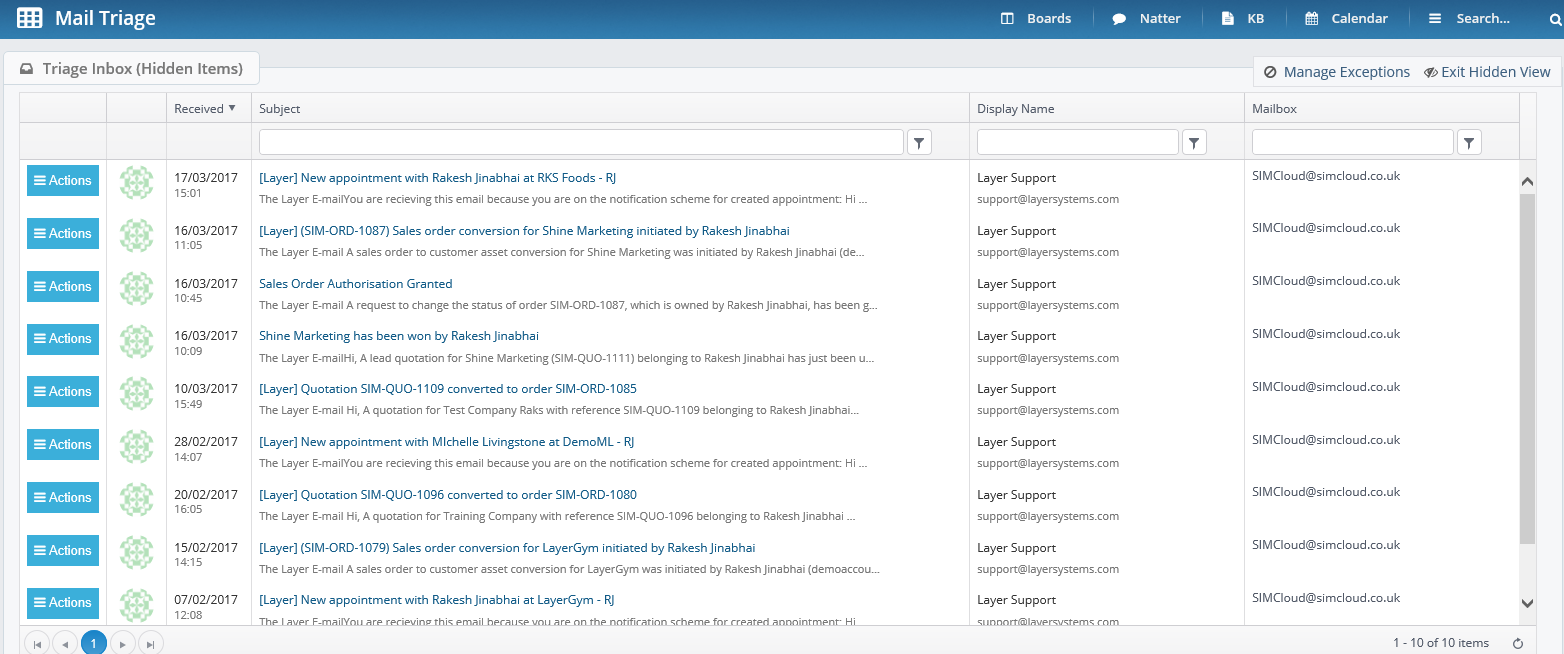
From here you have the ability to restore an email to your main view. In order to complete this hover your mouse over the actions tab again and select the restore message option.
Step 5. How to set case responses to be hidden
Once the case has been created in mail triage, customer responses can clog up the triage area and as the responses will be stored and worked on within the case it is logical to want to hide these from the triage area.
To do this first go to the settings zone and into Mail Agents.
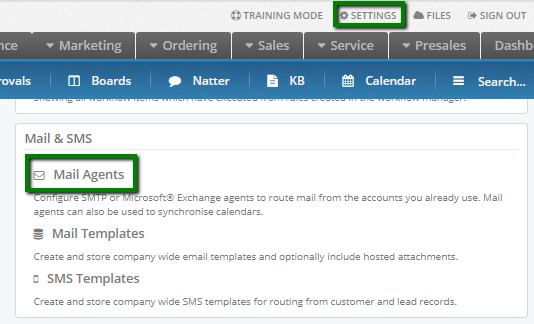
Then scroll through the list until you see the mail agent for the triage account.
Hint: Mail triage address can be easily identified by looking for a green tick in the Triage column.

When in the mail agent go to the mail triage option section and tick the Case Reference Purge box. Then press save.
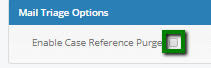
Incoming responses to existing cases will now automatically be hidden from the Mail Triage area.
Step 6. How to ignore senders
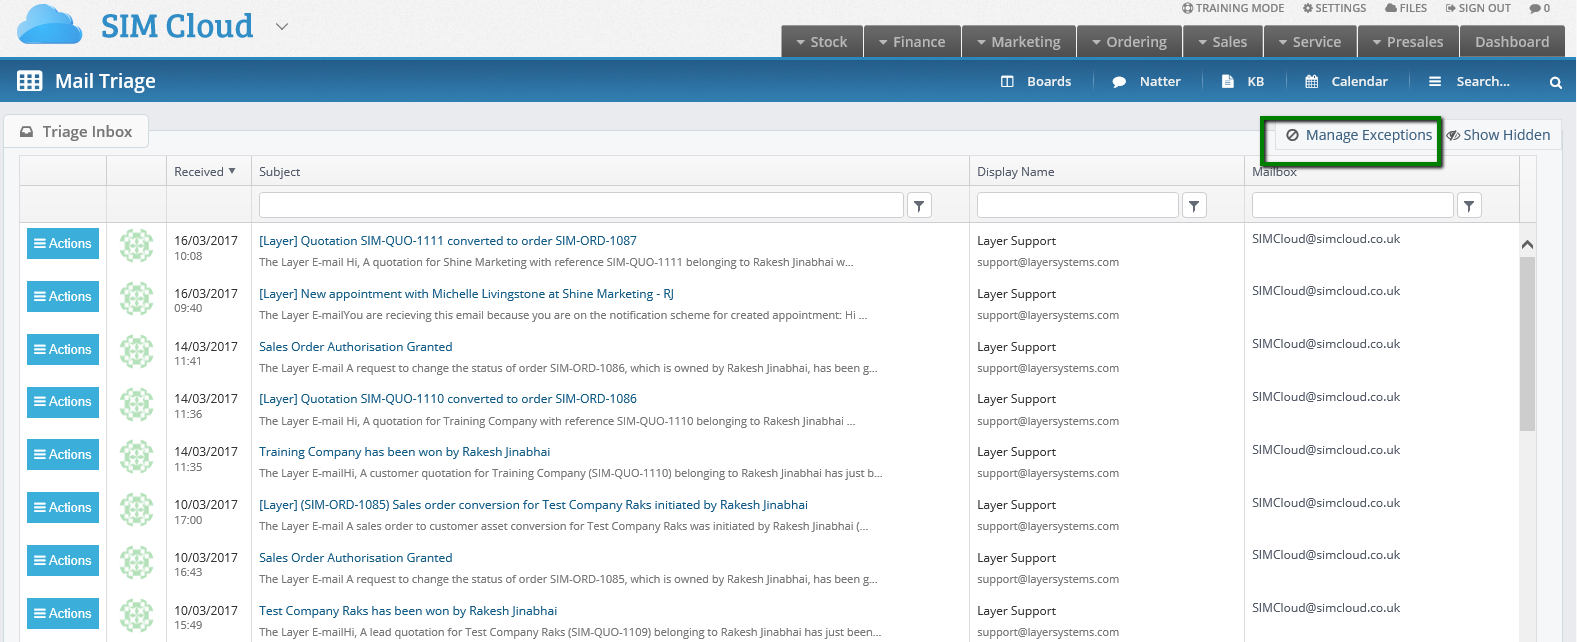
In mail triage you also have the option to ignore an email address so for example if you are receiving marketing emails into this mail box you have the function to ignore the sender and this will impact all future emails from this email address, all further emails will not be displayed. To action this please hover over the actions tab and select ignore sender.
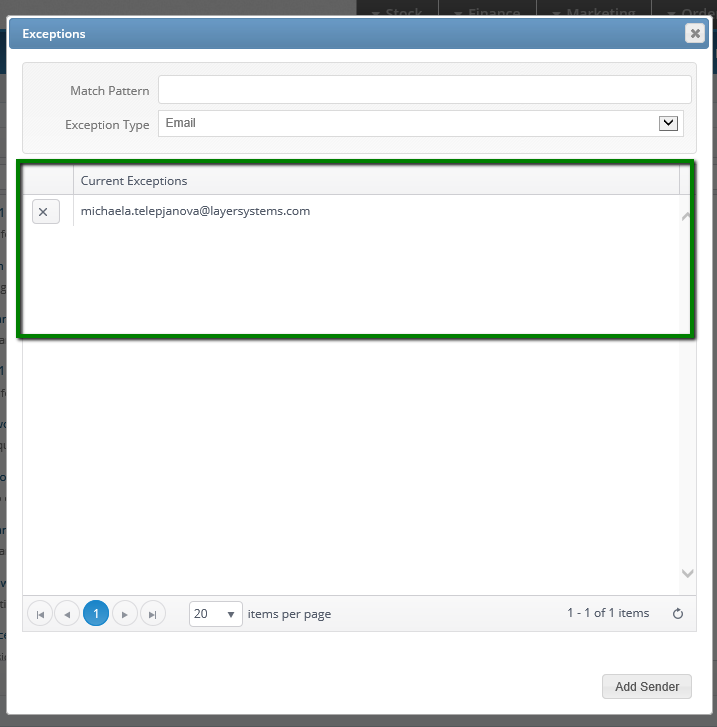
Should you wish to review this list at any time you are able to access this by selecting the manage exceptions list.
You will then be presented with a list of all email addresses you have previously selected.
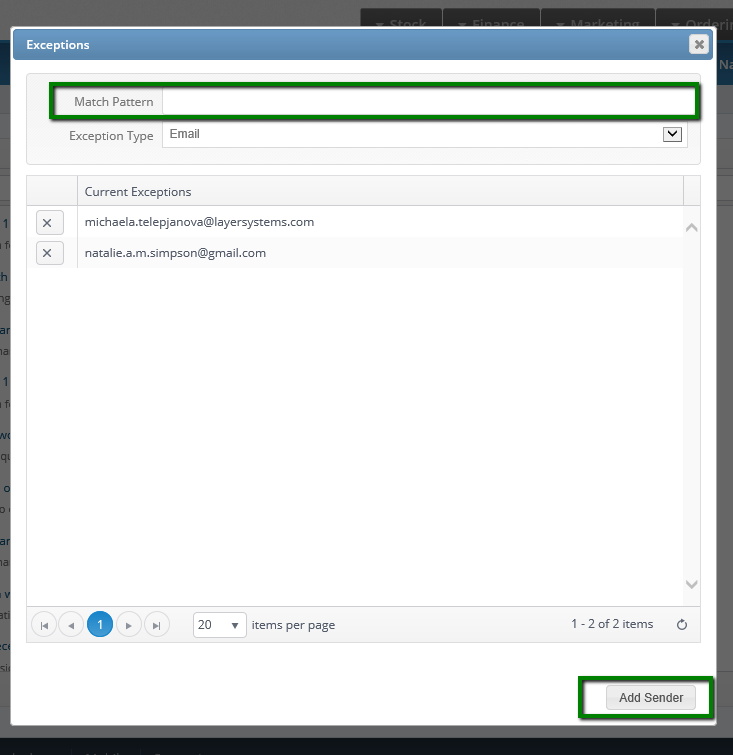
You are also able to add an email address to this list here also. If you wish to add an email address please type the email address in to the match pattern column and then click add sender, this will add the email address to the exceptions list.
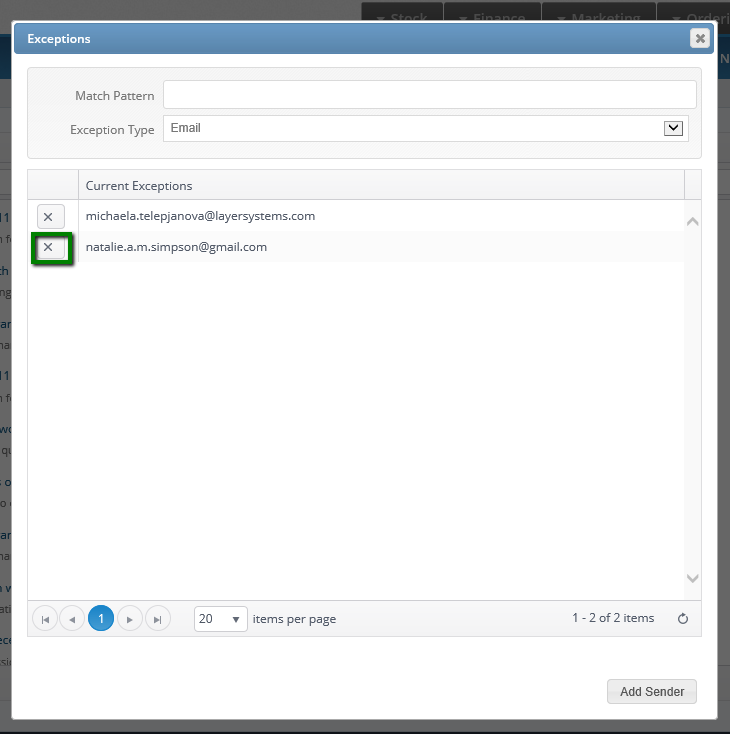
If you wish to remove an email address from this list, click on the cross to action this.
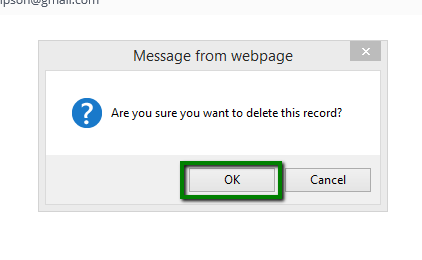
You will then be asked to confirm your selection.
Please click here to access our guide on how to set up automatic responses in mail triage.