Contact types can be used within the Layer to manage the types of contacts for Lead and Customer records.
This will help all users determine who the best person to contact are for example marking the contact as the invoicing contact will help any Finance users and ensure invoices are sent to the correct member of staff.
To set up contact types within your instance follow these steps:
1. Navigate to the Settings menu by selecting settings from the top-right hand corner
2. Under Environment Settings select Contact Types:

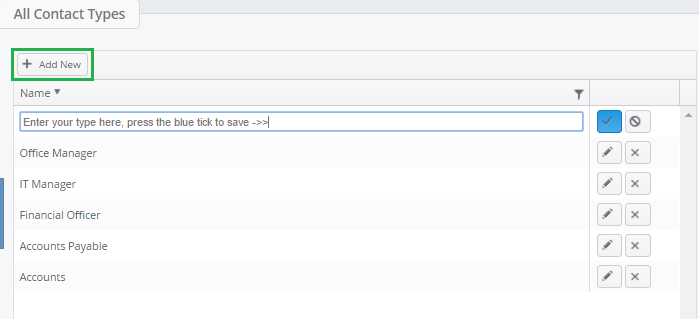
The Layer will then direct you to the All Contact Types page and here you can add your contact types. Typical examples include Accounts Payable, Office Manager, Finance Officer etc.
3. Create a new contact type by selecting +Add New
4. Enter your contact type and press the blue tick to save:
Using the Contact Types
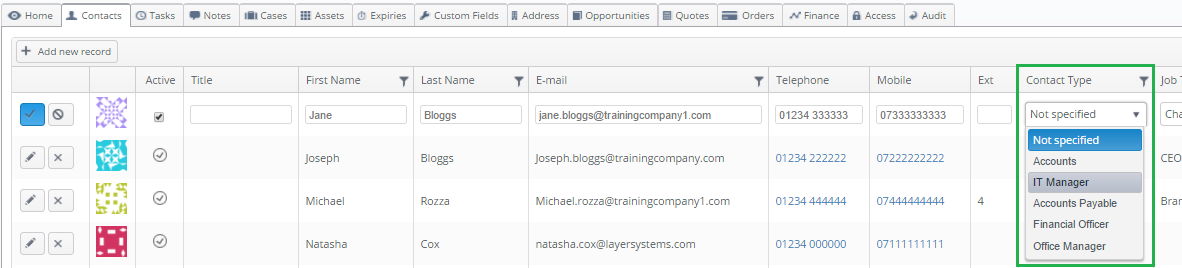
To use the contact types you have created these will be available within the contacts for your lead and customer records and can be saved against any contacts:
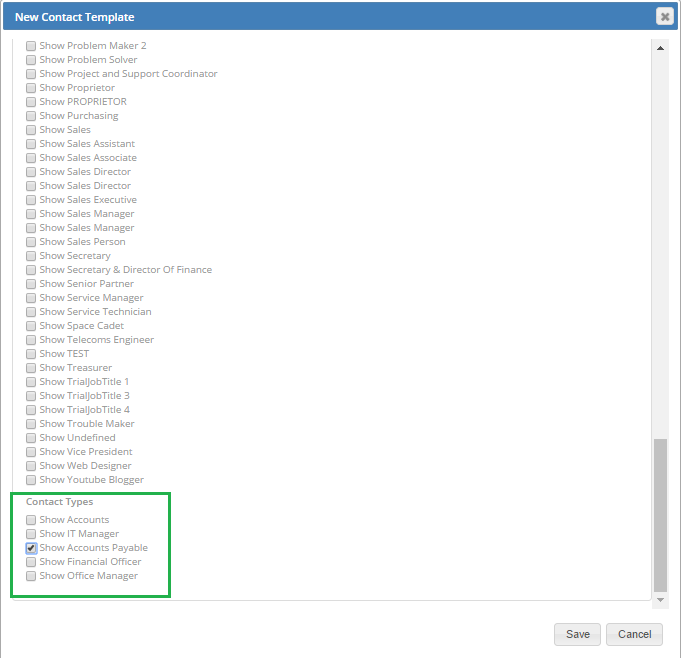
Using the Contact Types for Stacks
The contact type will also appear in the Contacts work stack template meaning that stacks can be created based on contact type: