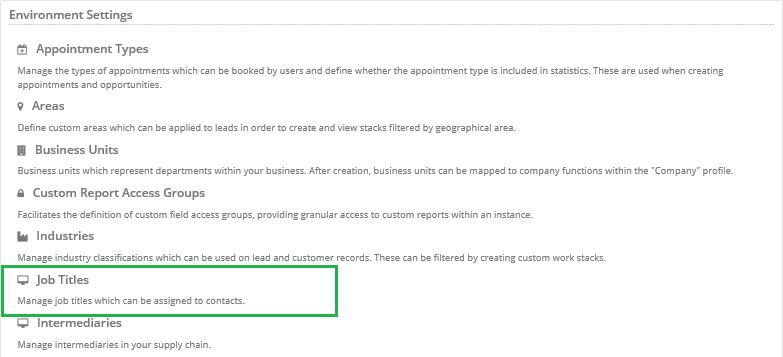
Within the Layer it is possible to create different job titles that can be applied to your staff users and any contacts that are saved within the lead and customer records.
Job titles play an important factor in collating data about your records as it can help with the following:
- Target contacts based on their job title e.g. promote specialised products and services to contacts within a certain job title
- Help you determine who might be the best contact stored within a record to contact e.g. speak to Account Manager regarding payment etc.
- Create work stacks that are based on your contacts and target a specific job title
- Run email campaigns that target certain job titles
In this article we will discuss how to create Job Title and apply them to both your internal staff and contacts within Lead and Customer records.
Creating a Job Title
To create a Job Title that can be applied to contacts within the Layer you must have access to the Settings menu, to create Job Titles follow these simple steps:
1. Select  from the top right hand-side of the screen.
2. Under Environment Settings, select Job Titles

3. You will now be directed towards the All Job Titles page, where any existing job titles will be stored, from the left hand-side press 
4. You now be directed towards the Create New Job Title page, simply type in your job title and press create:

5. You will then be redirected back to the All Job Titles home page, from here you can create more job titles or edit existing titles by clicking on the actual job title.
N.B. Job Titles should only be edited to correct spelling mistakes, as if the job title has been applied to any contacts then any changes will be reflected against the contact which could result in the wrong job title being displayed.
Deleting a Job Title
Please note that Job Titles can only be deleted if they have not been used, any job titles that have been applied to users/contacts cannot be deleted unless the association is remove i.e. changed to another job title.
1. To delete a job title simply press the  button beside your job title

If you are unable to delete a job title because it has been used the following message will be displayed:

Applying a Job Title to a Contact
To apply a job title to a contact within a lead or customer record follow these steps:
1. Locate the contact within the appropriate lead or customer record
2. You will note a column for Job Title, simply select from the drop down list

2. Press  to save.
Apply a Job Title to a User's account
To apply a job title to a member of staffs account follow these steps:
1. Locate their user account from User Accounts under Essentials in the Settings page

2. Open their user account
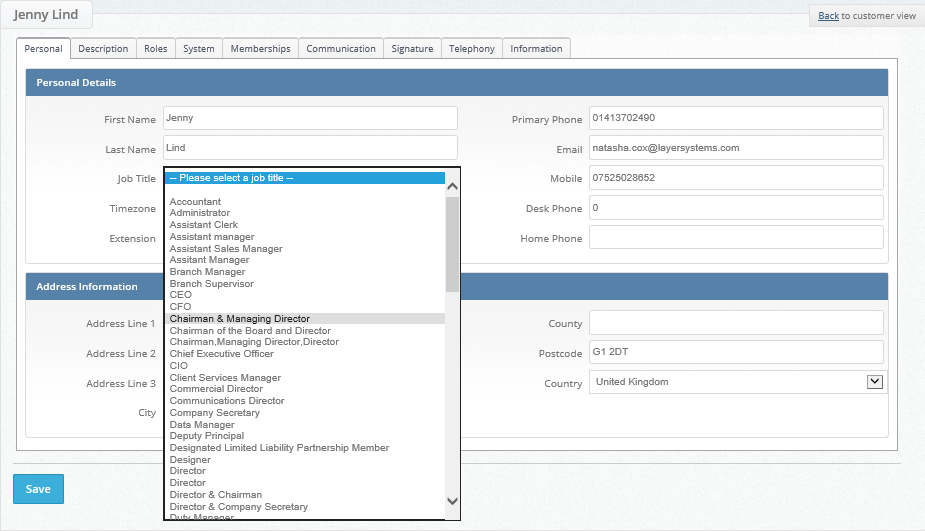
3. From the Personal tab, apply their Job Title:

4. Press  once you have made your changes.
