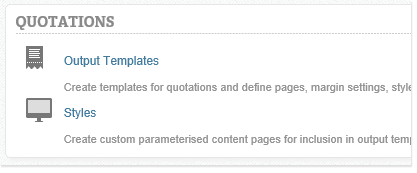
In order to customise the look and feel of documents produced by the system, you can create templates for quotations and sales orders via the SETTINGS zone.
Creating templates
Three key elements, output templates, pages & styles, form the basis of quotation templates and can both be created within the quotations group in the settings zone:
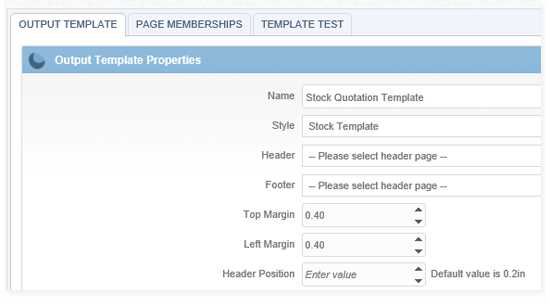
1. Output templates
These enable you to specify a number of different properties for a particular group of pages. These include a name, CSS data, header and footer HTML, margins, background colours and sort orders.
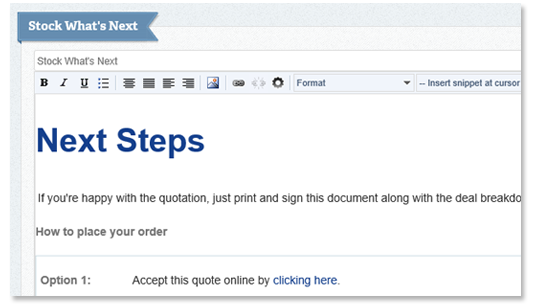
2. Pages
Pages are the physical documents which make up the quotation and contain a title and HTML mark-up. During the quotation process, these HTML templates are converted to PDF to be sent to the recipient.
It's also important that your documents look good as HTML templates alone as these can also be embedded into emails and presented via the customer portal.
3. Styles
Styles enable you to customise the CSS styles within a document in order for you to manage consistent styling within your quotation template. This can be found within the quotations group within the settings zone.
How to create output templates
Pages can be created using any HTML editor as HTML4 & 5 are both supported.
Background & guidelines
Generally, when creating HTML quotation templates, the following is recommended:
- Design your HTML templates offline in an HTML editor such as Adobe Dreamweaver
- It is crucial that pages are prepared in HTML and do not contain any tags above <body></body>
If you’re creating a layout which stretches to the edge of the document
Use a fixed width layout of approximately 900px when setting up your design space as converted quotations are set to a fixed with.
If you’re creating a fluid layout
Use fluid layout and relative (percentage) widths to ensure that your document looks good in HTML on screens of any size. The PDF rendering process will handle percentage widths for you but it’s always good to test.
Building pages for inclusion in templates
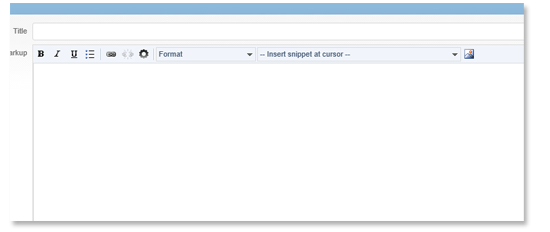
The HTML you created during the design process can be easily used within output template pages. Navigate to Settings -> Output Templates -> New Page and use the gear icon to input your HTML. Alternatively, you can design your pages in this interface:
Including pages in templates
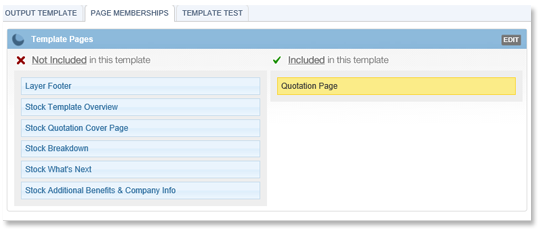
To include pages in templates, simply select the output template you wish to work with, simply drag the pages from the left to the right column within the "Page Memberships" tab on the output template builder.
Testing your templates
You can easily test your quotation templates by:
- Creating a test quotation in any customer or lead account
- Navigating to the output template you wish to test
- Clicking on the last tab TEMPLATE TEST
- Select the template you wish to work with
- Select encode as PDF and press convert.
