How to set-up and activate company T&Cs in the Layer
There are multiple ways to set up T&Cs in The Layer.
Option 1 - Include T&Cs in the body of the quotation
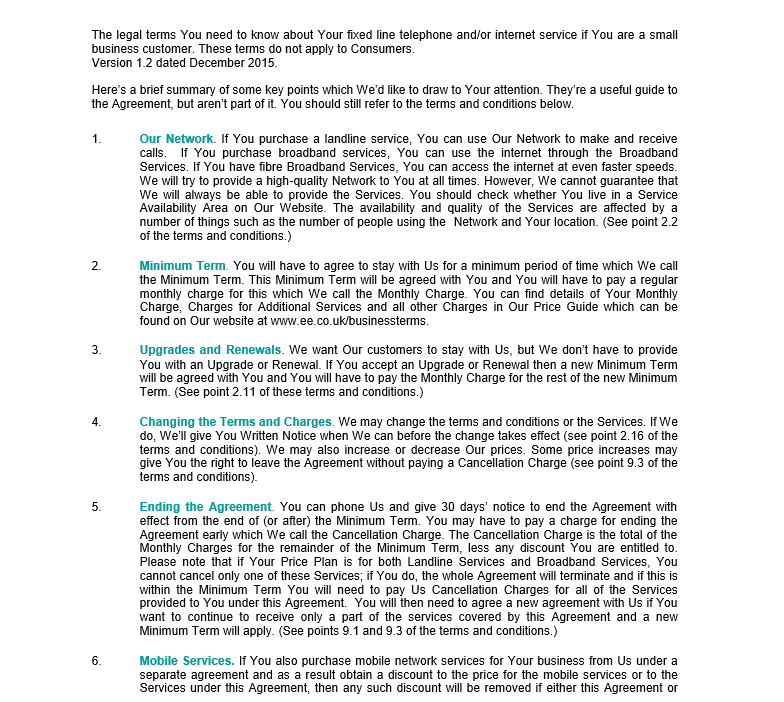
Include your T&Cs in the pages of the quotation
Benefits
As the terms are included in the quotation itself, there can be no ambiguity about the actual terms that were agreed to.
Cons
Including your terms in The Layer quote output template (quotation) can make it more difficult for customers to sign as they may want to take time to review all of the small print when they have time.
Option 2 - Provide a link to the Terms and Conditions file in your quotation
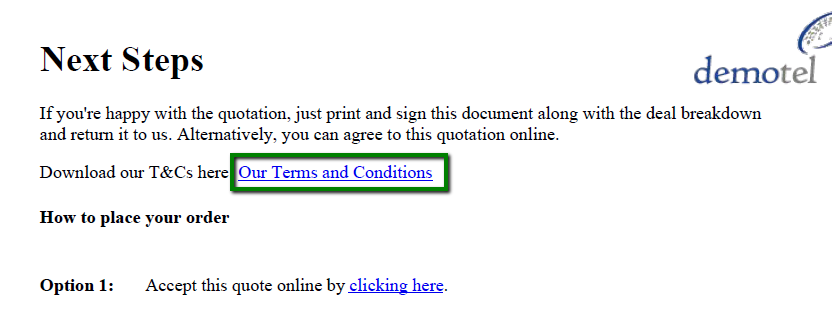
It is possible to provide customers with a web link to a PDF which contains your terms

Benefits
As the terms are linked to the quotation, and our new terms feature highlights the specific URL, customers have the option to print and view the terms signed at any time.
Cons
When updating you T&Cs you have to consider and retain the multiple versions of files.
Option 3 - Provide a link to the URL in your quotation
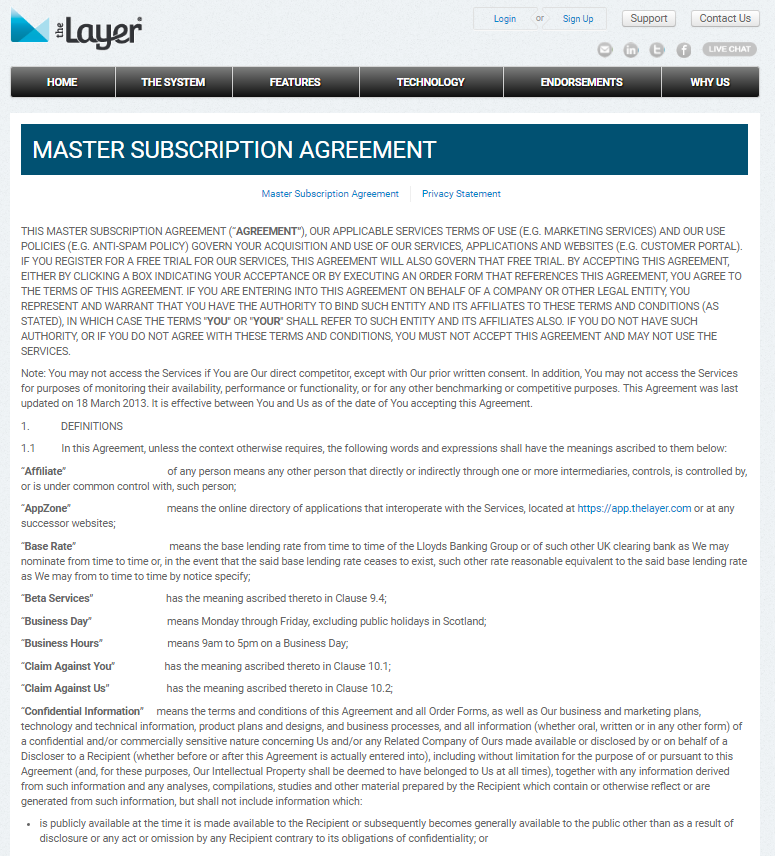
Provide a link to your website which contains all of your T&Cs in one place. See below how to activate this.
Benefits
It's much easier to maintain and update Terms & Conditions
Cons
If you change your website terms and don't have a mechanism or clause to mention how any changes impact the customer this could lead to potential disputes. We'd recommend that if you have any doubts you should seek legal guidance before selecting the best option for you.
Option 4 - Provide a link to supplier terms
If you'd prefer to send specific terms for various products and services. You can combine general terms (as above) along with specific terms for the services you provide. If you'd like to explore this option further, please review our article on Supplier T&Cs.
In the example below, we refer to Option 3 only.
To activate your company T&Cs in the Layer simply follow these steps.
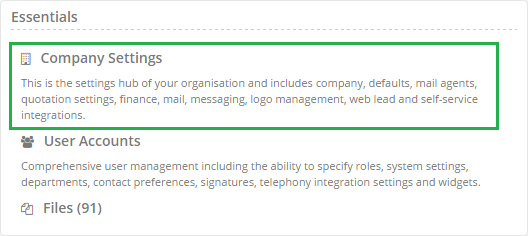
1. Access Company Settings
Access Company Settings in the Settings Zone.
2. Activate 'Terms Required'
Activate 'Terms Required' and add a URL link to the required terms and conditions.
The link can be to your website or an uploaded PDF file within the Layer which contains your Terms and Conditions.

How and where do Terms and Conditions appear?
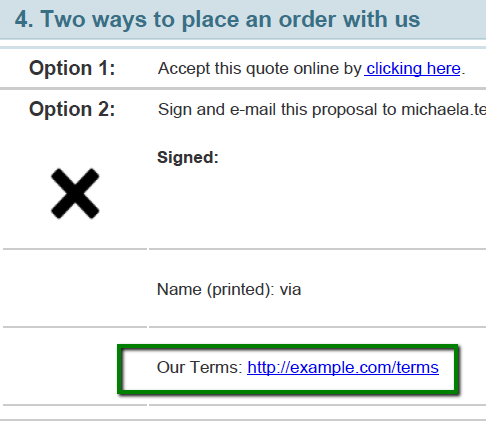
Your terms and conditions will show in the quotation itself if you chose to add the parameter for this.
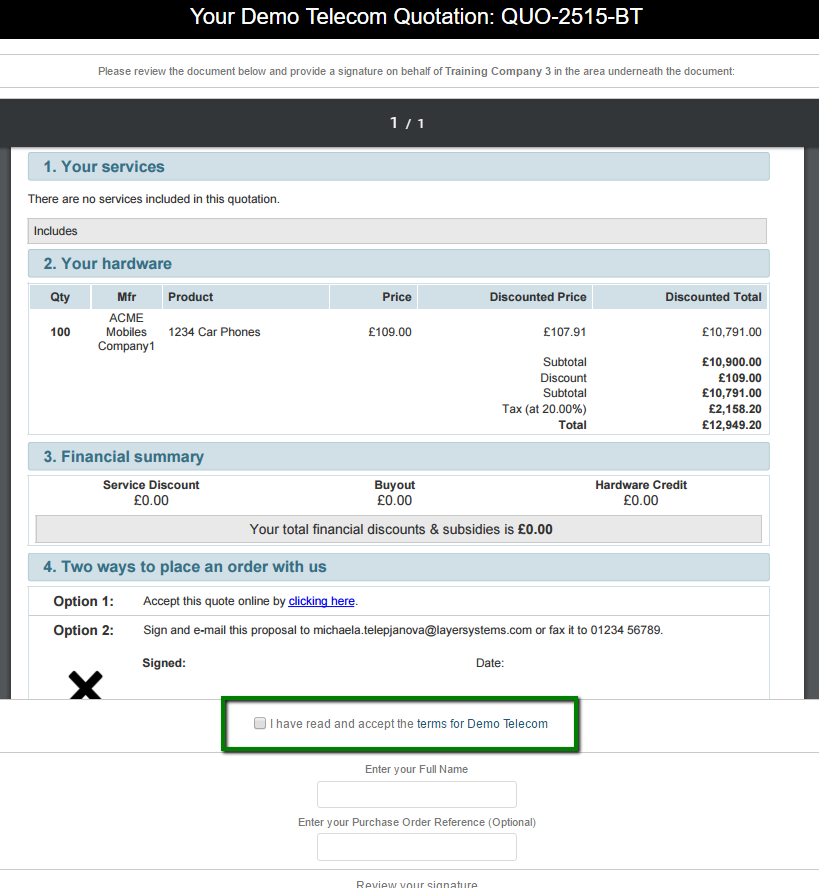
Customers will have to accept the Terms and Conditions when signing the quote.
3. Test your T&Cs
Test that your link to Terms and Conditions is working and that it will redirect your clients to the correct site. To do this, simply send yourself a test quote, click on sign online and access the T&Cs link.
4. Version Control
We recommend using versioning to ensure that customers can see the relevant terms or previous terms. Please also note if you change your website or terms URL, your customer may be unable to access the original link. As such, you should have a process for updating customers when you change your terms and conditions and/or to provide access to historical terms.
Disclaimer:
Whilst Layer Systems offer the ability for customers to use multiple methods of accessing terms and conditions, and their customers the ability to sign their terms and conditions, we strongly recommend that you seek the relevant legal advice to ensure that you are adhering to best practice to protect your business.
