How to add a checklist to case category
In this article we will take you through step by step how to create a check list for a specific case category you have already set up.
Step 1 – locate the case categories
Firstly you will require to have access to the settings tab, this is permission based. If you do not have access please contact your Layer administrator.
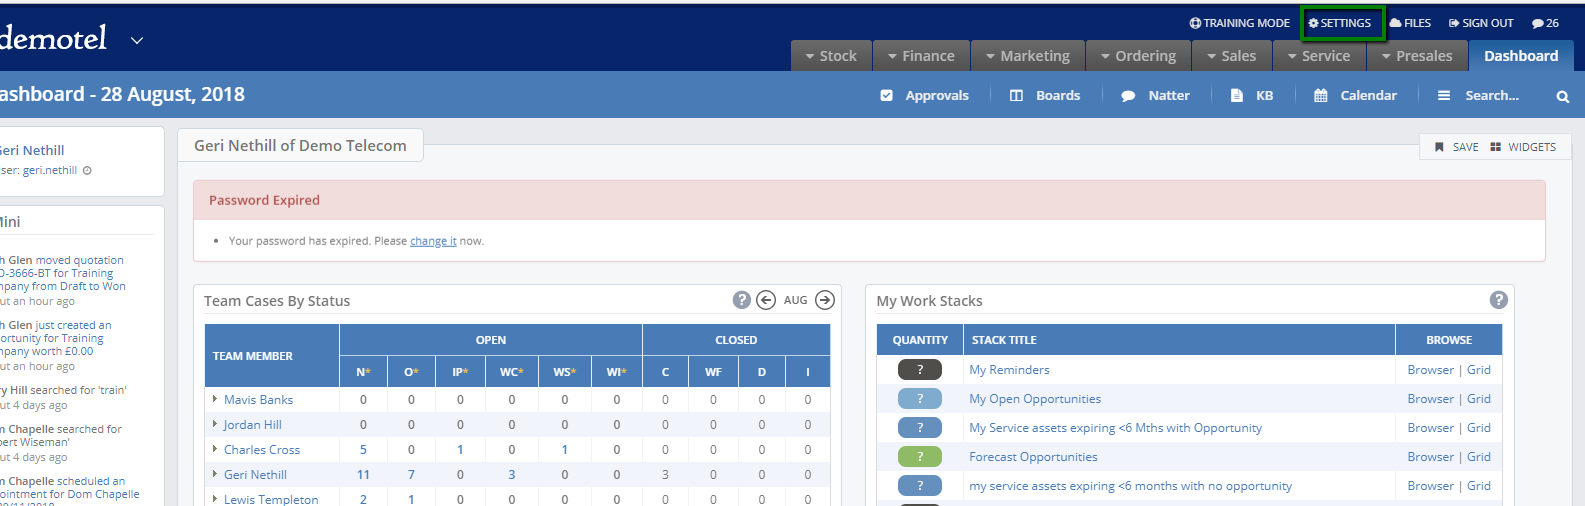
Select Settings at the top of your screen as indicated below.
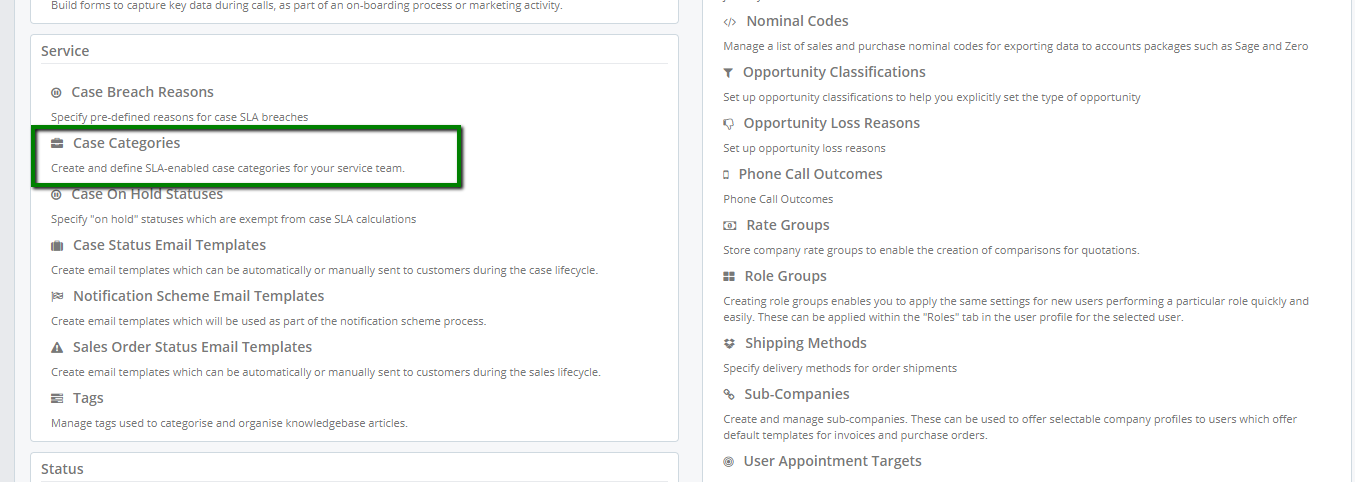
Select ‘Case Categories’ under the Service section.
Step 2 – Selecting the case category you wish to add the check list to.
You will be presented with the list of main case categories, in order to attach the check list to the relevant sub task please select the arrow next to the case category, in this example we are going to select Handset Repairs which is listed under the repair category.
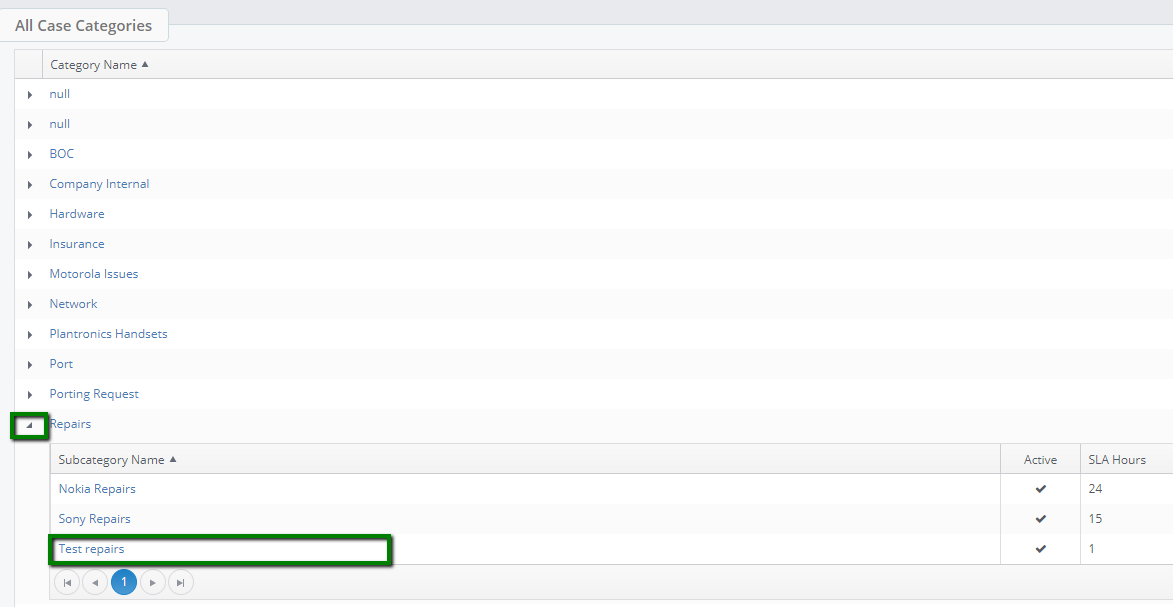
Now select Handset Repairs by clicking on the sub category name
Step 3 – Adding a check list
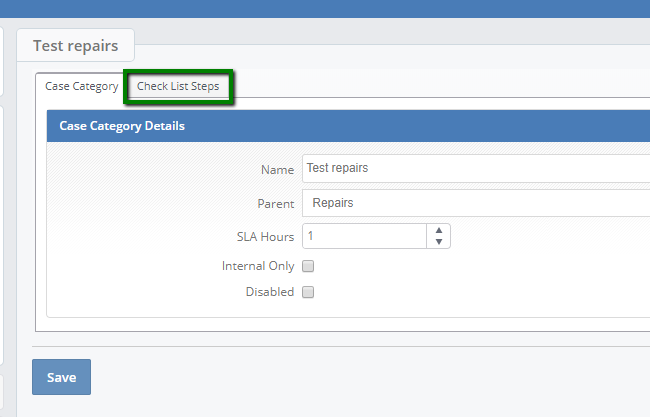
You are now able to select ‘check list steps’ tab
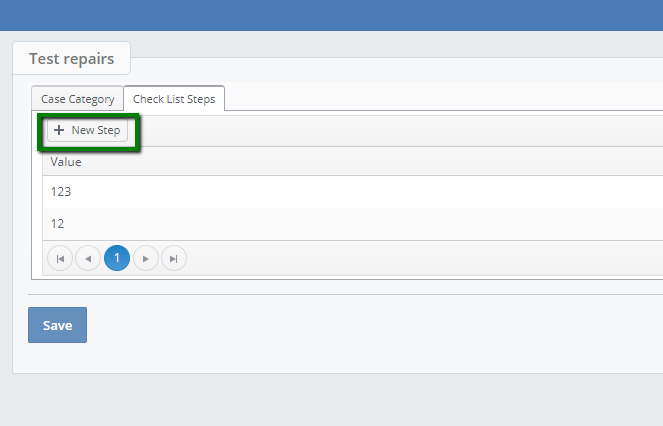
You will now be presented with the page to add additional steps or create new steps, to create a new step click on ‘+New Step’
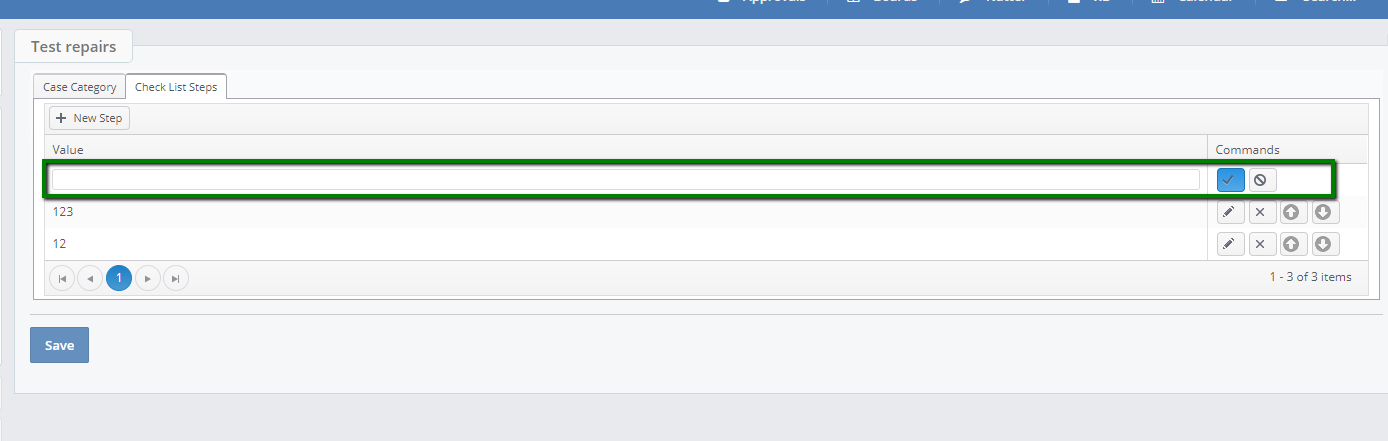
Decide the order of your checklists steps i.e. the order of the first step to the last step. Once you have decided the order of the steps you now need to add the steps in starting with the first step. This ensures that your steps appear in the correct order in the case.
To add your checklist steps simply write the text in the value field and click the tick to save it. Repeat as necessary until all steps are listed.
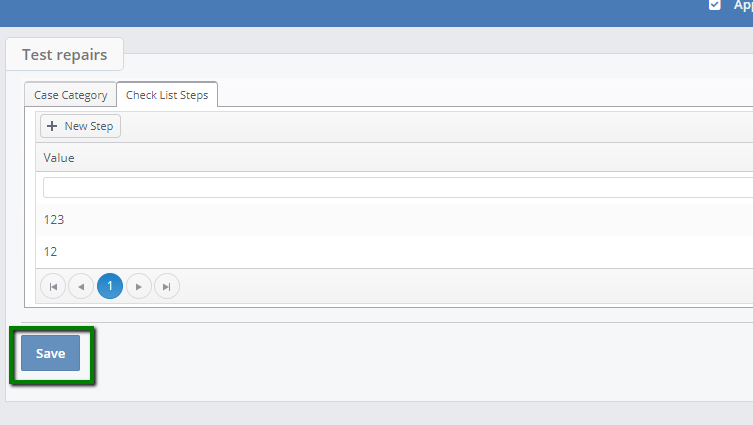
To complete select save at the bottom.
To make an amendment to and existing step select the pencil icon at the end of the row
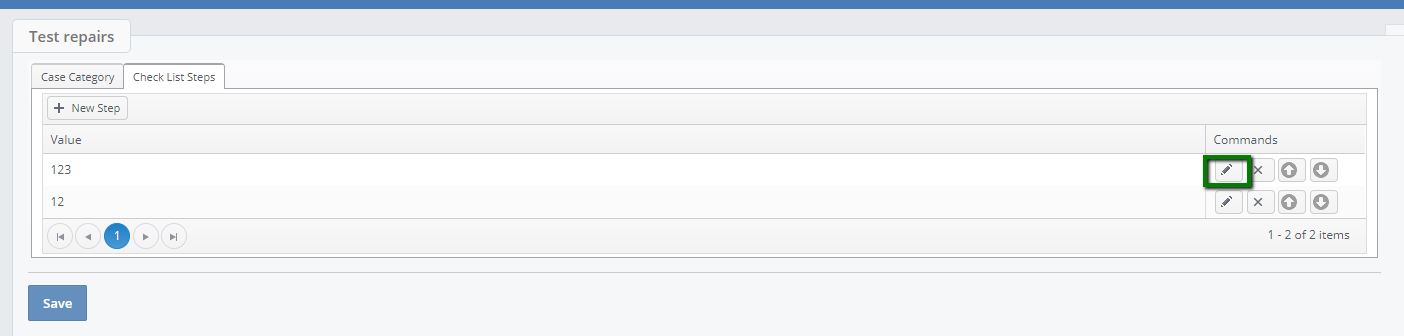
This will open that row for you to make the necessary amendments.
Again to save your changes please select the tick box at the end of the row and then Save at the bottom of the screen, this will save your checklist to this particular case category type.
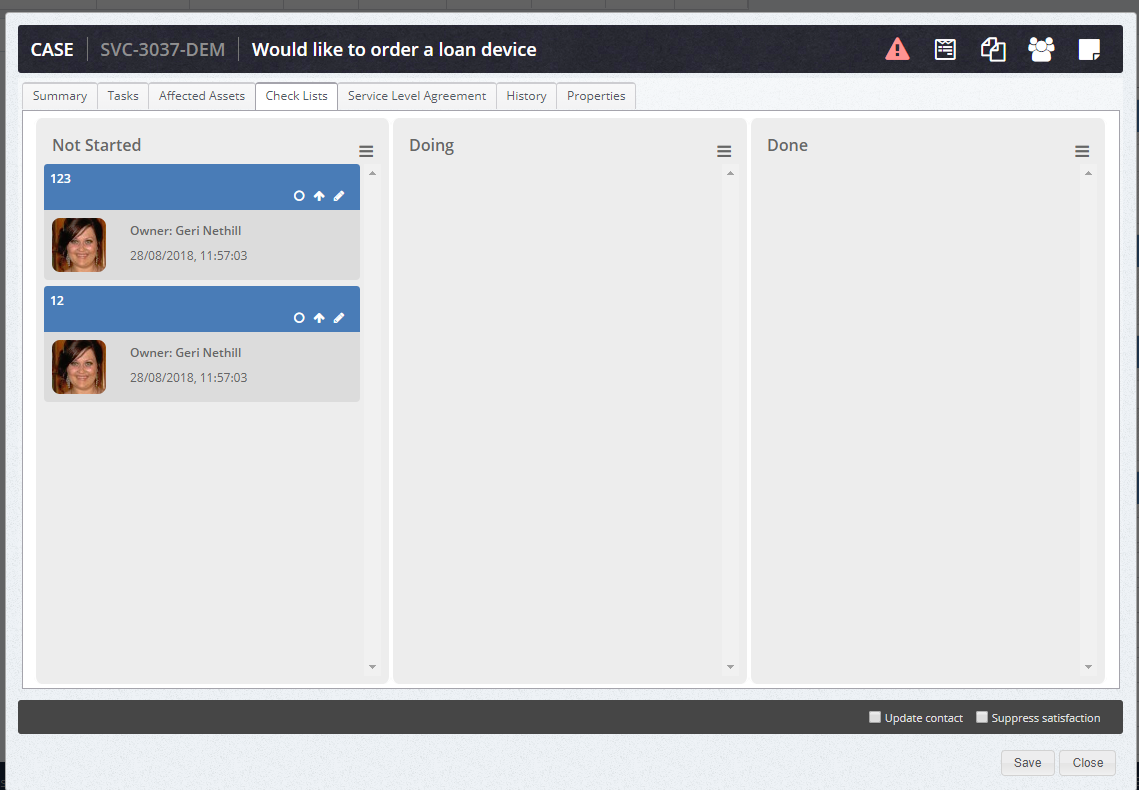
This is how your checklist will appear on the case