
In the Layer users will have noticed that within both lead and customer records there is the option to assign an Area on the Home Tab of each record type.
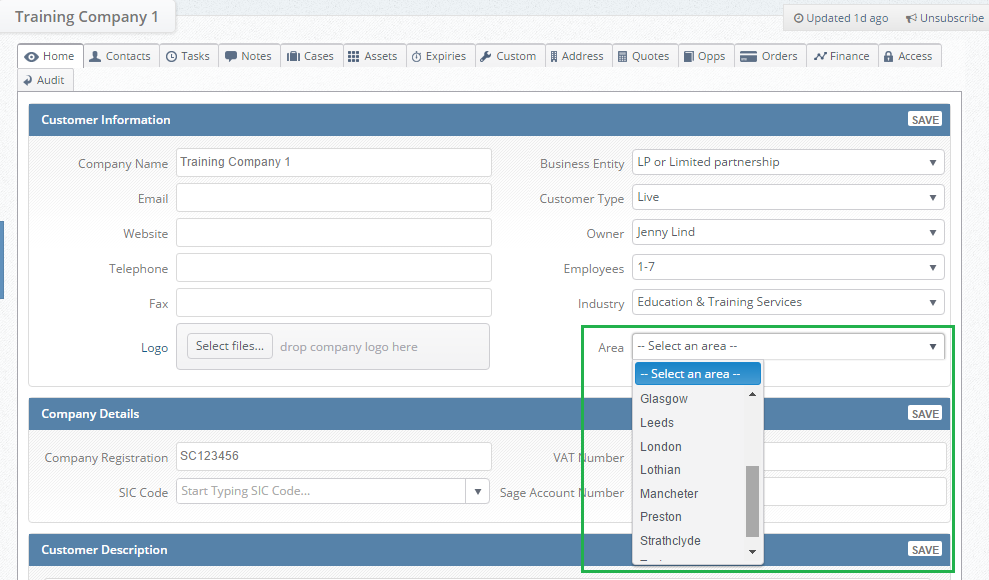
Areas allow you to group your records by area, the benefit of doing this is so that work stacks can then be created based on your area types.
Depending on how your company prefers areas can be described in any way your company sees fit, some typical examples include:
- By County e.g. Kent, Hertfordshire, Lanarkshire, Strathclyde, Antrim, Pembrokeshire etc.
- By Sales area/team, e.g. your company may have sectioned countries based on your sales teams
- By City e.g. London, Glasgow, Belfast
- Postcodes can also be used however it should be noted that this could result in a large drop down list for users to select, it may be worth considering shortening the post codes to the first digits e.g. G rather than G1 2DT to capture all post codes relevant to G.
It is vital that you consider how you would like your customer and lead records to be grouped before you proceed with creating your areas, as once an area has been assigned to a customer or lead record it cannot be deleted until the affected areas have been removed from any records.
Once you have decided on your area grouping method and have decided on the areas that are to be applied to your records then you will be able to create work stacks based on Area, this would allow you to identify some of the following:
- Identify areas where you have a large customer or potential customer base
- Identify areas where you do not have a large customer or potential base, this would allow your company to then perhaps focus on how you improve your customer base in that area
- Maximise time and travel costs, e.g. if a user has a meeting with a customer in a particular area other meetings could be arranged with nearby contacts to maximise your staffs time as well as travel costs.
- Define clear areas for staff to work on e.g. if your sales staff are split by county or region this will help them focus on their area by using this work stack
Now that you understand how to use areas to your company's advantage you will need to set these up, to do this follow these simple steps:
1. Log into the Layer
2. Select  from the top right hand side of your screen
3. Under Environment Settings select Areas
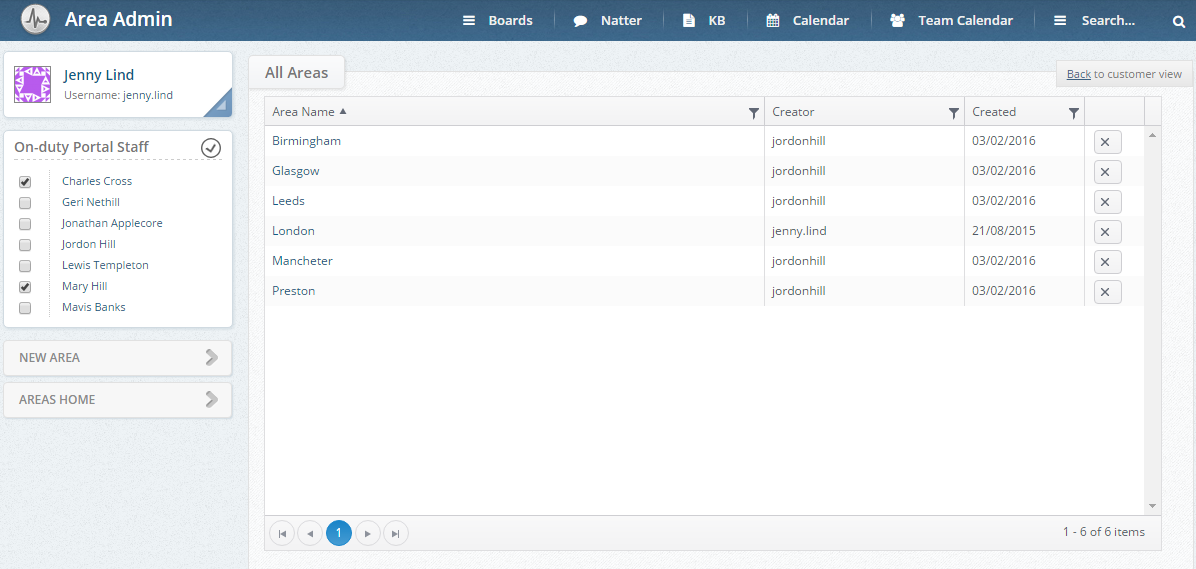
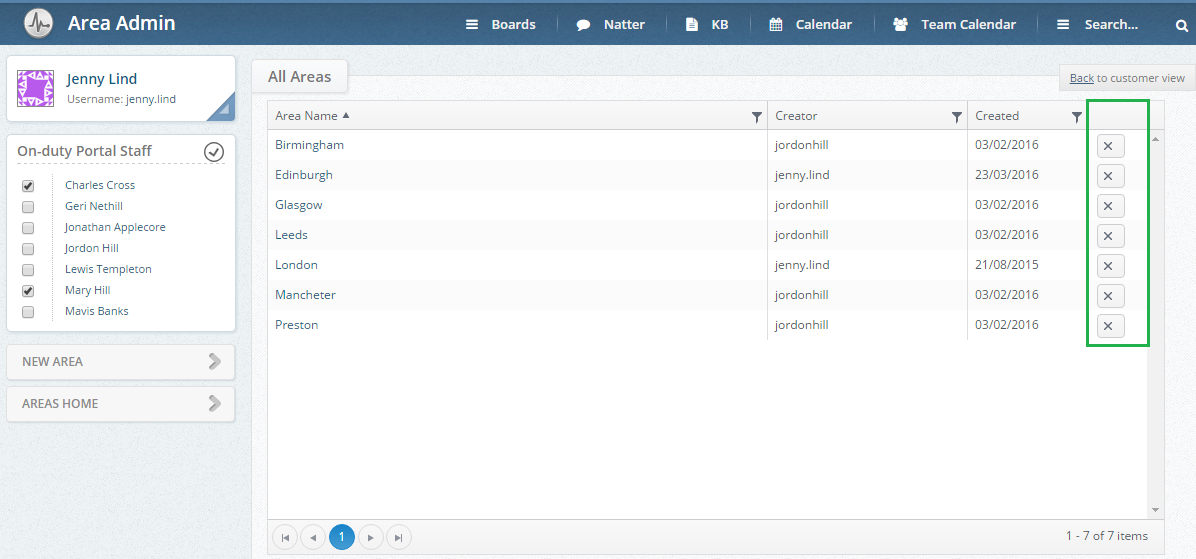
4. You will now be directed towards the Area Admin page, any existing areas that have been created will also be visible here, in our example you can see that we have already created some areas based on city:
5. To create a new area simply press the  button on the left hand side of the screen.
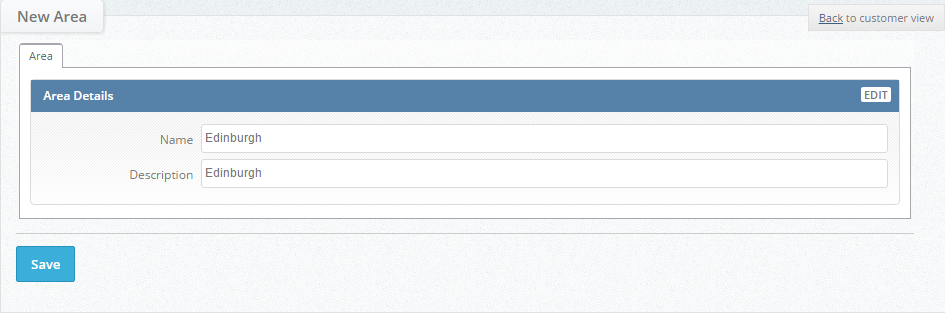
6. You will now be directed towards the New Area screen and it is here that your Area will be added, in our example we are going to add in Edinburgh.
7. Simply type in your area e.g. Edinburgh in the Name field, as well as any description that you want to add.
8. Once you have created your area simply press  .
.
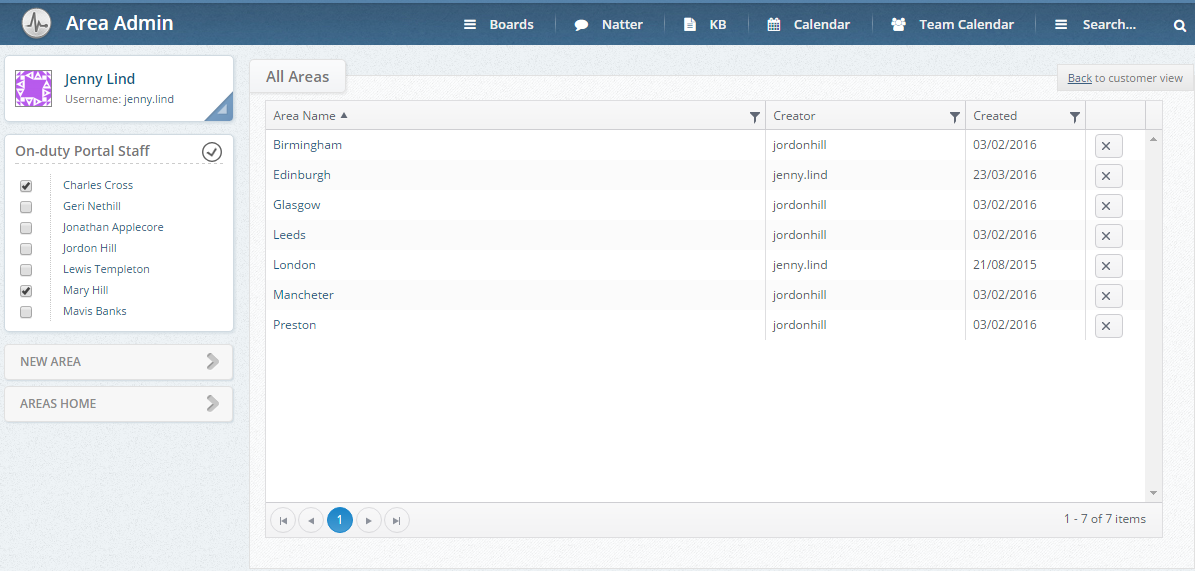
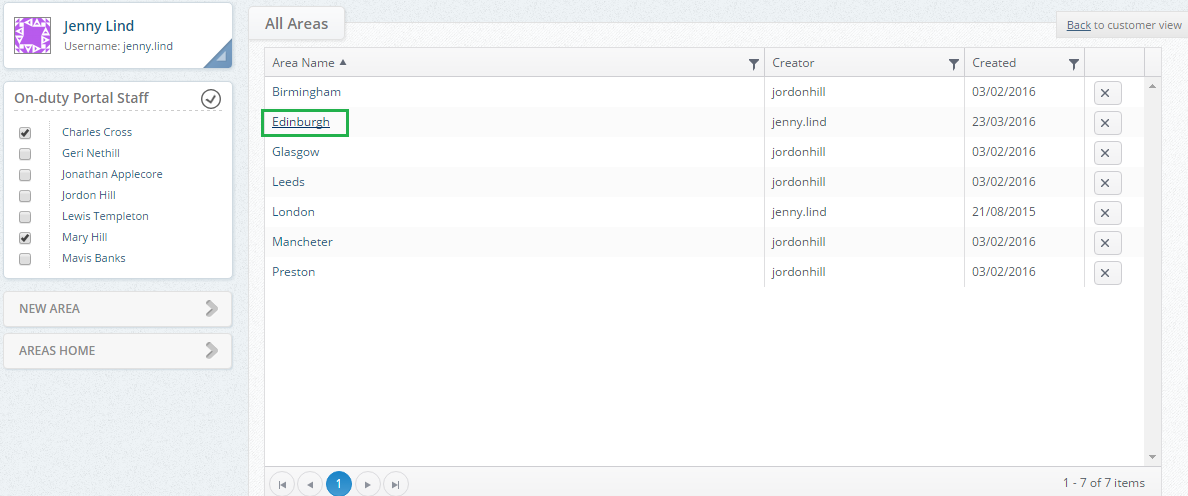
9. When we return the Area Admin page you will see that Edinburgh is now listed as an area:
Deleting an Area
It is possible to delete an area however once an area has been assigned to a lead or customer record you cannot delete the area until the records affected have been reassigned to a different area.
To delete your area simply press the  button beside the area that needs to be deleted:
Editing an Area
To edit an area name follow these simple steps:
1. Locate your area from the Area Admin Page
2. Simply select your Area by clicking on the Area Name e.g. Edinburgh
3. From here you will redirected towards the Area Details page, simply amend your area Name and Description and press .