
How to add branding to your instance
Firstly, you need to update the links to your company logos. To do this please go back into the settings area, select company setup and this time select messaging. 
You should then see the following HTML code, if there is no information in this section please contact your Layer administrator.
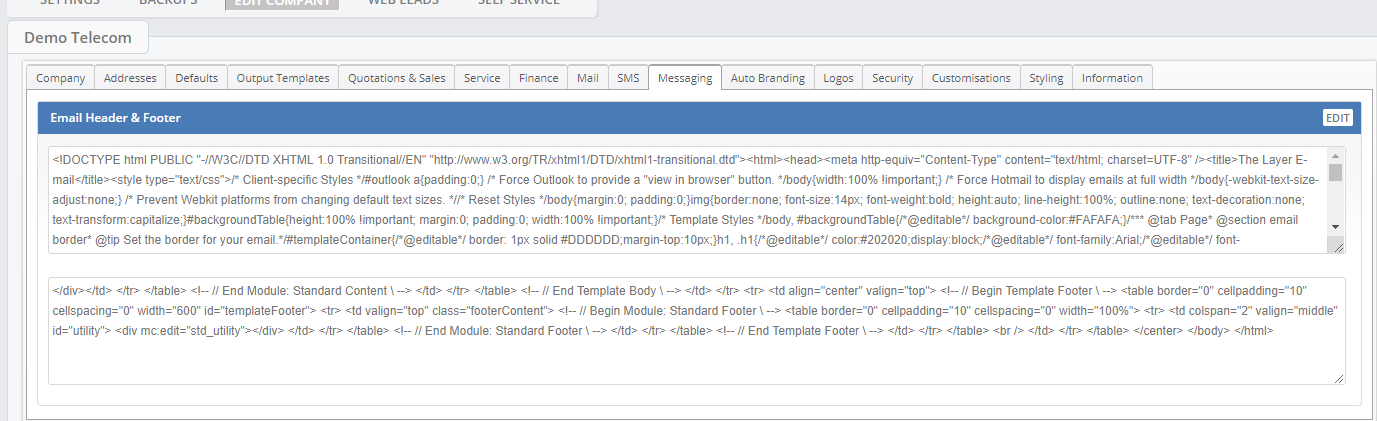
We recommend copying and pasting the code into notepad prior to making any changes (this removes formatting), the only section you will need to copy is the top box.
Select Ctrl+A and Ctrl +C (or highlight all text in the top box and then select copy)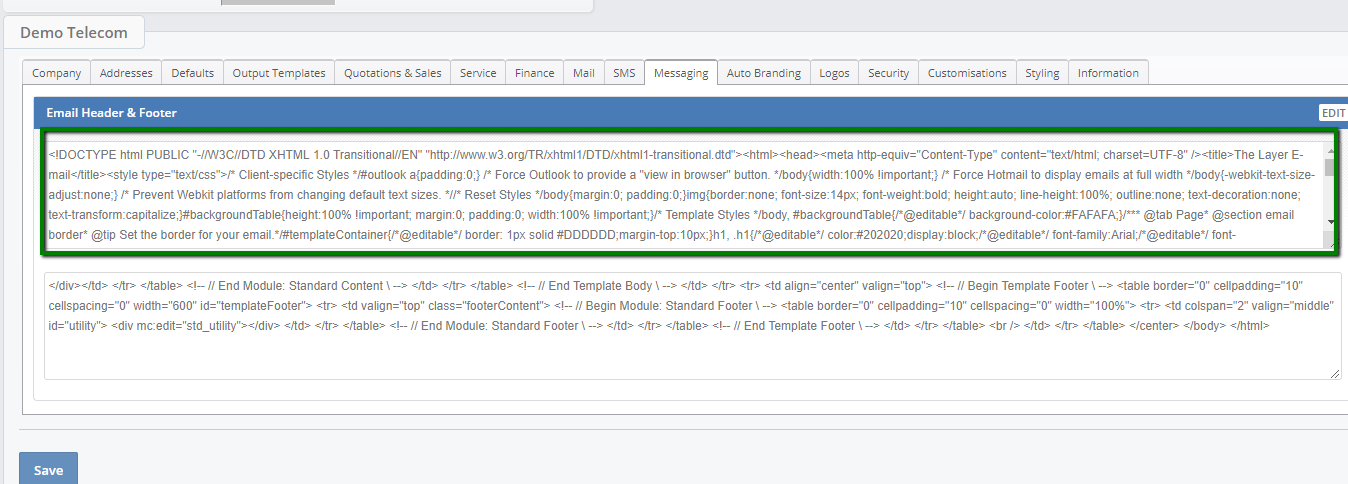
If you select all and copy and paste into notepad (on a Windows machine, select the window icon and type ‘notepad’)
Once you have completed this step, find the section which starts HTTP this will detail the location of the current logo image.

To add a new logo please follow these steps:
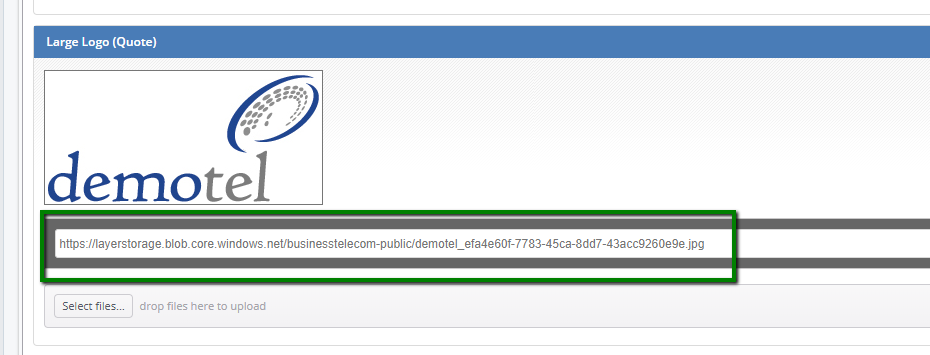
Select settings > Company Setup > Logos
Please copy the link detailed in the large logo (Quote) section
In notepad you will want to paste in the new link over the old one, simply highlight this area and paste in the new link. Be careful to paste the text on either side of the quotation marks. 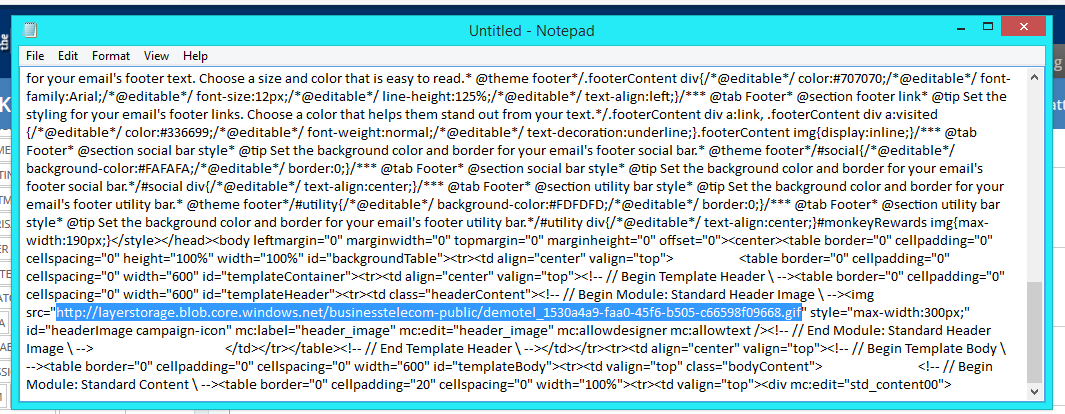
Once complete, select all and return to the message section of the company setup.
Select all again and paste over the existing code with the updated version from notepad being careful on to leave any of the former code.
Click save.
This will now update your new branding.