
This knowledgebase article will help to guide you on how to amend case SLA’s
Prerequisites
Firstly, ensure your permissions allow you to access the settings zone. If not please contact an administrator.
Instructions
step one
Once you have logged into the layer please navigate to the settings zone.
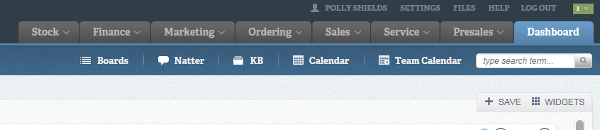
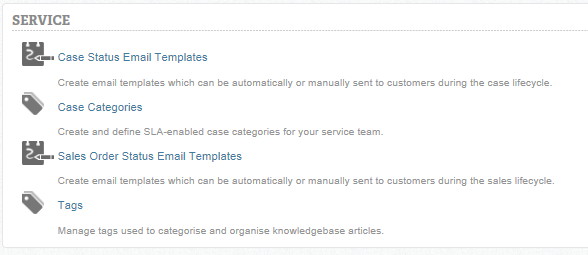
step two
One you have clicked on the settings button scroll down until you come to SERVICE, you will see a heading Case Categories. Please click on this.
step three
You will now have a grid view on your screen titled ALL CASE CATEGORIES. You will see at the side this can be expanded.
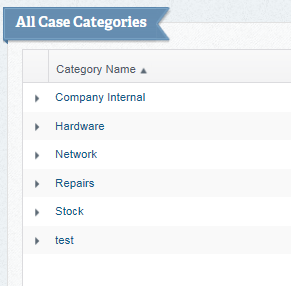
step four
To expand the view click on the arrow, this will now show you all the sub categories linked to the case category. You will now be able to see the sub category title and the SLA time related to this.
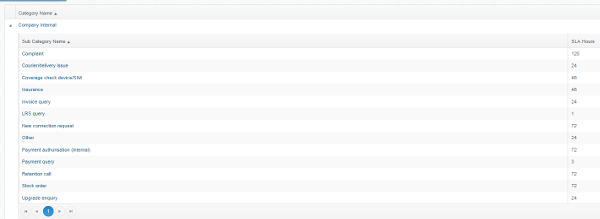
step five
You will also see at the far right hand side there is an X box. DO NOT DELETE any of these Categories, you will already have cases linked to these. If you wish to delete or amend the name of any please contact a member of the Layer Support team first.

step six
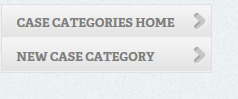
To add a new case category you will see a button on the left hand side NEW CASE CATEGORY. Click on this.
step seven
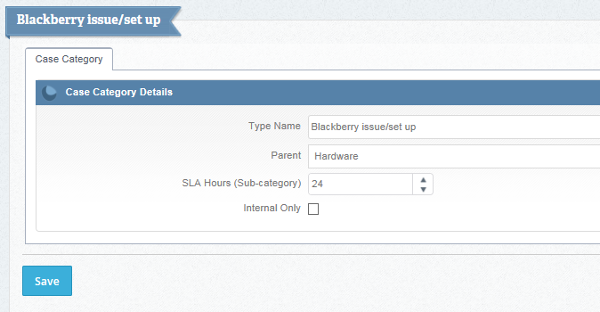
You will now have a box that looks like the below image.

Name – this should be something easily recognisable when creating a case.
Parent – This is a drop down menu. If creating a main category then select ‘THIS IS A ROOT CATEGORY’. Alternatively, if you’d like to create a sub category linked to the main category, select which Parent category to link the sub category to.
SLA Hours – Only applies to sub categories. Please not that hours respect working hours so for 24 clock hours (select an 8hr SLA). N.B. If you type in 24 hours this is the equivalent of 3 working days. To create an SLA of multiple days, multiply the number of days by 8.
Internal only – Use this option for cases which should never be
Once you have filled in the above fields, check you are happy with this and then click ‘SAVE’.
Now navigate back to the home screen and check this has been added correctly.
step eight
To amend an SLA time on a sub category that is already available you should expand the case category that it falls under. You will see the list of all the different sub categories available, decide which one you wish to amend. If you scroll over the name of the sub category and click this will take you to the edit screen.
You will now be presented with the above box, make any amends you wish to make and then save.
Once this has been saved you can navigate back to the home screen where you’ll be able to view the updated information.