
How to apply signature as default in an Office 365 account
If you would like your signature to be automatically included in every email you send from the Layer, simply follow these steps.
STEP 1
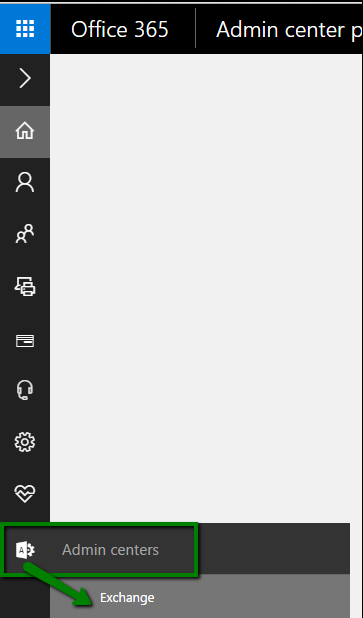
Implement a custom mail flow rule in Office 365. Select Exchange from the Admin area as per the below image
STEP 2
Select Mail flow
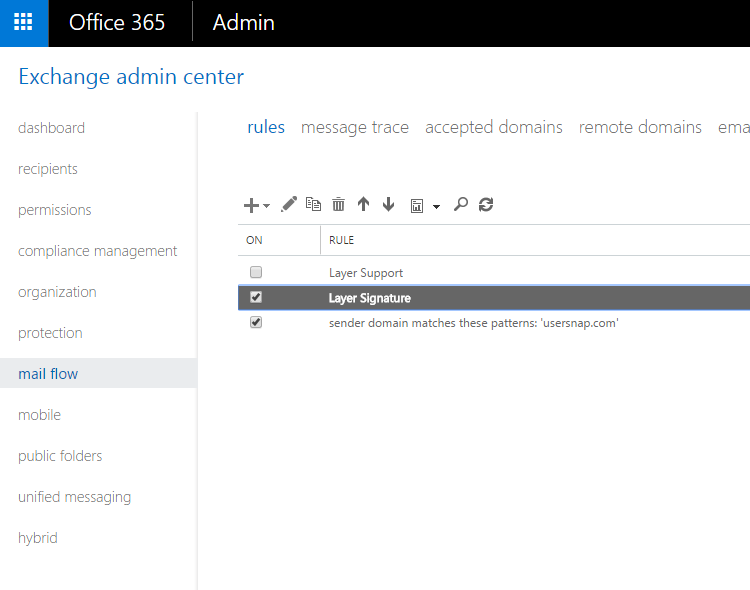
STEP 3
Create a mail flow rule similar to the following (we have added few custom exceptions in here):
STEP 4
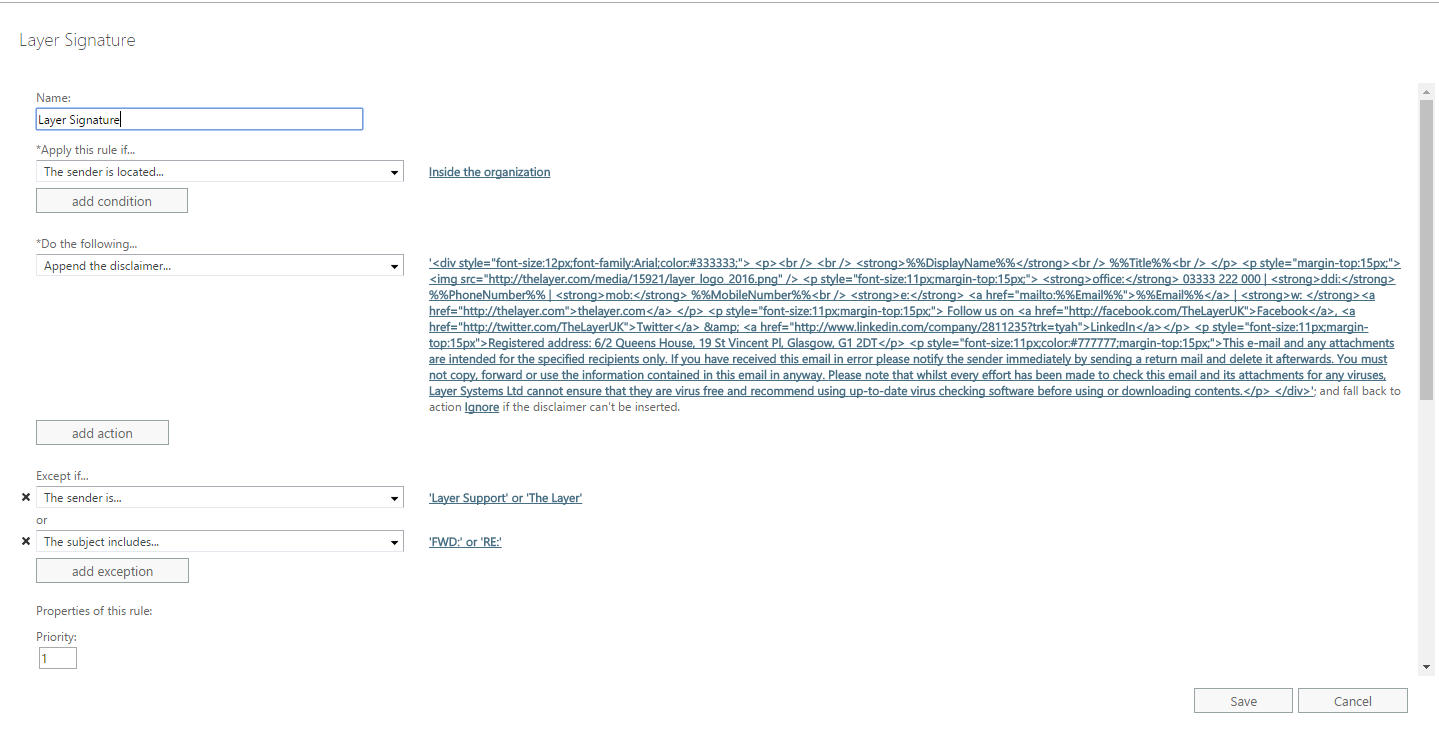
Customise the following HTML to suit your needs and paste it into the “Append the disclaimer…” box and Save.
EXAMPLE
Here’s a sample from ours:
<div style="font-size:12px;font-family:Arial;color:#333333;"> <p><br /> <br /> <strong>%%DisplayName%%</strong><br /> %%Title%%<br /> </p> <p style="margin-top:15px;"><img src="http://thelayer.com/media/15921/layer_logo_2016.png" /> ? Add a public link to your logo <p style="font-size:11px;margin-top:15px;"> <strong>office:</strong> 03333 333 333 | <strong>ddi:</strong> %%PhoneNumber%% | <strong>mob:</strong> %%MobileNumber%%<br /> <strong>e:</strong> <a href="mailto:%%Email%%">%%Email%%</a> | <strong>w: </strong><a href="http://thelayer.com">layer.com</a> </p> <p style="font-size:11px;margin-top:15px;"> Follow us on <a href="#">Facebook</a>, <a href="#">Twitter</a> & <a href="http://www.linkedin.com/company/2811235?trk=tyah">LinkedIn</a> </p> <p style="font-size:11px;margin-top:15px">###</p> <p style="font-size:11px;color:#777777;margin-top:15px;">Disclaimer here</p> ? Disclaimer </div>