
At Layer Systems we use Knowledgebase articles to create articles for you to read to learn how to use features within the Layer, such as this one you are reading now.
It is also possible for you to create your own knowledgebase articles within the Layer to send to your own customers the benefits of this include:
- Create general articles based on frequently asked questions for your customers to read
- Raise customer awareness and education of specialised products and services by creating knowledge based articles
- Create training material for your own staff - Internal knowledgebase articles can be created to train your staff on internal matters
Locating Knowledgebase Articles
Within your account you will notice that there are two locations from where knowledgebase articles can be accessed and these are as follows:
KB:
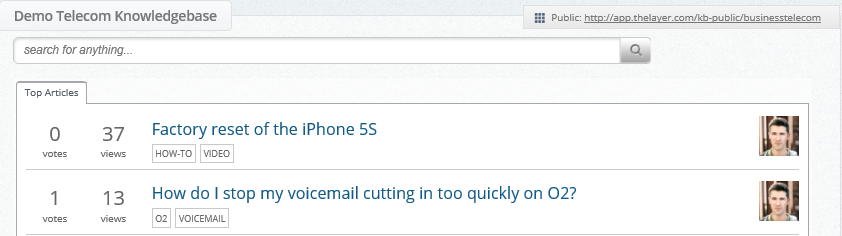
Selecting KB from the ribbon along the top of your screen will take you to your company's external and internal knowledge base articles that can be used by customers and staff:

Once inside your own knowledgebase articles you will be able to see the following information:
- Votes: The number of votes an article has been given
- Views: The number of times an article has been viewed
- Title: The title name of the article
- Author: The user who created the article via their avatar.
Knowledgebase:
Pressing this option from the bottom of your screen will direct you towards Layer Systems KBA's such as the one you are reading now:

Once inside this option you will be able to reach any articles that will help you use the Layer:
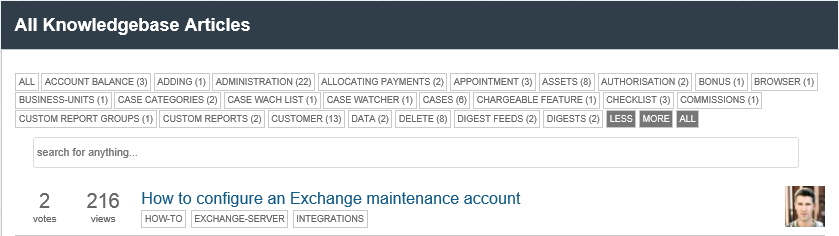
Searching for knowledgebase articles via the search field
To search for knowledgebase article simply enter in key words that you are looking for into the search field and press enter:

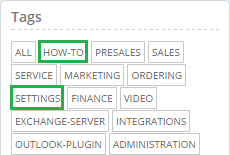
Searching for knowledgebase articles via Tags
To search for articles via tags simply click on the appropriate tag on the left hand-side of your screen, users can click on multiple tags to ensure that only articles with these tags are displayed:
Creating Knowledgebase Articles
To create your own knowledgebase articles for your customers and your internal staff follow these simple instructions:
1. Press KB from the top right hand side of your screen
2. From here you will directed towards the Knowledgebase screen press the  button
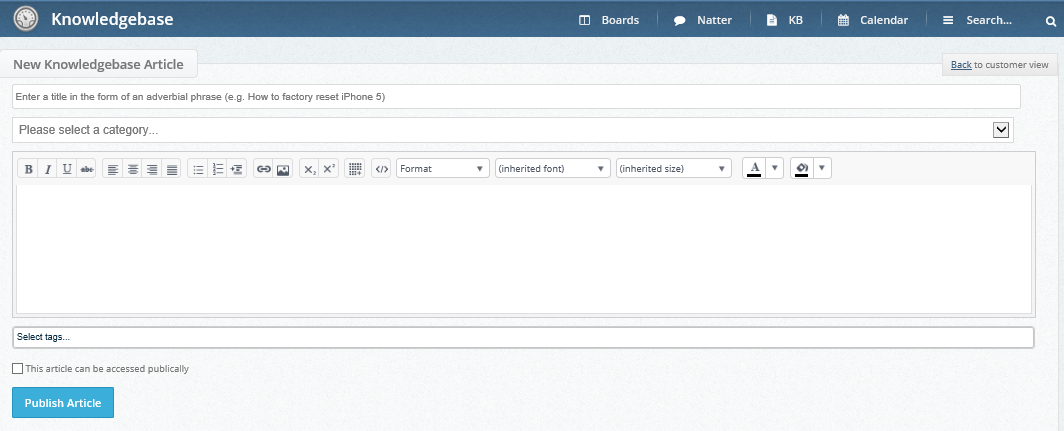
3. You will now be directed towards the New Knowledgebase Article screen and we must populate the following information:
- Title: The title of your knowledgebase article e.g. How to create a Knowledgebase Article in the Layer
- Category: These will reflect the case category options you have within your instance of the Layer and you must select the closed category that is relevant to your article.
- Knowledgebase Article: You must now write the body of your knowledgebase article e.g. this text you are reading now is the body of this article.
- Tags: Tags can be used to help your users filter for knowledgebase articles to narrow down articles that can help them find the relevant information
- This article can be accessed publically: Ticking this option will create a public link for your article that can be sent to your customers. If you wish to create internal training articles for your staff then do not tick this option
- Publish Article: Pressing this will publish your article.
N.B. In order to be able to publish Knowledgebase articles to external readers i.e. customer's users must have permission "Publish Knowledgebase Article" enabled in their user account. Users without this permission can still create articles but must get it approved for external sources before a public link will be created.
4. Once you have written your Knowledgebase article remember to press  .
.
Editing Knowledgebase Articles
Once an article has been created and published either internally or externally then it is also possible to edit an article, to do so follow these simple steps:
1. Locate the article you wish to edit from the KB page
2. Open the article
3. You will now be able to edit the article by pressing the  on the left hand side of your screen.
4. Once you have made your changes press  to save your changes.
Accessing the Public Link for your knowledgebase article
In an article has been marked as a public article then once the article has been saved the Layer will display the following button on the left hand-side:

Press this button and the Layer will redirect you towards a public web page, simply copy and paste this webpage address and send it to your customers, for example you are reading this article on a public link right.
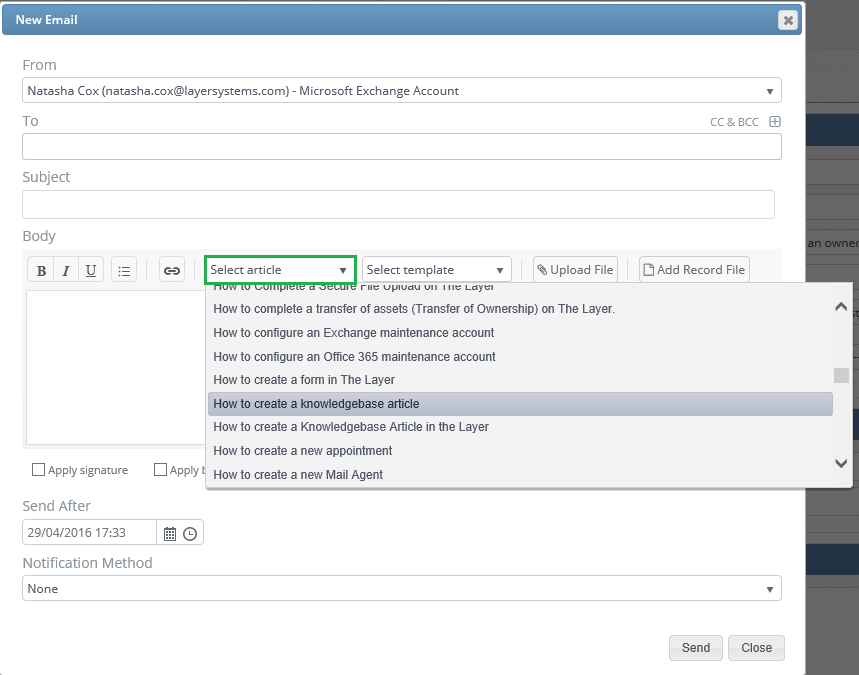
Applying a KBA to an email
Users can apply knowledgebase articles to any emails that are sent from the Layer to send to your customers, to do this simply select an article from the email window within the Layer and this will populate your email with the link:
Understanding the Editing Tools within Knowledgebase Articles
You will noticed that there are editing tools above the body of text for your knowledgebase article and these are as follows:
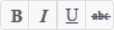 : These tools will allow you to mark text in Bold, Italic, underline and
 strikethrough any text within the body of your email.
 : This will allow you to change the alignment of any text you are writing
 This will allow you to bullet or numerical points you wish to make and indent any points, text or images.
 : This will allow you to insert any hyperlinks that you wish to create to direct readers to any other web pages, to learn how to create a hyperlink click here.
 : This will allow you to insert images into the body of your email
 : This will allow you to make text appear as subscript or supersubscript.
 : This will allow you to create a table e.g. rows and columns
 : This will allow you to view the HTML code within the body of your email and amend as appropriate
 : This will allow you to change the formatting of your text such as paragraph, heading 1, 2, 3 etc.
 : This will allow you to change the font of your text.
 : Using this tool will allow you to determine the font size of your text.
 : Changes the colour of the text
 : This will allow you to change the fill colour