
How to create a new Mail Agent
Step 1
From Settings zone go to Mail Agent
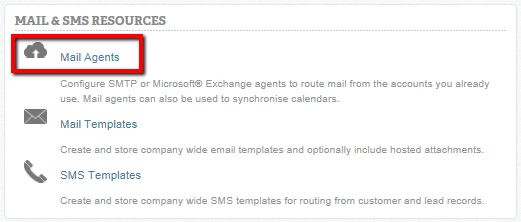
This will take you to the main Mail Agents screen where you'll find a list of existing Mail Agents, and a button on the left that will allow you to create a new one.
Step 2
Select option New Mail Agent

You will then be presented with a blank Mail Agent screen.
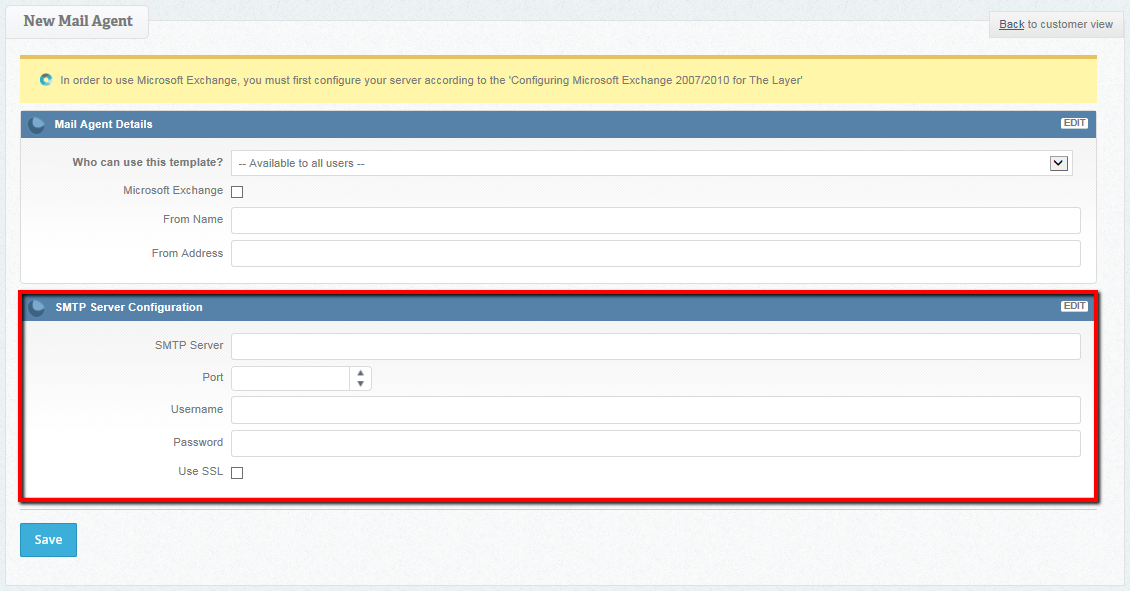
The lower half of this screen (highlighted above) refers to SMTP configuration.
Step 3
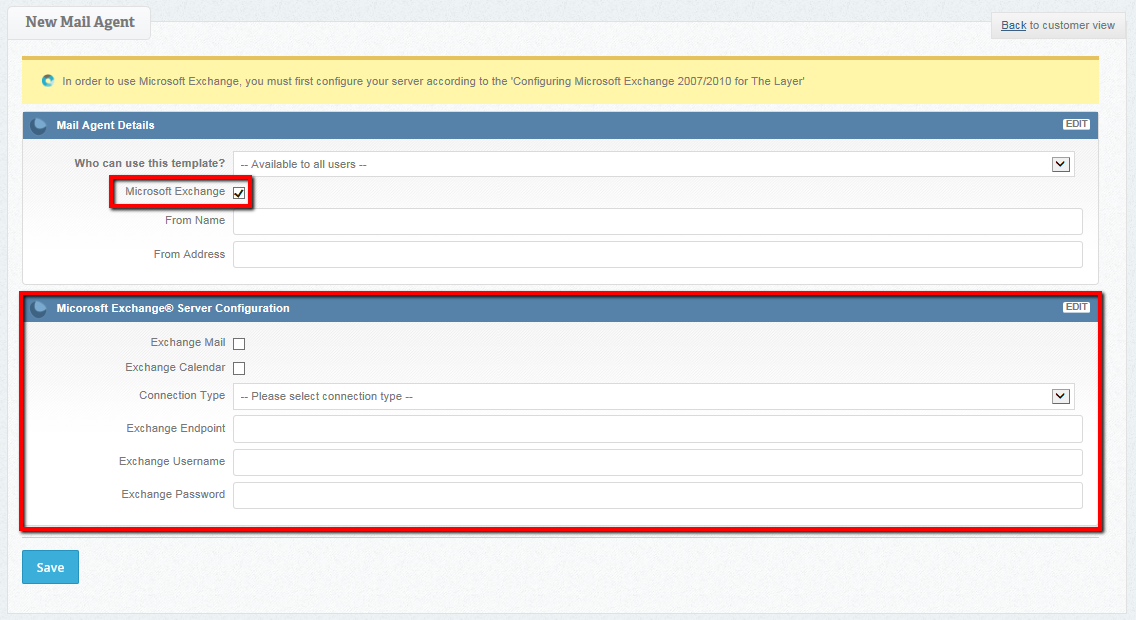
As we are only going to be working with Microsoft Exchange configuration, the first thing we need to do is tick the check box labelled Microsoft Exchange
in the upper half of the screen (highlighted below). This in turn will change the lower half of the screen to a Microsoft Exchange Server Configuration section, ready for completion.
Step 4
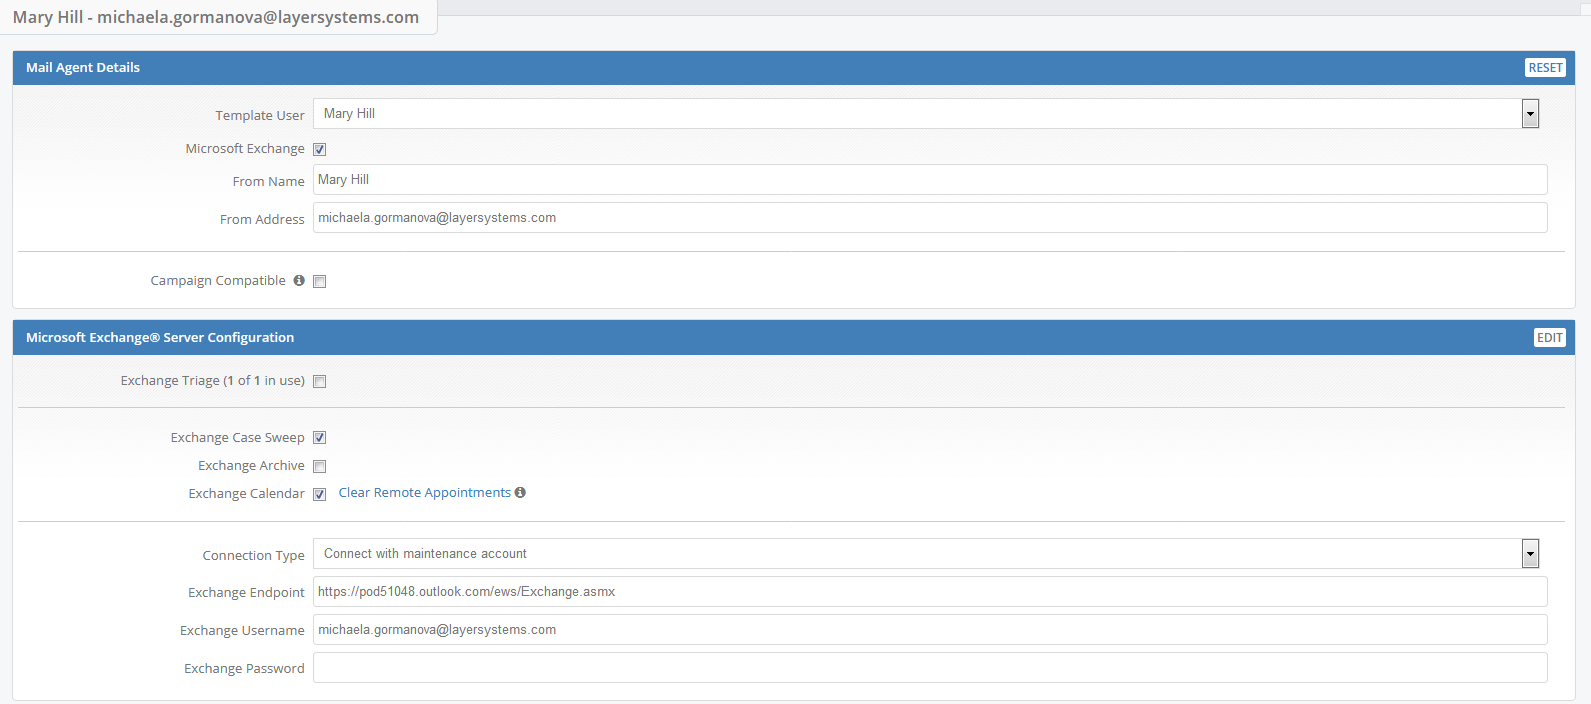
Fill in the required fields as per the below example and explanations against each field.
Mail Agent Details
Who can use this template? - Choose the Layer User name to be associated with this Mail Agent. This means you would need to have a user already created.
Microsoft Exchange - Has to be ticked to present the required fields in the lower section of the screen.
From Name - The user name associated with the mail account.
From Address - The email address of the account.
Campaign Compatible - If you will be using this email address to send marketing campaigns from tick this box.
Microsoft Exchange® Server Configuration
Exchange Triage - If you have any available triage accounts you can select this email address to be one by ticking this box.
Exchange Case Sweep - this function will create a note against an existing case (if the reference number is present) from incoming emails.
Exchange Archive - by selecting this option, the system will store emails from the user's inbox as well as sent items and store them against the customer's record in the App Touch Exchange.
Note this app is only visible to users with the relevant permission.
Exchange Calendar - tick this if the Exchange Calendar is to be synchronised with The Layer calendar.
Connection Type - There are two choices here, namely Connect with user credentials and Connect with maintenance account. The latter is preferable, but require the customer
to setup maintenance account on their Exchange server to manage passwords. Connecting with User Credentials means having to revisit this section to enter new passwords every time they change.
Exchange Endpoint - URL which the Exchange service is accessible from
Exchange Username - email login name (usually the email address)
Exchange Password - email password is only required if you chose to connect with the user's credentials
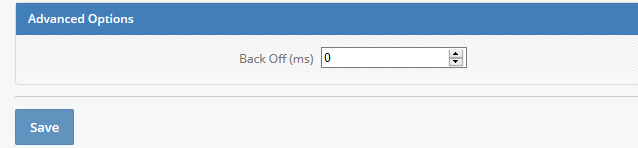
Once this is complete press Save.
Step 5
If you have ticker the exchange case sweep, you will be presented with an additional section, Mail Sweep Options.
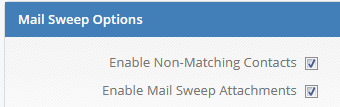
These options will allow the mail agent to post replies to a case from non case contacts and also to upload attachments to files. For more information see here.
Note: Please do not change the advance option in the mail agent without consulting your account manager first. This is an advanced feature which should only be amended by the technical team.
Step 6
Make sure you test the Mail agent by clicking Test on the left side of the screen.
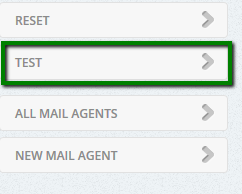
The test email will be sent to the person logged in. See example below
