
How to Create a Purchase Order on The Layer
In this article we will take you through the steps on how to create a purchase order on The Layer. There are two different ways in which you will be able to create this.
We will take you through both options below.
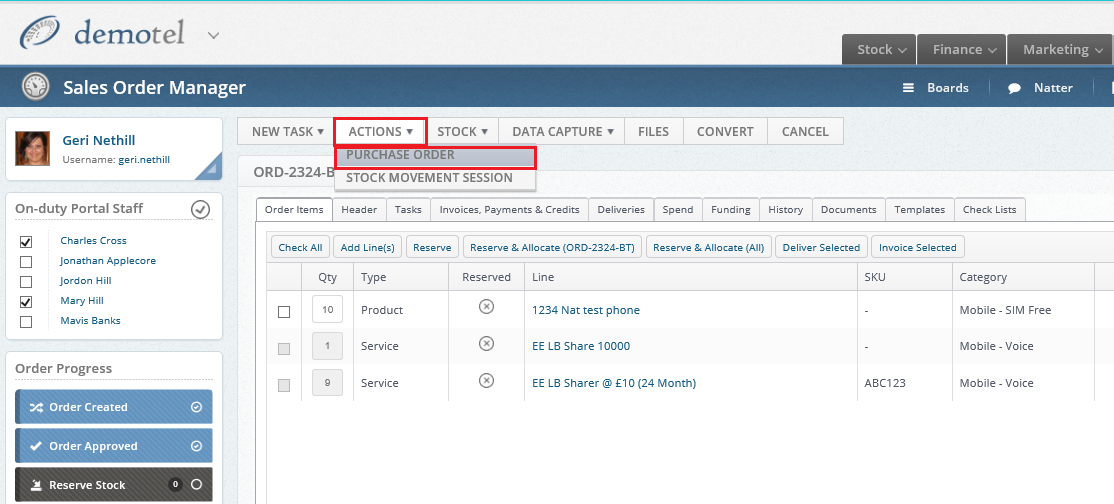
Firstly you are able to create a purchase order from the sales order section within The Layer. Once you have completed your required actions on your sales order and you are ready to create the purchase order you can do so by selecting the actions tab at the top of the screen as indicated below.
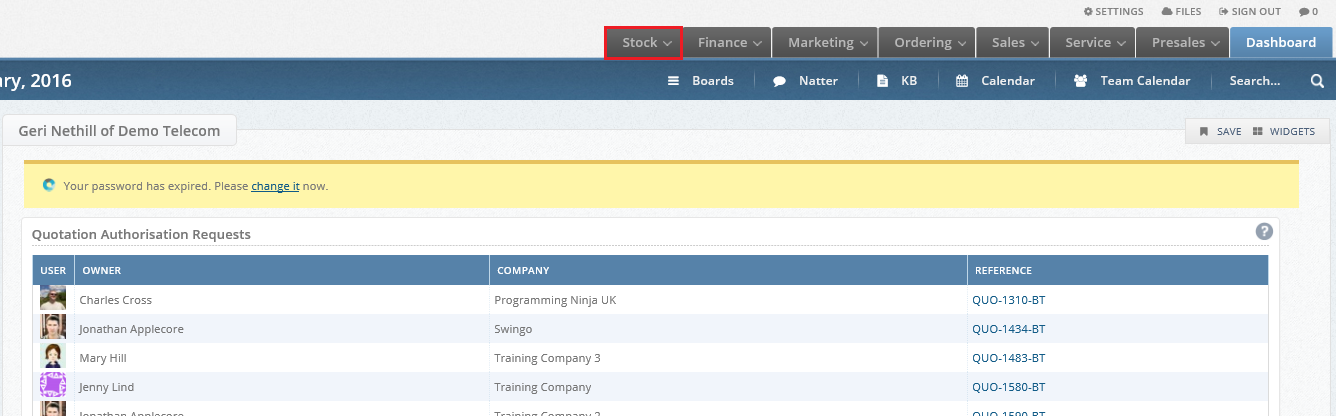
Secondly you are able to create a purchase order without a specific sales order, to access this function you will require access to the stock module, please selected the stock module as indicated below.
N.B. If you do not have access to the stock module please contact your Layer administrator.
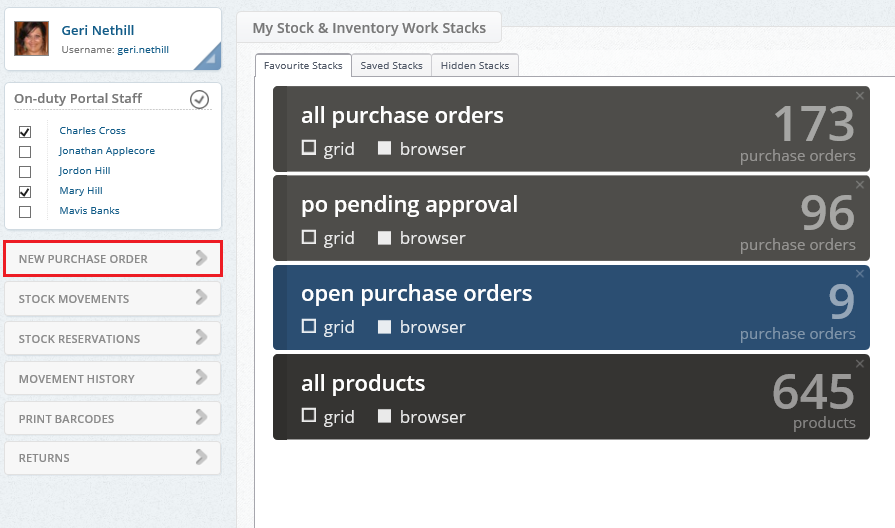
In this module you will be able to access all your current purchase orders and also create a new one. To create a new purchase order please select ‘New Purchase Order’ on the left of the screen as detailed below.
To create the Purchase order fill in required fields and click save. You will now be presented with additional section of the purchase order.
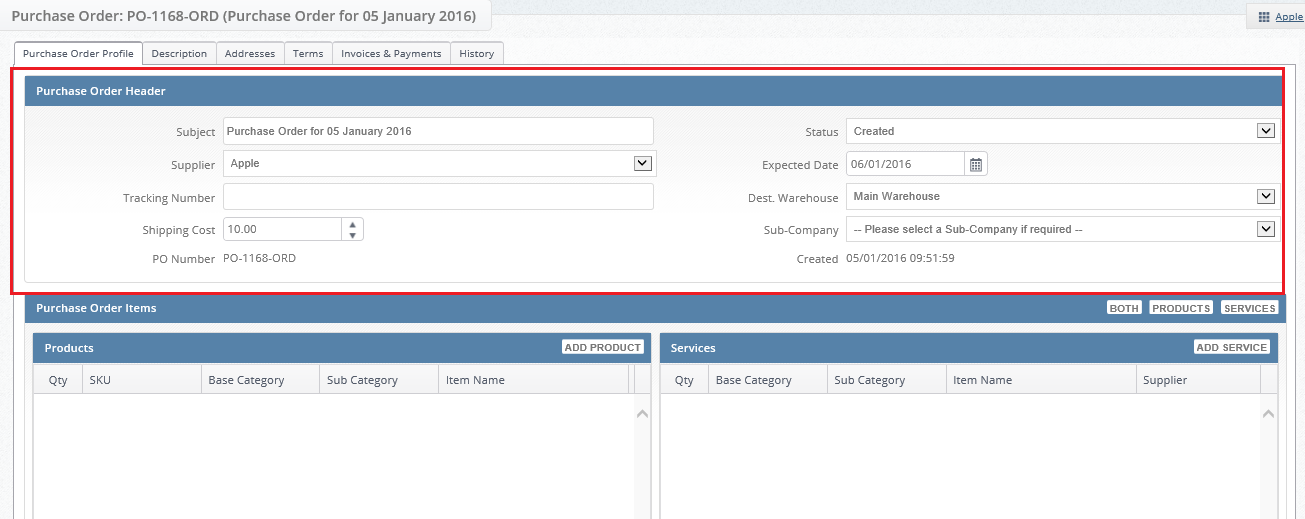
Subject: is auto-populated
Supplier: select the supplier you wish the purchase order to be sent to.
Tracking Number: Enter tracking number provided by the supplier if required.
Shipping Cost: Add shipping cost from your supplier
PO Number : is auto populated by the Layer. This is the PO number your supplier should be using as their reference number.
Status: is defaulted to ‘created’. This can be amended depending on the progress of the PO.
Expected Date: is pre-populated to the next day, however you can amend this depending on availability of the products.
Dest. Warehouse : If your business has multiple warehouses you can specify where the items should be booked into when they are delivered. E.g. ‘Exertis virtual’ if the items are delivered directly to the client or ‘Stock Physical’ if the items are being delivered to your offices.
Sub-Company: Select sub-company if required.
Created:is the date and time the purchase order was created.
The second section of the screen is titled ‘Purchase Order Items’ this is then broken into 2 sections, Products and Services. By selecting the tab ‘Add Product or Add Service’ you will be able to make the selections here for you purchase order.
In this example we have opted to add products.
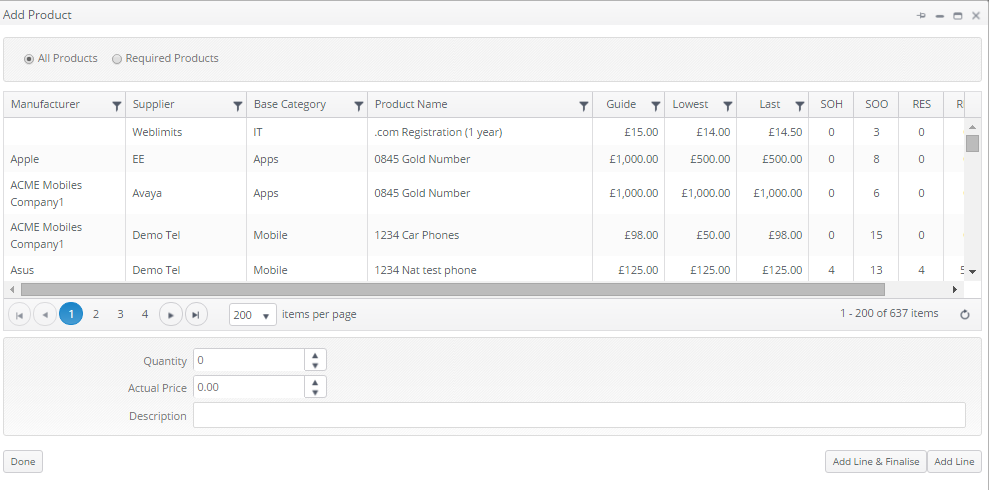
If you are creating your purchase order from a sales order, you will also be able to select 'Required Products' this will narrow the list of products down and include the specified items.
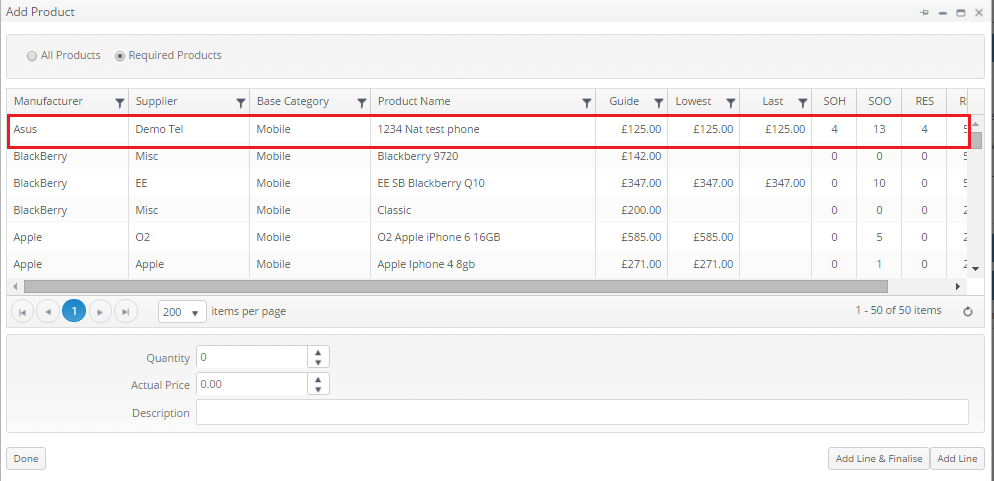
You are also able to narrow your search further by using the filters at the top of the columns.
On this screen you will find the pricing information please see details below for definitions and image.
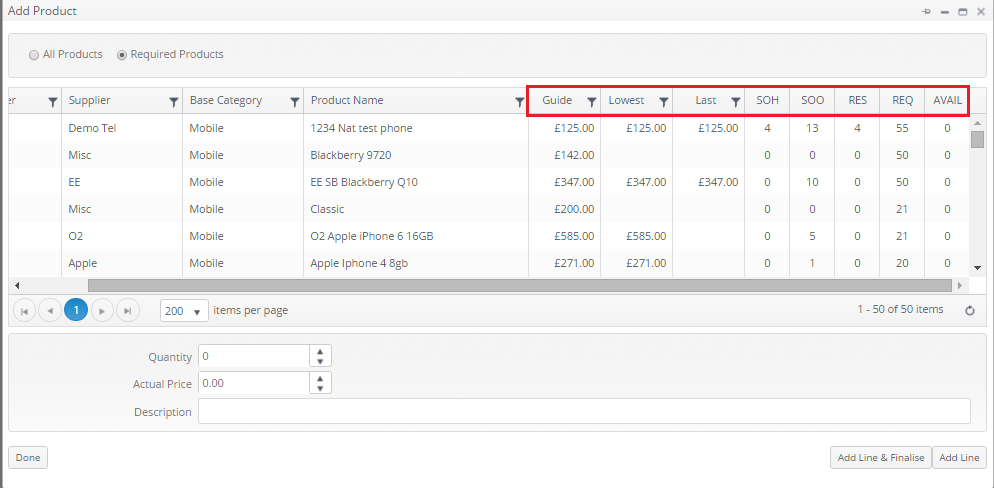
Guid - Guidance price
Lowest - Lowest price you have ever purchased the item for
Last - Latest price you have paid
SOH - Stock on Hold
SOO - Stock on Order
RES - Reserved Stock
REQ - Required Stock
Avail - Available Stock
Please make your selection by clicking on the line of the item you require, please also amend the quantity to reflect the number of items you require, in our example we have amended this to 10 to reflect the sales order. You are also able to update the pricing as quoted by your supplier at this point. Once you have made your selection, amended the quantity and pricing if required, please select 'ADD LINE' as indicated below
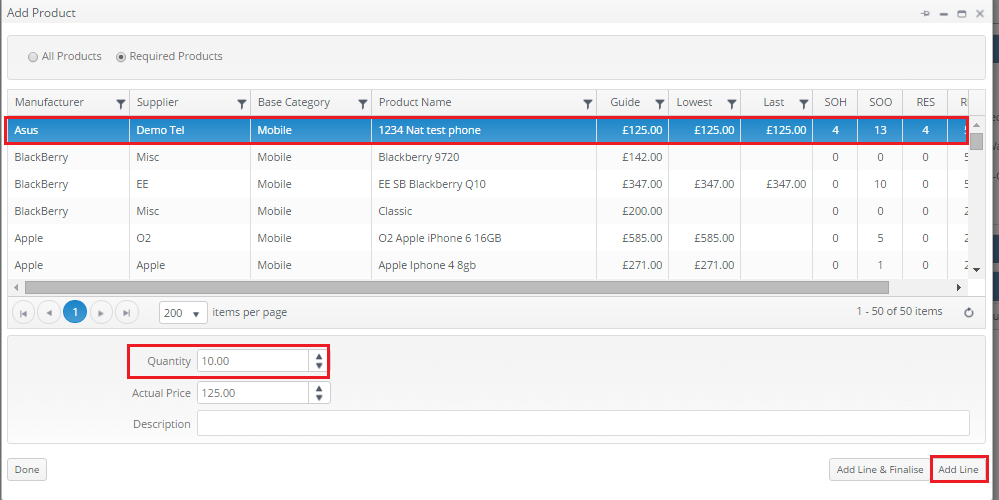
Should you wish to add more than one item on to your purchase order please select add line and then repeat the process for making you selection.
When making your final selection you are able to close this window by selecting 'ADD LINE' then select 'DONE'. If you select 'ADD LINE & FINALISE' this will automatically update you purchase order status to 'On Order'.
We would recommend waiting until you have emailed your supplier prior to using any of the finalised options.

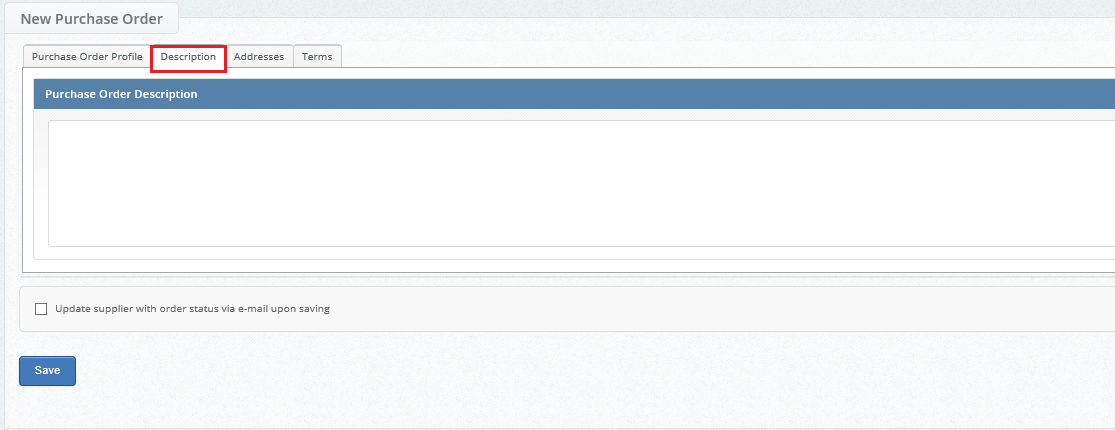
The next tab you have is ‘Description’ in this section you are able to make a note here for the description of the purchase order, this section is a free text box.
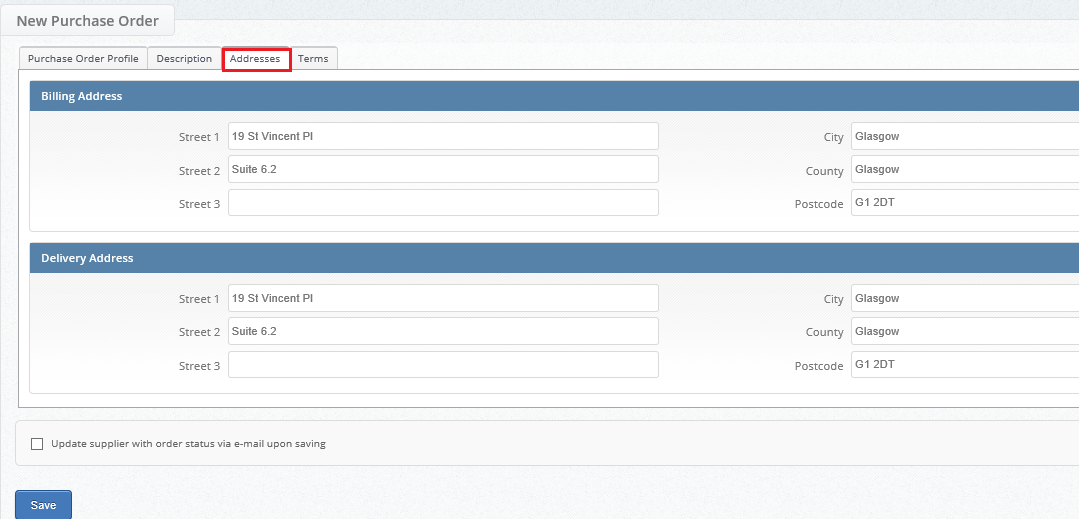
The following tab is ‘Addresses’ in this section it will detail the billing address for your company and also the delivery address. You are able to amend the delivery address here should you need to do so.
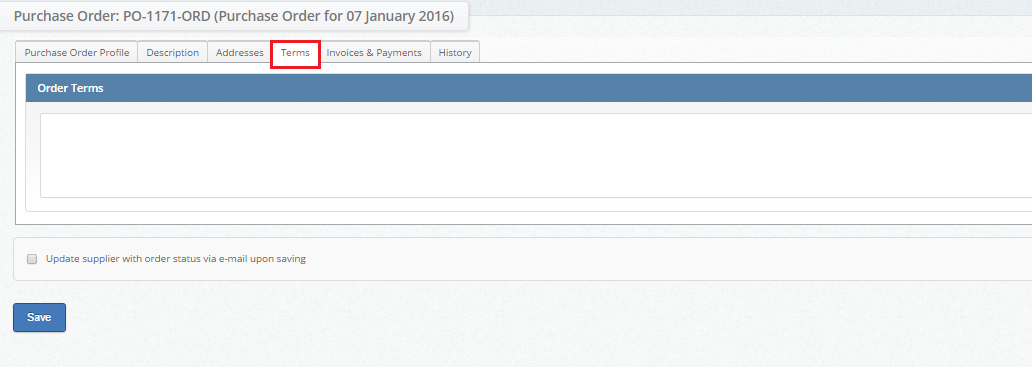
The following tab is ‘Terms’ in this section you are able to detail any terms for your order again this section is a free text box.
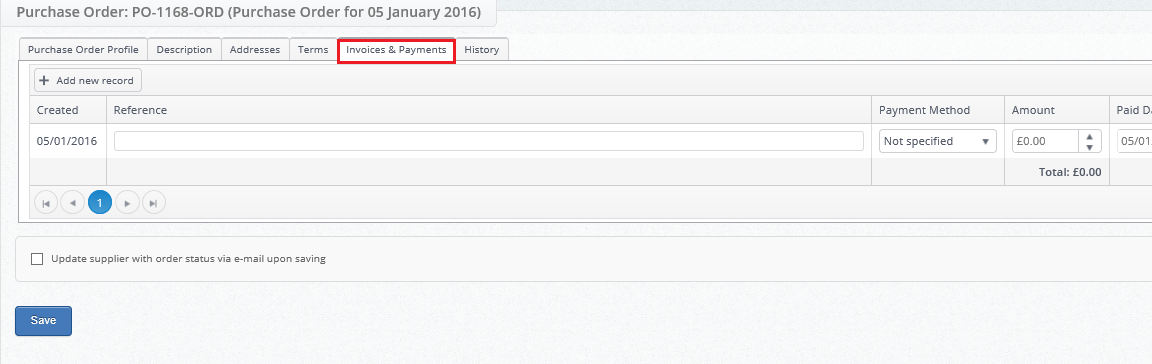
The following tab labelled ‘Invoice & Payments’ in this section you are able to detail any payments you have made to this purchase order and the method of payment.
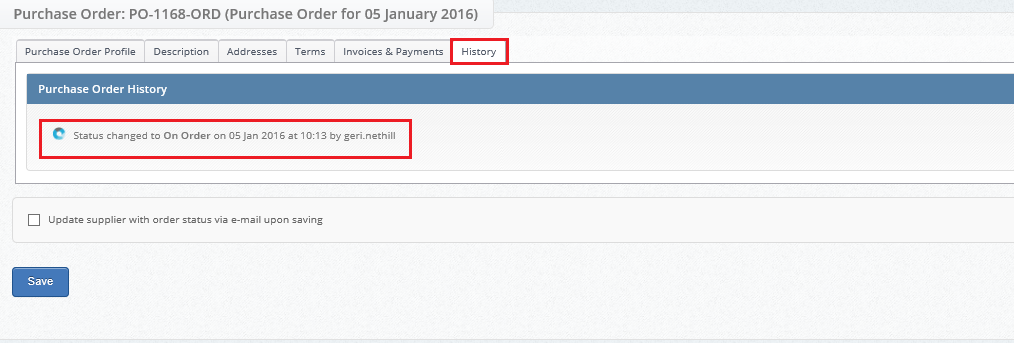
The final tab is ‘History’ this will detail any changes to the status of the purchase order so for example once you have completed all the information and then send the request to your supplier you may wish to change the status to ‘On Order’ this will detail the change in this tab as indicated below.
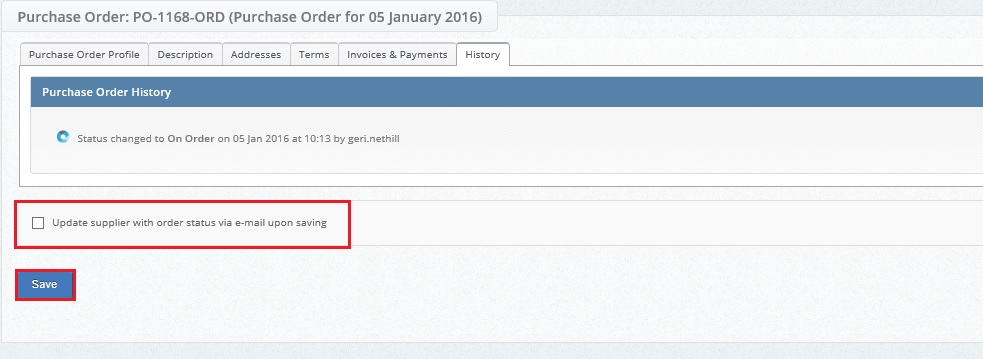
Once you have completed all the information you wish, you are able to select the tick box at the bottom of the screen to update supplier with order status via e-mail upon saving. You will notice you are able to select this box on all the tabs, therefore you will be able to send the purchase order at the point you are ready.
This will create the following email which will be received by your supplier.
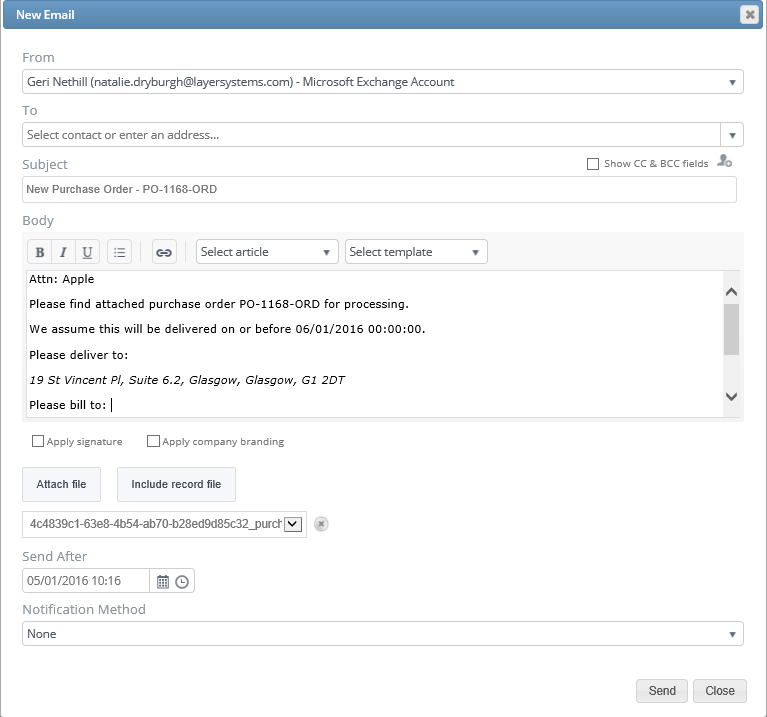
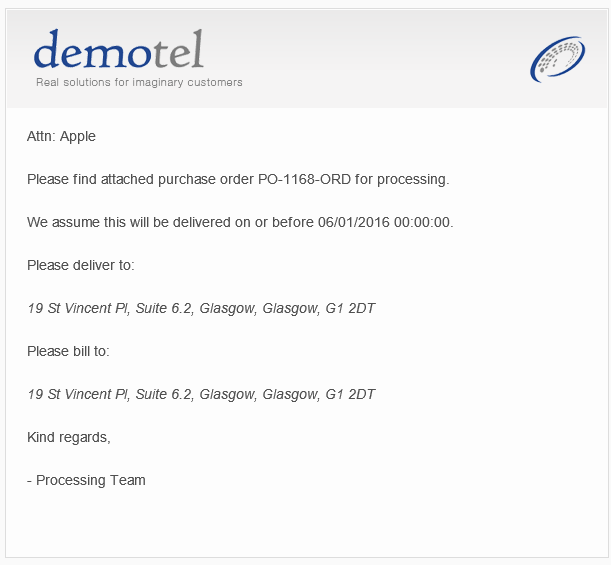
Attached to the email will be a PDF of your purchase order.

Now that you have completed the purchase order and sent this to your supplier you are also able to complete the following actions by using the buttons on the left of your screen please see image below.
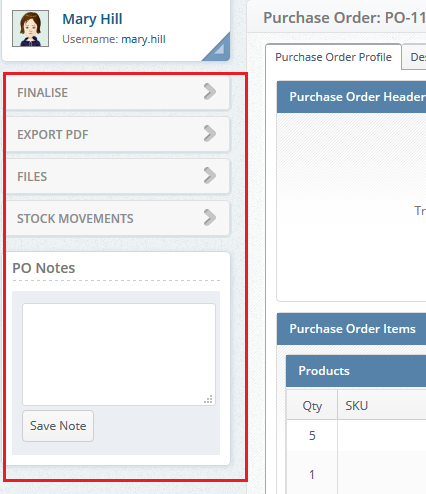
Finalise - This will place the purchase order on order, please only select this once the order has been placed with the supplier.
Export pdf - If you wish to retain a copy of the purchase order you are able to export a pdf version and then either save or print this.
Files - Here you are able to attached any supporting documents - email confirmation etc.
Stock movements - This is a shortcut to book stock in.
PO Notes - You are able to leave any notes here.
You have now completed your purchase order which will be detailed in your workstacks in the stock module.
Once the order has been received please change the status of the PO to delivered.