
Within the Layer it is possible to create email templates that when selected will auto populate an email based on the type of information you wish to send to your customers.
The benefits of creating email templates include:
- Staff can quickly generate an email to send to a contact quickly and efficiently
- Ensure all correspondence sent to your contacts is uniform and represents your company in an appropriate and professional manner
- This all helps ensure your company branding is uniform across all correspondence which in turn promotes and strengthens your brand identity with the email recipient/contact.
- Reduce the possibility of user error such as typo's and misinformation
- Ensure that important information is included in an email
Email templates can be created for the following types of correspondence:
- General Templates
- Sales Order Templates
- Lead Templates
- Customer Templates
- Case Templates
- Quotation Templates
- Appointment Templates
In this article we will demonstrate how to create, edit and delete templates as well as the options available within each template type.
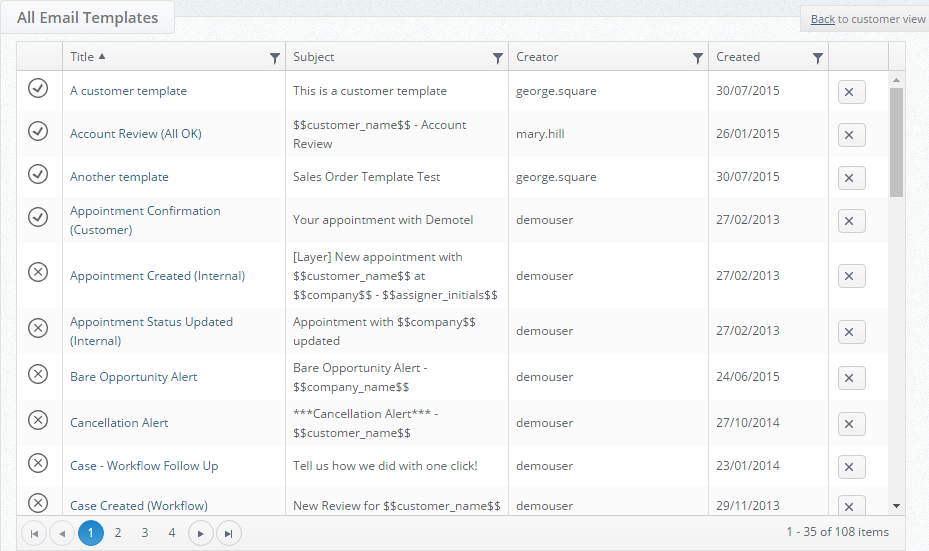
How to access email templates
To access email templates follow these simple steps:
1. Log into the Layer
2. Select  from the top right-hand side
3. Under Mail & SMS Resources, select Mail Templates
4. You will now be directed towards the All Email Templates page within the Layer.
Email parameters?
Before we can create an email template we must first understand email parameters, when creating an email template depending on what email template you are trying to create the Layer will present you with a list of parameters that can be applied to the email template type.
A parameter is simply a special kind of variable that will refer to a piece of data within the Layer, e.g. parameter $$case_owner$$ we can determine that the when this parameter is used within a Case email template the Layer will refer to the case owner where this parameter has been used.
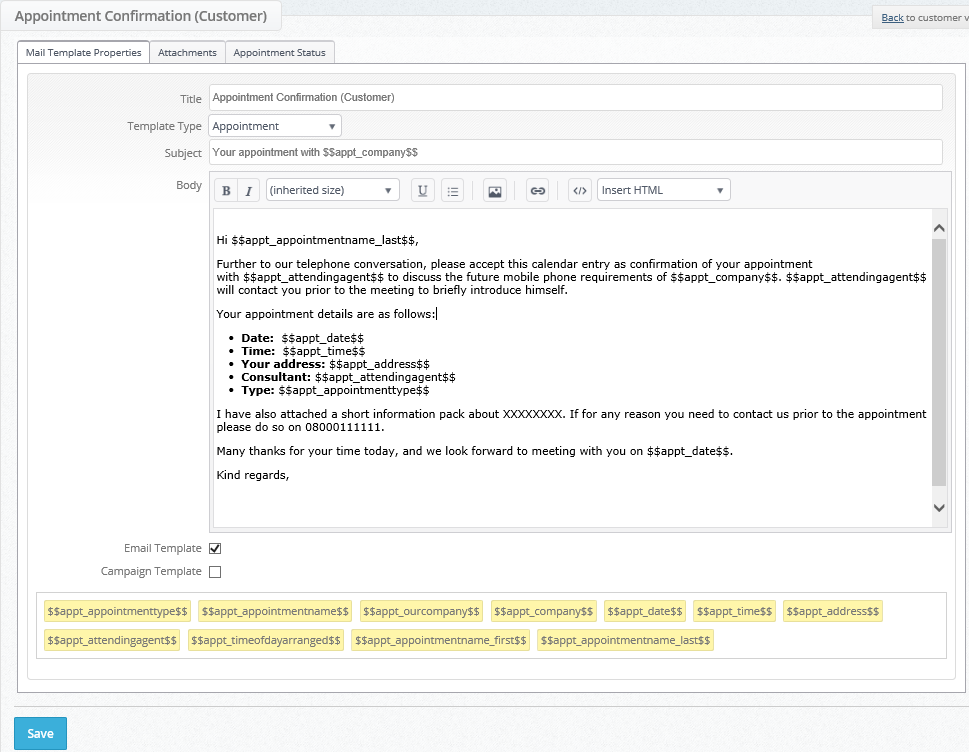
The different parameters applicable to each Template Type will be displayed along the bottom of your screen once you have selected a parameter type, in the image below you will see applicable parameters for Quote email template:

How to create an email template
To create an email template follow these simply steps:
1. From the All Email Templates page select NEW EMAIL TEMPLATE from the left hand-side
3. We now need to determine the following steps:
- Title: The title of your email template
- Template Type:
- General Template: This can be used to create any general email template for your contacts
- Appointment: This template can be used for any appointment related email templates
- Case: This template can be used for any case related email templates
- Customer: This template can be used for any customer related emails
- Lead: This can be used to create any email templates that need to be sent to lead contacts
- Quotation: This can be used to create email templates when sending any quotations to your contacts
- Sales Order: This can be used to create emails against any Sales Order
- Subject: This will be the subject line of your email that is sent to your contact
- Body: This will be where the body of the email is created any applicable parameters are added
- Email Template: Ticking this option will ensure that this is available from the drop down list within an email
- Campaign Template: This will allow users who create email campaigns to use these templates
- Parameters: In yellow you will note that there are different parameters, once you have selected a Template Type any parameters that can be used within the subject or body of your email template will be displayed here.
In our example we will create an Appointment Confirmation email that can be sent to our customers using the Appointment Template type using appointment parameters:
4. Once you have created your email template press  .
.
You have now created your email template, users will note that an attachment's and appointment status tab have generated once we have pressed saved and we will now discuss these options within the Layer.
Attaching files to email templates
As noted above it is possible to add attachments to your email templates and we will now demonstrate how to do this.
N.B. Before you can add a file as an attachment to your email template the file must first be uploaded to the Layer, to learn how to do this please click here.
1. From your email template open the Attachments tab
2. From here simply press the  button and select the appropriate attachment from the drop down list:
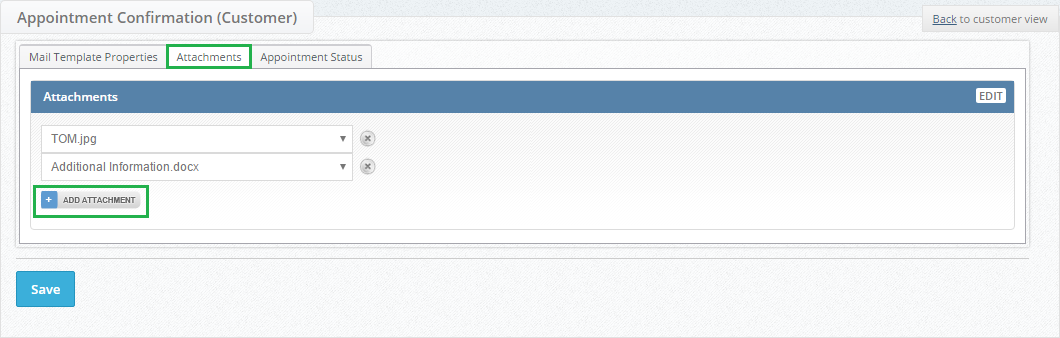
3. Once you have selected from the drop down list press .
Testing your Email Template
Once you have built your email template you can then test it in the Layer to ensure you are happy with the outcome, to do this follow these simple steps:
N.B. We recommend you test this from your training customer record:
1. Open your training customer record
2. Trigger the scenario that the template would apply to, the email template we created above was an appointment based template so we will need to create an appointment to trigger that scenario:
- Enter your email address so that you can send yourself a test email
- Select the appropriate email template from the drop down list
- Check your attachments have been added if appropriate
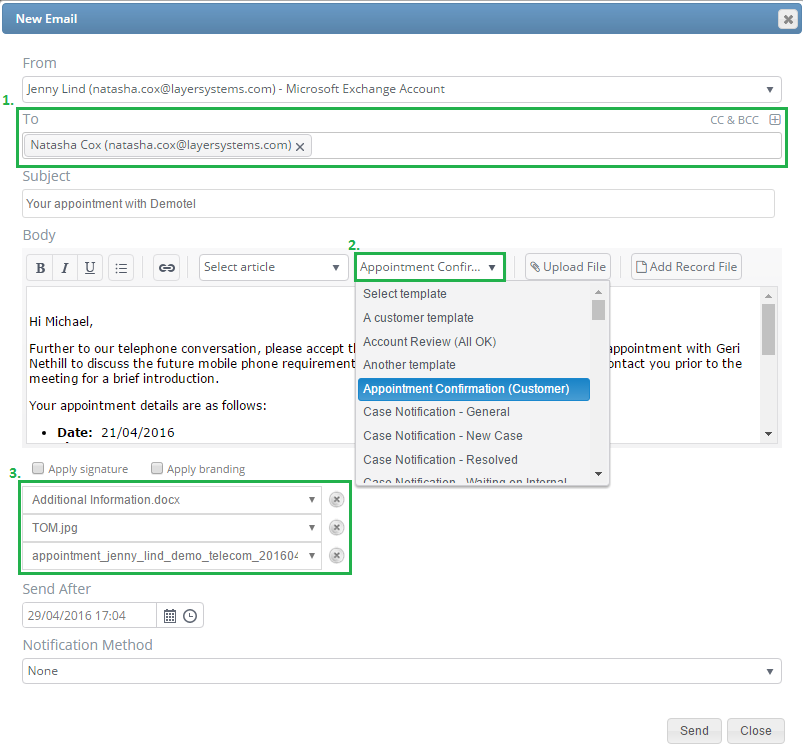
3. Once you are happy press 
4. Check you inbox for your email to ensure you are happy with the output:

How to edit an email template
To edit a template simply follow these steps:
1. Follow the steps listed above in how to access email templates
2. Search through your existing email templates until you find the appropriate email template
3. Click on the Template Title
4. You will now be in the email template page
5. Make any edits, press save and repeat the steps listed above under Testing your email template
Editing Tools
When creating the body of your email you will note that there are different tools to help you create your email template and these are as follows:

 : These tools will allow you to mark text in Bold and Italic
  : Using this tool will allow you to determine the font size of your text.
  : This will allow you to underline any text within the body of your email.
  : This will allow you to bullet point any points you wish to make
  : This will allow you to insert images into the body of your email
  : This will allow you to insert any hyperlinks that you wish to create to direct readers to any other web pages, to learn how to create a hyperlink click here.
  : This will allow you to view the HTML code within the body of your email and amend as appropriate
 : This will provide you with a list of parameters that are applicable to your Template Type and will allow you to insert the parameter HTML code direct to ensure you do not make any typo's etc.