
In the Layer output templates are required, these output templates allow you to create and send the following:
- Quotation / Proposal Template e.g. Fixed Line, Mobile, Hosted, One Net etc.
- Purchase Orders
- Direct Debit Forms
- 3rd Party Authorisation Forms
- GNP Letter of Authority
- Invoice templates
- Credit Notes
These output templates will be used to collate information and present it to your customers, suppliers and networks in a clear and consistent manner, ensuring any required legal information is presented to all parties.
The difference between Pages and Output Templates
Prior to creating any output templates you must first understand the difference between Pages and Output Templates:
- Page: Pages are simply the pages that are combined to create your output template.
- Output Template: A combination of pages that are used to created your desired output template
For example you may with to create multiple quotation output templates to cater to the different quotation scenarios, typical pages include:
- Cover Page: This page would have all of your company logo's and details
- Additional Benefits & Company Info: A page detailing the benefits of being a customer with your company, a chance to promote your company
- Quotation Overview: All of your quoted products and services would be listed here
- Product & Service Highlights: Within you price book it is possible to add highlights to a particular service or products that appear on your quotation when a page has been created with the correct parameters.
- Supplier Rates: If you have quoted for services with networks you may wish to create a page that highlights information about the Network and their rates and benefits etc.
- Sign Page: This is the page that is actually signed by your customer
Using this, different output templates can then be designed that are specifically for your different products/services and also customers e.g. consumer and corporate, fixed and mobile etc.
In order to then create your output template you must first decide on the following:
- The type of output template you wish to create e.g. Quotation, Sales Order Document, Invoice, Purchase Order or Credit Note
- The pages that will combined to create your output template e.g. Cover Page, Sales order info, Invoice, Direct Debit, 3rd Party etc.
Accessing Pages & Output Templates
1. Select  from the top right-hand side
2. Under Quotations on the left-hand side select Output Templates
3. You will directed towards the All Output Templates Page:

Creating a new page
To create a new page, go into the Output Templates in Settings Zone and click on ![]() on the left hand side.
on the left hand side.
This will re-direct you into the page edit window. Here you can edit the content of your page.
First of all, it is important to note that all our output templates are produced in HTML and stylised in CSS. In our page edit window you are now able to edit the HTML source of the pages. You can do this in two ways:
1. HTML page editor
This is a simplified editor which will help you to create and edit basic elements in HTML document without accessing a code. It looks like this:
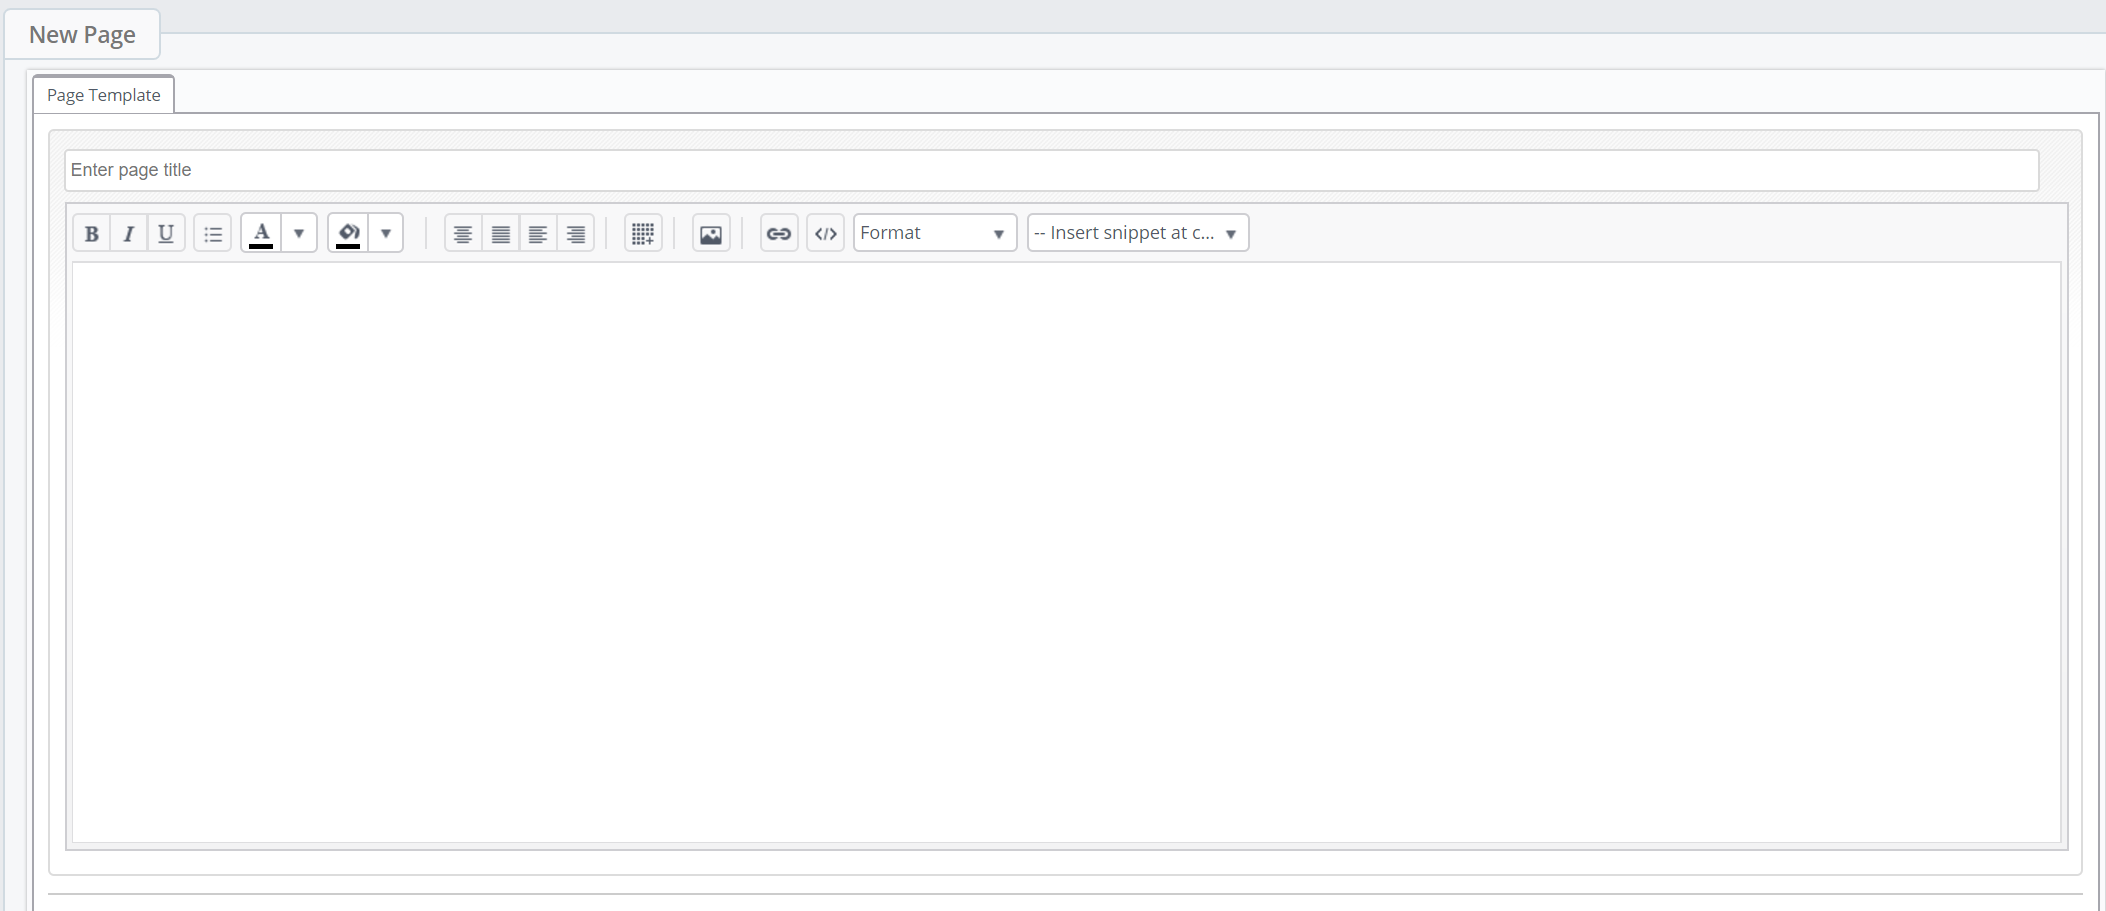
Please insert a page title into the field designated for it.
You may also use tools from the toolbar in the header of the editor. However, some of the tools may not be enabled, unless you save your page for the first time.
Understanding the editing tool options
Within both pages and output templates users will note that there are editing tools, if you are unfamiliar with any of these options please click here for further information.
2.HTML source editor
If you are more familiar with HTML, you may actually access the HTML source code of the page you are creating. You can do this through the icon on toolbar, which looks like this: 
And this is the HTML source code editor, that will be opened after you click on the icon:
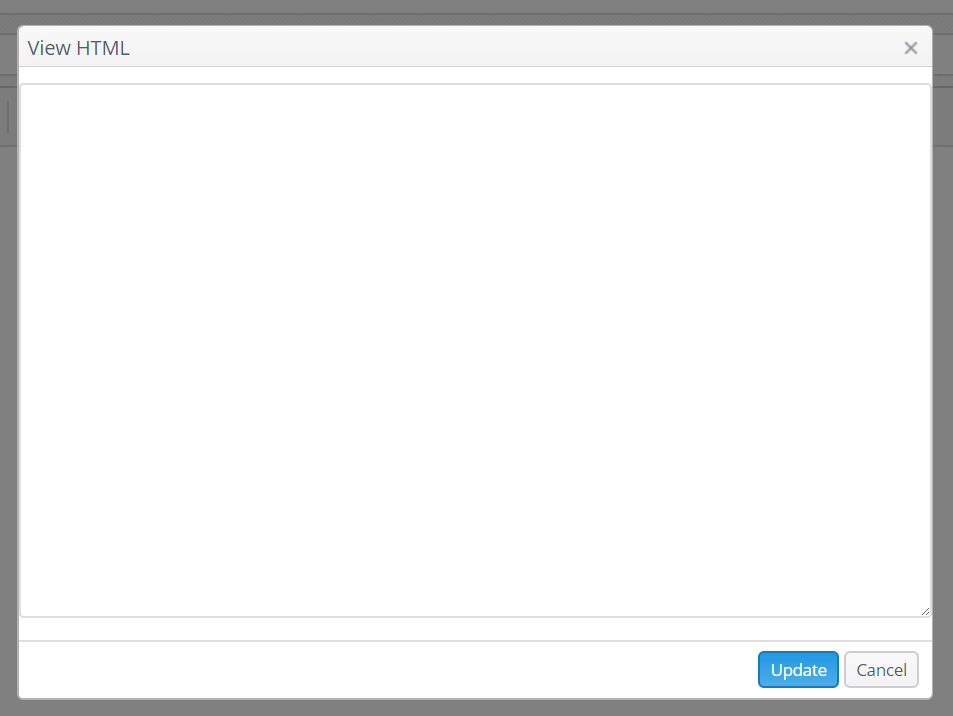
Here you are able to create your HTML document from scratch, or if you want to do some inline styling changes, you can do it through this window. When you are satisfied with provided changes, please click on Update button to make changes visible in the document.
Please note, that the final look of the page may differ from what you are seeing in the page editor. This is caused by CSS style you may attach to the template (see few sections below), which will override the styling of the page.
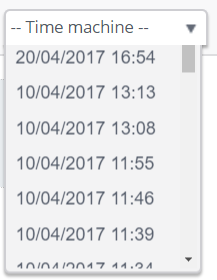
If you are editing a page that was previously created, we advise you to backup the source code of the page, in case you might want to come back to previous version. You may either do this by simply saving it in a notepad document, or you may use our Time machine tool present in page editor, that keeps all the previous versions of the page in memory.
It looks like this:
If you are satisfied with your page, you may simply save it by clicking on Create Template button, if you are saving it for the first time, or Save button, if you are editing a page created earlier.
Creating a new Output Template
To create a new output template follow these simple steps:
1. press the  button on the left hand side
2. You will now be directed towards the Create Output Template page and we need to populate the following information:
- Output Template Settings:
- Name: The name of your template
- Header & Footer: Select your header and footer pages from the drop down lists if applicable
- Custom CSS Styles:
- Select the appropriate style from the drop down menu
- Simply put this is your cascading style sheets style and is the style sheet language that is used for describing to the Layer how the output template will be presented once it has been written in a mark up language. If you are unfamiliar with CSS styles please contact us on 03333 222 000 or your system administrator.
- Select the appropriate style from the drop down menu
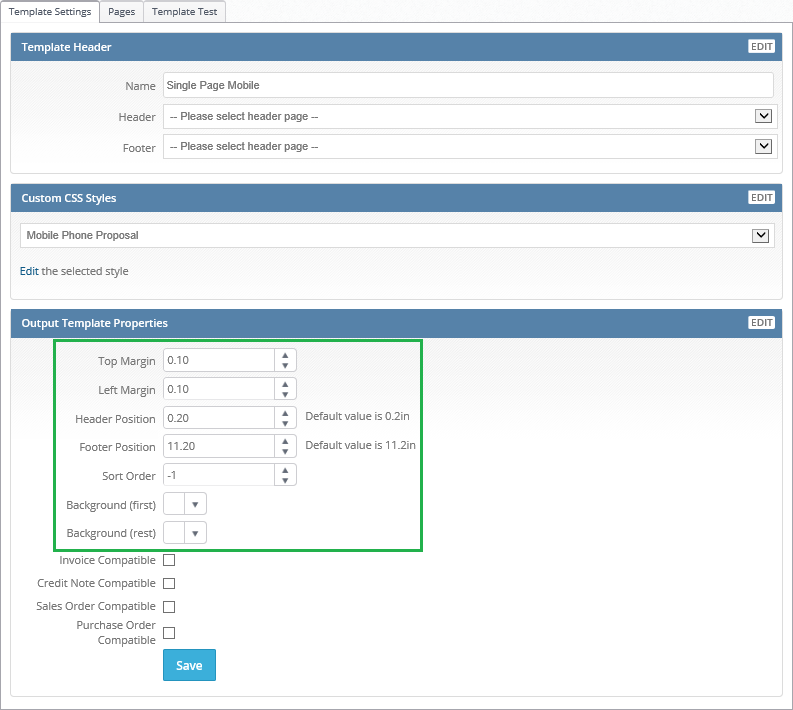
- Output Template Settings:
- Top Margin: Enter the size of your top margin
- Left Margin: Enter the side of your left margin
- Header Position: Enter the position of your Header
- Footer Position: Enter the position of your Footer
- Sort Order: When selecting an output template to generate a document in the Layer this is the order it will appear in the drop down list
- Background (first): This is the background colour of your first page within your output template
- Background (rest): This is the background colour of the rest
- Invoice Compatible: Ticking this will mark your output template as suitable for Invoice templates.
- Credit Note Compatible: Ticking this will mark your output template as suitable for Credit note templates.
- Sales Order Compatible: Ticking this will mark your output template as suitable for Sales Order templates.
- Purchase Order Compatible: Ticking this will mark your output template as suitable for Purchase Order templates.
N.B. All output templates are Quotation compatible by default and our reccommended settings are higlighted in green below. If a template is not for a quotation e.g. an Invoice you must select Invoice Compatible.
3. Once you have selected the appropriate options press 
Once you have created your Output Template and pressed save users will note that two new tabs appear titled Pages and Template Test we will now discuss each of these.
Applying Pages to your Output Template
Once an output template has been saved you need to apply the appropriate pages that will be combined to create the basis of your output template and this is done via the Pages tab.
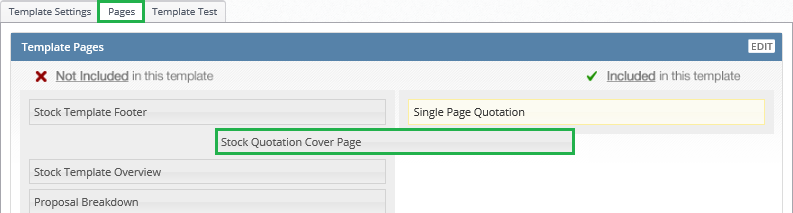
1. Open the Pages tab, From here you will be presented with two lists:
- Not Included in this template: This list will be populated with a list of all pages that have been designed within your instance of the Layer
- Included in this template: This list will show the combination of pages that have been added to your output template to create your output template
2. To include a page into your output template simply drag and drop the appropriate page from the not included list to the included list.
3. Once a page has been applied to your output template page it will be highlighted in yellow under the Included list.
4. To remove a page simply drag it back from the included to the not included.
Testing your Quotation Output Template
Once you have created the template, it is now time to test it. If you have created a quotation output template, the simple way to test it is to do it through the Template Test tab in the Output Template editor, that looks like this: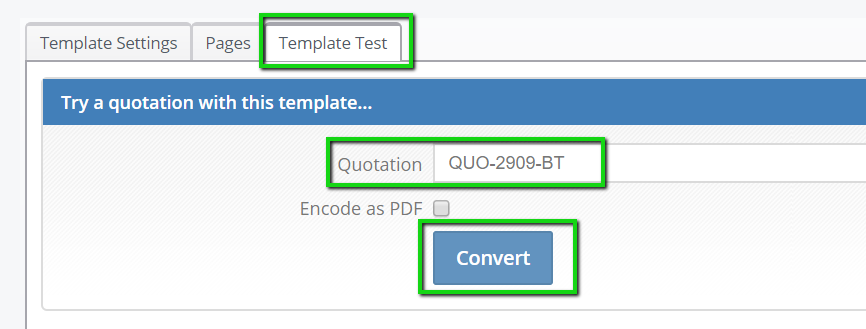
When you're there, choose a quotation from drop down menu, you want to test the template on. If you want the template to be produced as pdf file, just tick the box next to Encode as PDF.
The last step is to click on Convert button. Your template will now be produced.
Testing different Output Template types
The Template Test tab will not work the same way for every kind of template. Since you are testing it on quotation, it is only relevant to the Quotation Template type. If you want to test different types of template, you will have to go into the certain section of the Layer where the template is actually used.
Invoice template
If you have chosen your template to be Invoice compatible, you will first have to set it as a default invoice template in the Quotation and Sales tab in Company settings, or Sub-company settings, if applicable.
Now you have to go into one of your sales orders and actually produce the invoice, to test the template.
Purchase order template
To test a PO template, you will have to ensure that you have chosen a template to be Purchase Order Compatible in Output Template Properties. You may only use one PO template for your company, or sub-company. Now you need to produce a new Purchase Order. ( Click here to see the video that demonstrates the process of creating a new PO.) When you then open your Purchase Order, you will find a button that says: ![]() .
.
Click on this one to produce your Purchase Order and see the resulting look of your template.
Credit Note template
If you have created a Credit Note template and you have chosen it to be Credit Note Compatible, you have to do few more steps to be able to test it. First of all, ensure, that your template is set as a default invoice template in the Quotation and Sales tab in Company settings, or Sub-company settings, if applicable. Now you have to create a new credit note, to see the manual of how to do that click here. After you have created a new credit note, you will be then asked, if you want to download the credit note. Click yes to produce a credit note pdf file.
Sales Order template
When you apply the Sales Order Compatible property to your template, you are now able to access it through Documents tab in a Sales Order window. See image below: 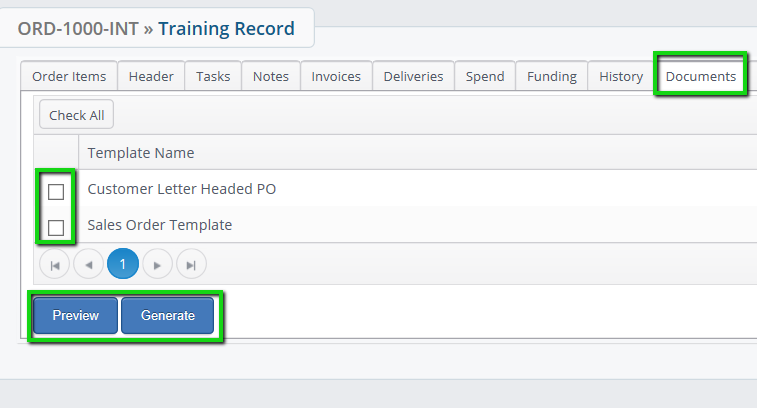
Click the tick box beside the template, you want to test, and then click Preview, if you want to see the document in a new window, or click Generate, if you want to see it as a pdf file.