Due to staff changes there will be times when you need to deactivate a user from your instance of The Layer, this short will guide will explain the steps needed to deactivate a user.
N.B. you must have access to Settings and User accounts in order to deactivate a user.
Ensure the User Can No Longer Login
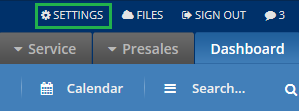
The first step of this process is to change the contact details of the user to ensure that the old user can no longer log in to The Layer.To do this go to the Settings button on the top right hand side of the Layer.

When in Settings go to User Accounts which is in the Essentials section.

From there select the name of the user you are deactivating. On the next page you will see this users personal details. To make sure that they can no longer login you must change the primary phone, email, mobile and desk phone categories. You should change them to a trusted persons details. When you have changed these details press Save.

Reassign the Old User's Work
Now you have secured the account you must reallocate all of the user's work to ensure you do not lose any business or data. The easiest way to do this is to masquerade as the user and bulk reassign their work.
To masquerade, simply click the masquerade button at the top of the page, this will take you directly to the users Dashboard. From there work though their leads, customers, opportunities, tasks and sales orders reassigning them in bulk to the appropriate users.
A useful knowledgebase article on reassigning work can be found below:
Deactivating the User
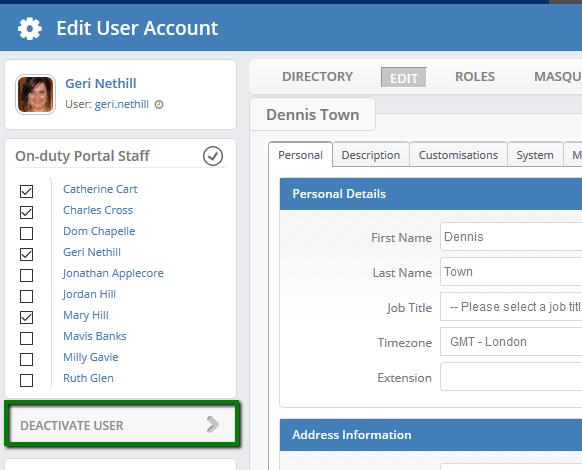
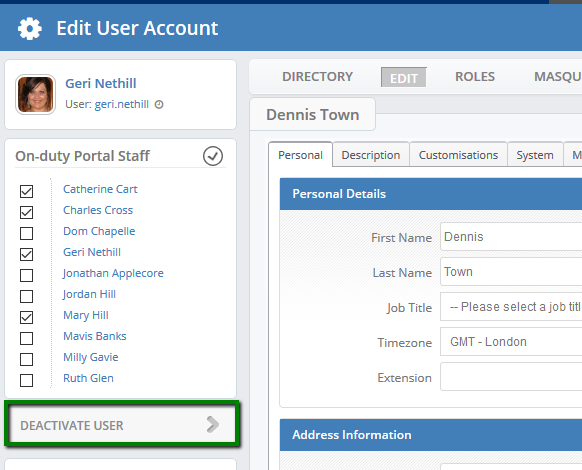
You are now able to to deactivate your user. Go into the settings area again then in to User Accounts and into the user you would like to deactivate. Click the deactivate button on the left.

N.B. All roles will be lost at this time so you will not be able to simply reactivate the user.
When you click this the following message will appear. Notifying you that the user (or yourself through masquerade) will no longer to be able to log in.

The last step of the deactivation is to clear the Communication tab Do this by changing both default agents to the "--Default Mail Agent--" setting and unticking any checked boxes then press save.

You have now successfully deactivated your user.
