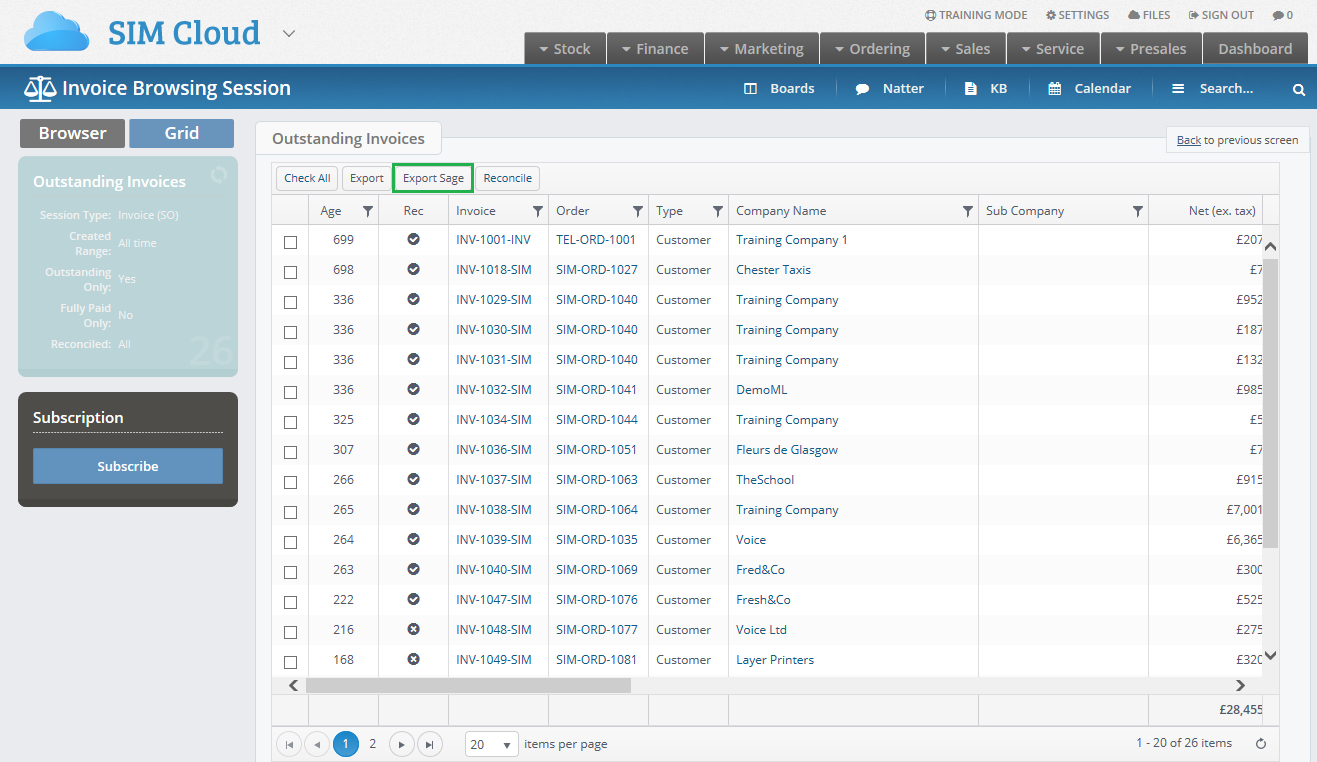
To import invoices to Sage first go to the desired invoice stack in The Layer. Then click Export Sage.
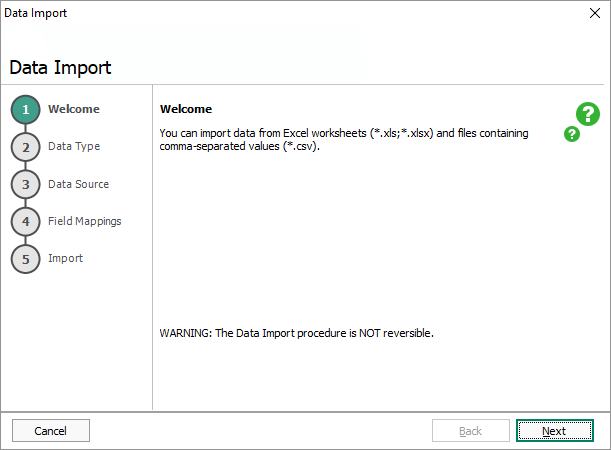
Save a copy of the spreadsheet to your chosen location and provide an easy to identify name. Then open Sage 50 and select File then Import.

In the pop up welcome window click next.
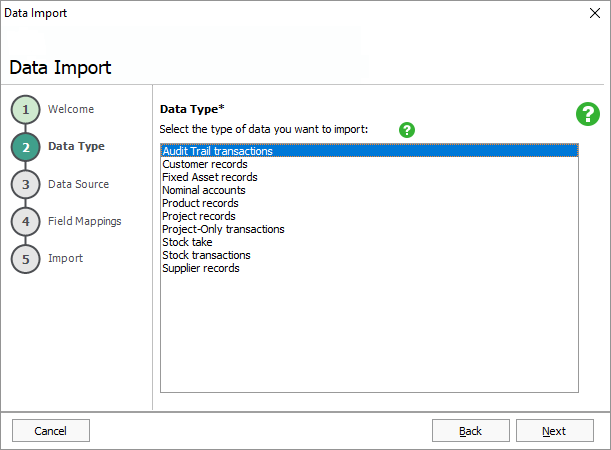
In the next screen chose Audit Trail Transactions and then press next.
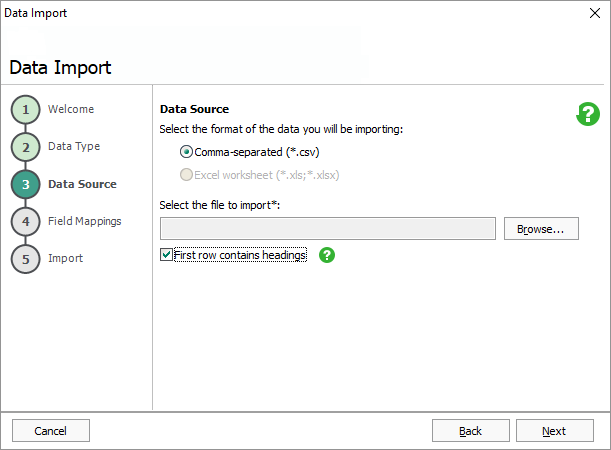
Click on browse in the next screen. Then chose your import file that we saved earlier, press open and then next.
N.B. Please make sure that the "First row contains headings" box is ticked, otherwise the row headers will be uploaded as an invoice.
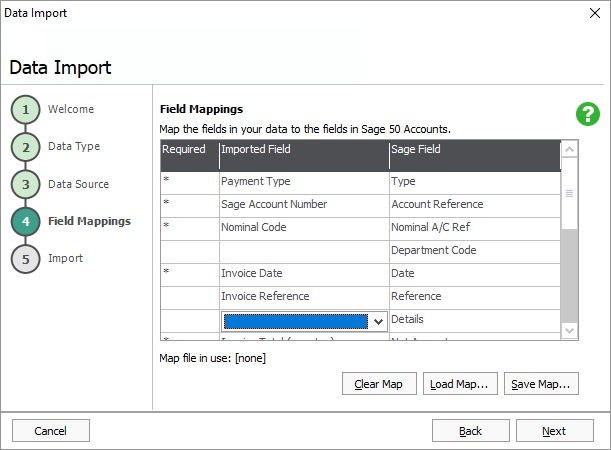
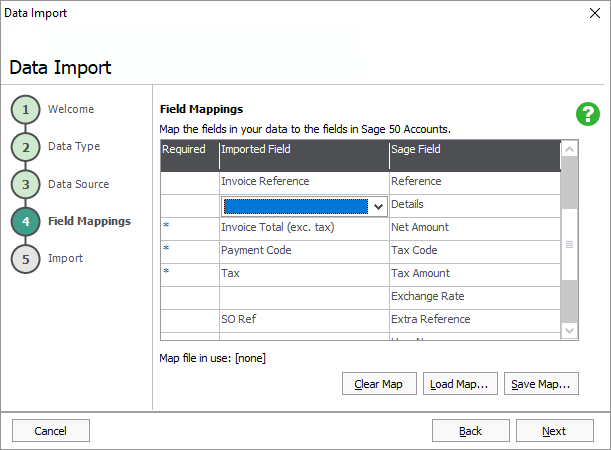
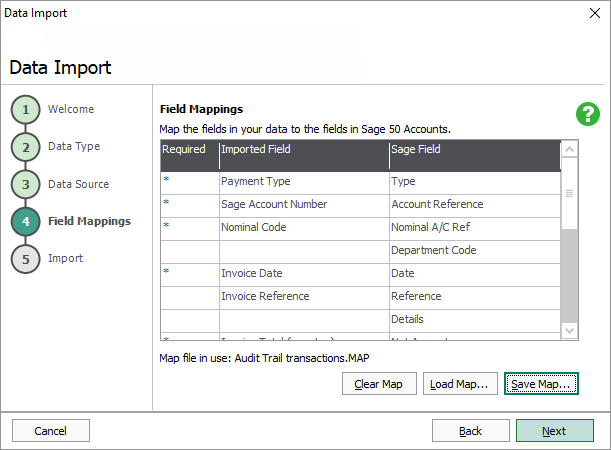
Now we must map the column headings from the Layer export to Sage's categories as shown below.
N.B. You must ensure that the excel import file is closed before attempting to map it.
The first time you import your file, it is important to save the mappings. Click ‘Save Map’ and name the mapping file as Invoices The Layer.
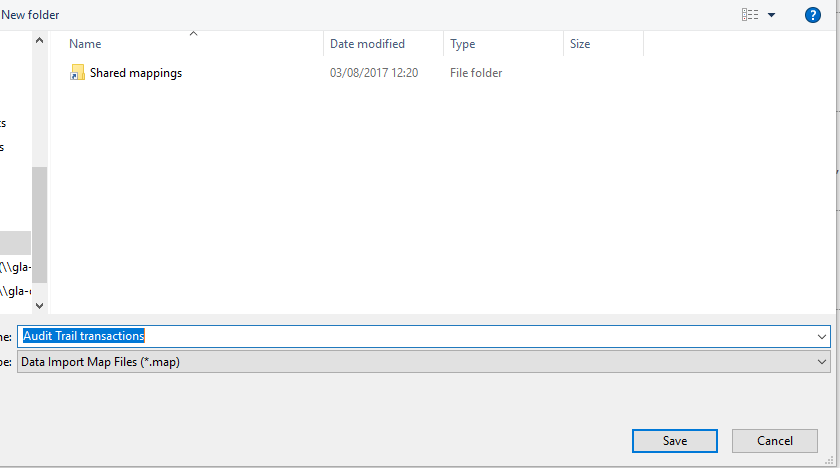
When the mapping has been saved press next.
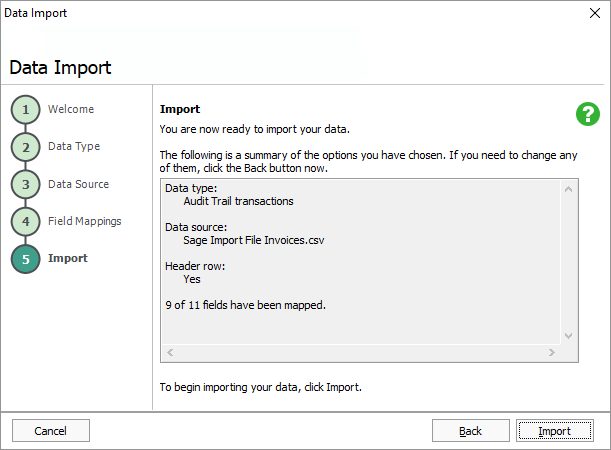
In the next screen press Import.
If there are any issues with your data, you’ll see an error prompt which highlights the cell that has the issue (don’t forget to exclude the header column in the count). You can then edit the changes and save the file before trying again. If all has gone well you’ll see an import results file, which can be printed if required.
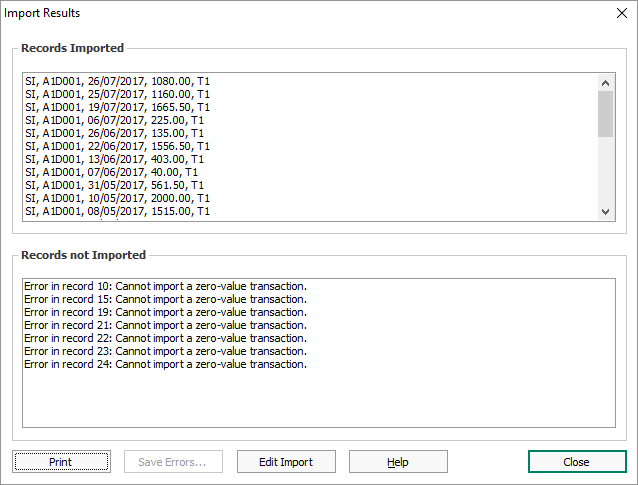
N.B. Sage doesn’t support importing of zero balance transactions, either discard these prior to importing or they will simply not be imported. Also, Sage will allow you to duplicate import data so please be vigiliant when importing your data. If you have any issues with duplication of import, please contact Sage support for assistance.
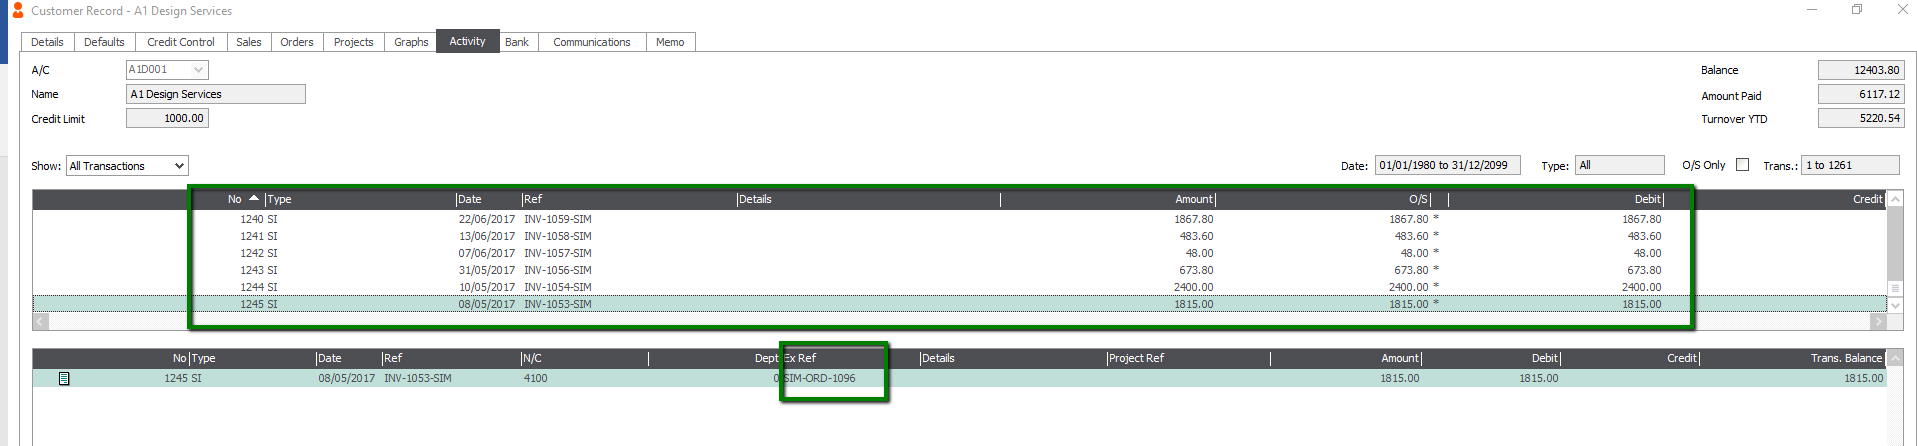
Finally check a customer record to verify the transaction.