We have improved the way you can log cost and time against a case in The Layer.
This may come handy if you work with cases on a daily basis, and you would like to store a record of expenses and time spent on specific tasks of the case.
How to log cost against a case
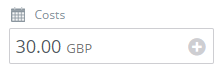
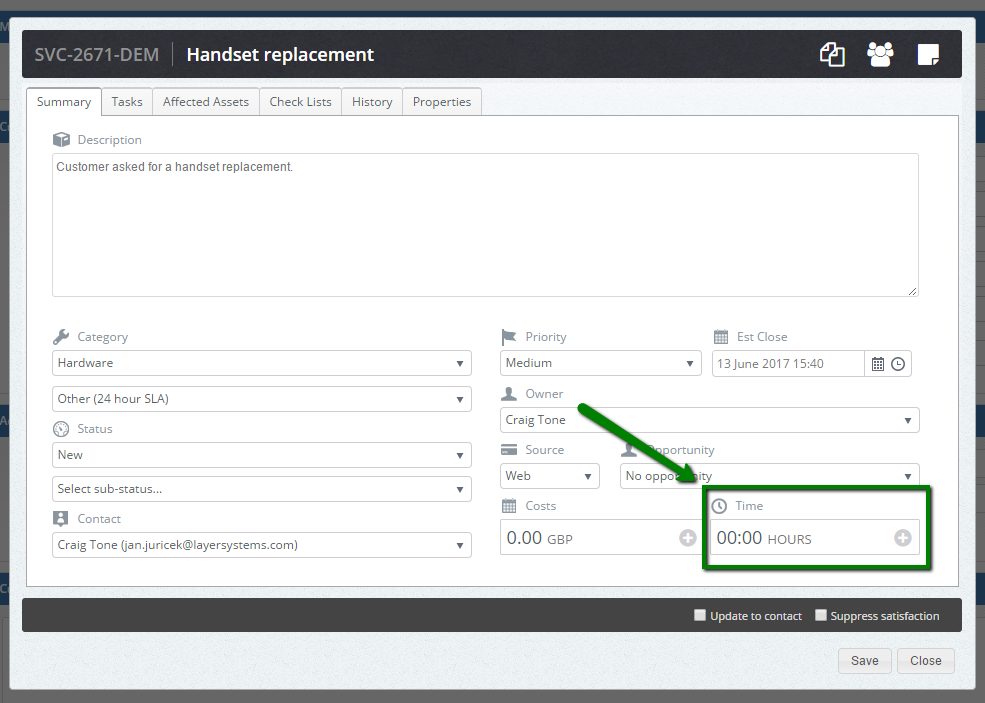
For our example we have created a simple case for a handset replacement. See image below to see where the information about the costs is visible in the case record. 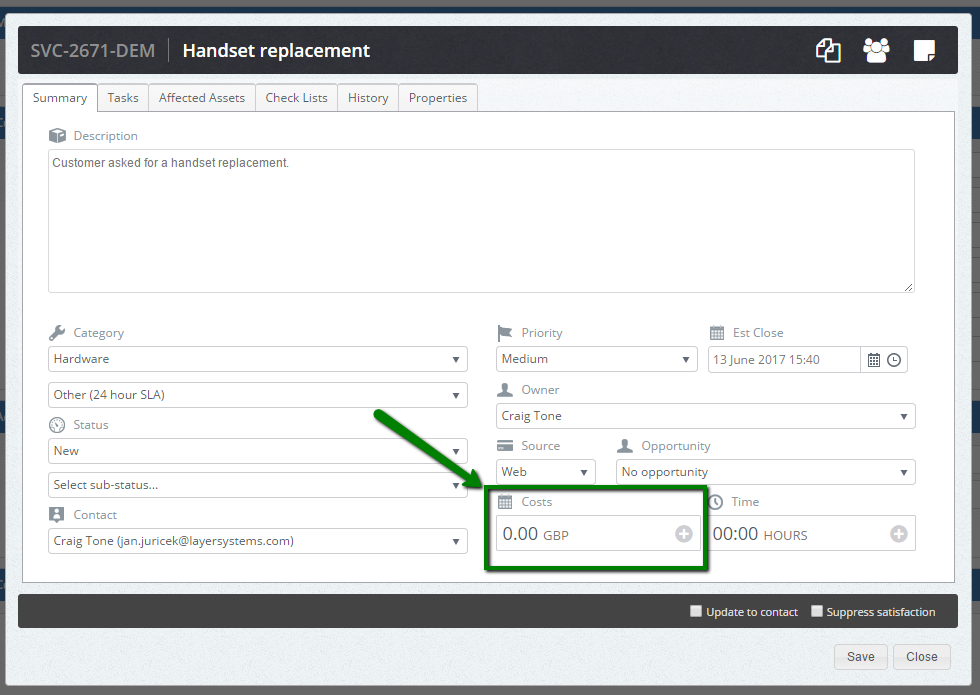
To open a new cost screen, just click on the plus icon beside the costs field, as per following animation.
In the animation below you can see, how to add a new cost item to a case.
Total sum of costs will then be updated, as seen below.
If you want to log some more cost entries against a case, follow the same process. The total costs will then be the sum of all cost records altogether.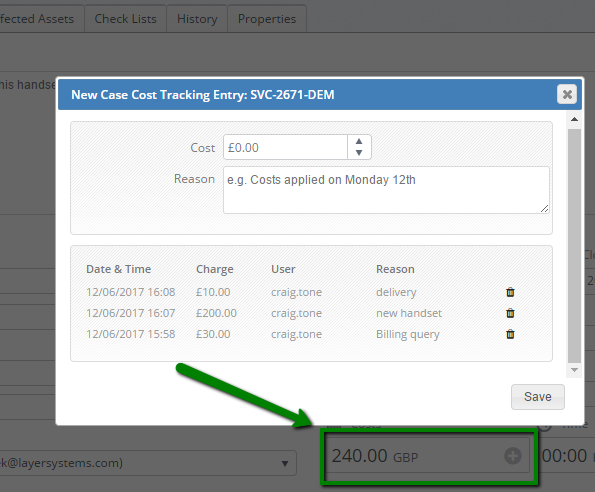
In case you want to erase a cost item, just click the bin icon, as per the animation below. The record will be completely removed once you close the cost tracking screen.
If you decide to grant customer a discount as a good will, just add a negative value transaction. See the animation below.
As seen in the following image, the total sum of costs will then be updated, as well. 
How to log time against a case
See the image below to see where the time spent on the case is visible in the case record.
The process of adding a new time entry is similar to the cost, just click the plus icon and then follow the same process as with the cost.
The process of deleting a record is exactly the same, as with the costs. Just click the ![]() icon next to the selected record.
icon next to the selected record.
Visibility of time and cost in customer view
You are able to see the cost and time values in customer view, as well. When in customer record, click the Cases tab and have a look at the Costs and Time columns.
At the bottom of the grid you will also find the Total Costs and Time of all the case entries raised against the customer. See image below. 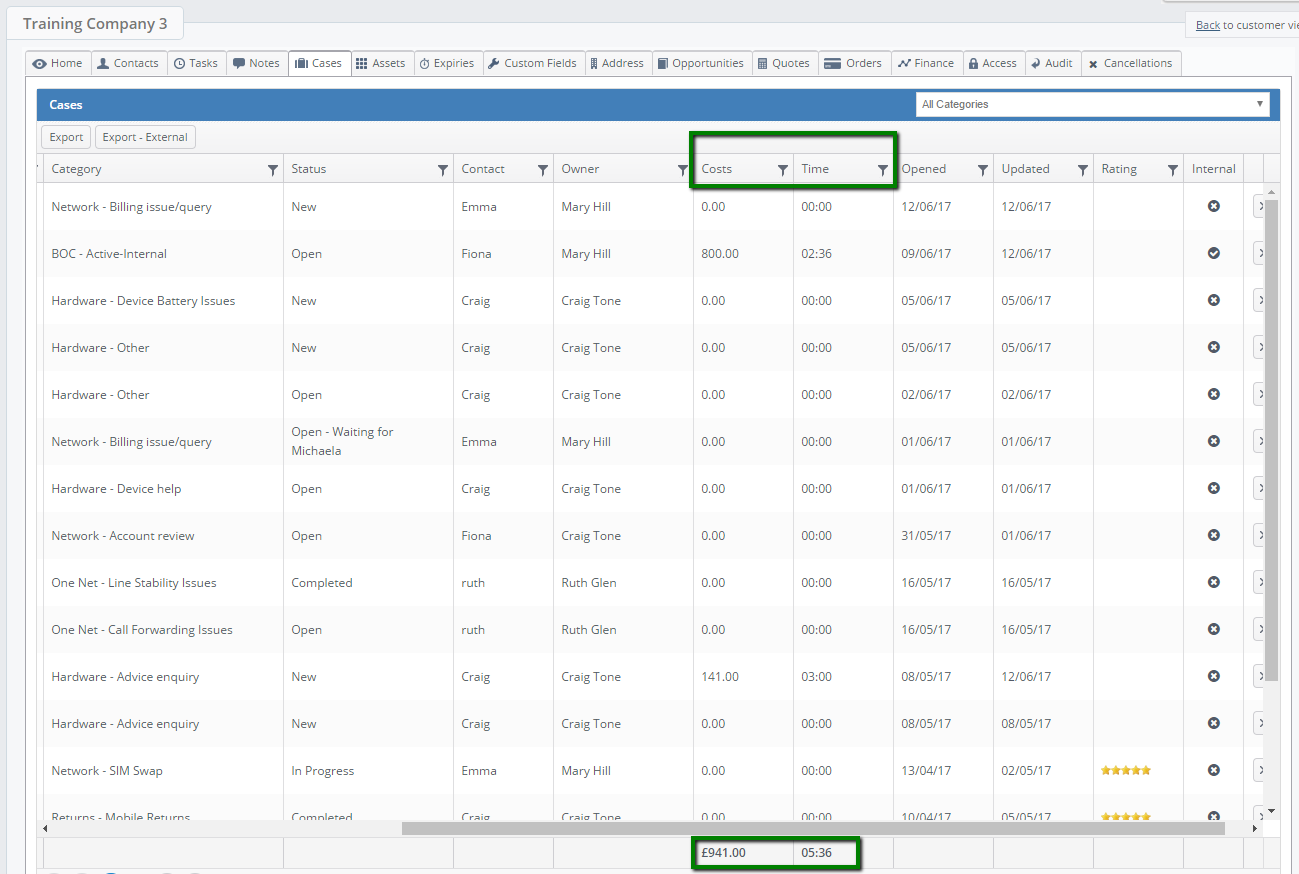
Cost & Time in Case Workstacks
You can also create your Case workstacks based on cost and time entries in your cases. You may set the minimum and maximum values for both time and costs and in that way you will get a snapshot of the cases that fit in your specific range.
In case you don't want to set any workstack filters based on cost and time, just click into "Any" tickbox beside the field. See below for the example. 
Within the workstack you will then find the Costs and Time columns that contain the information about the relevant entries. Similar to customer view, you will also find the total in both of columns at the bottom of the grid, as seen in the following image. 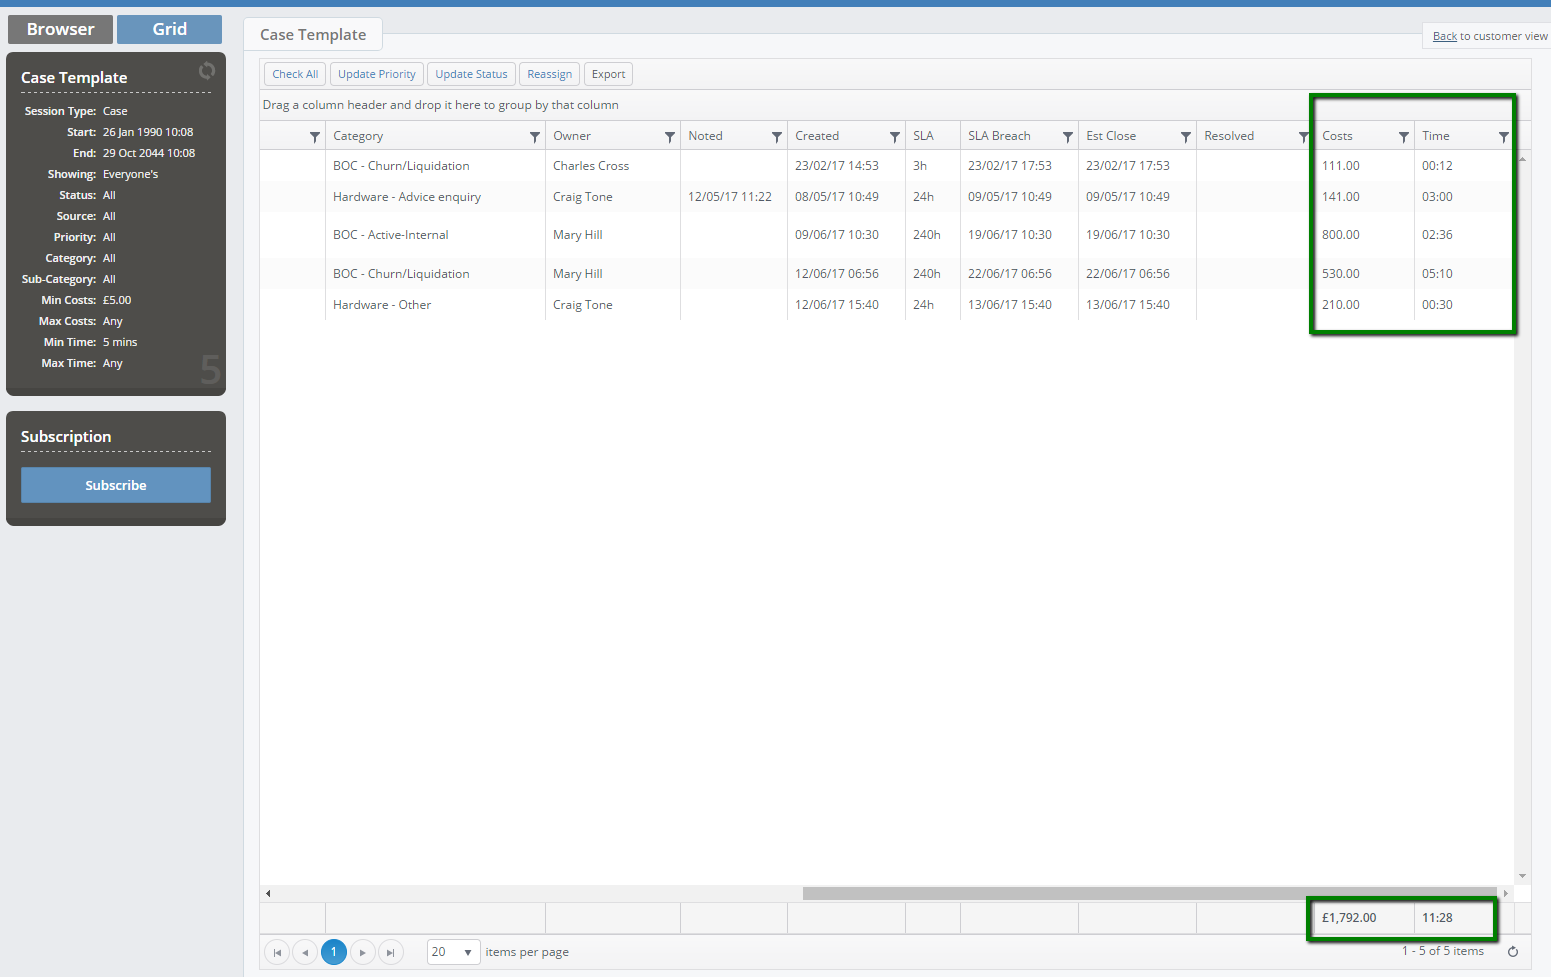
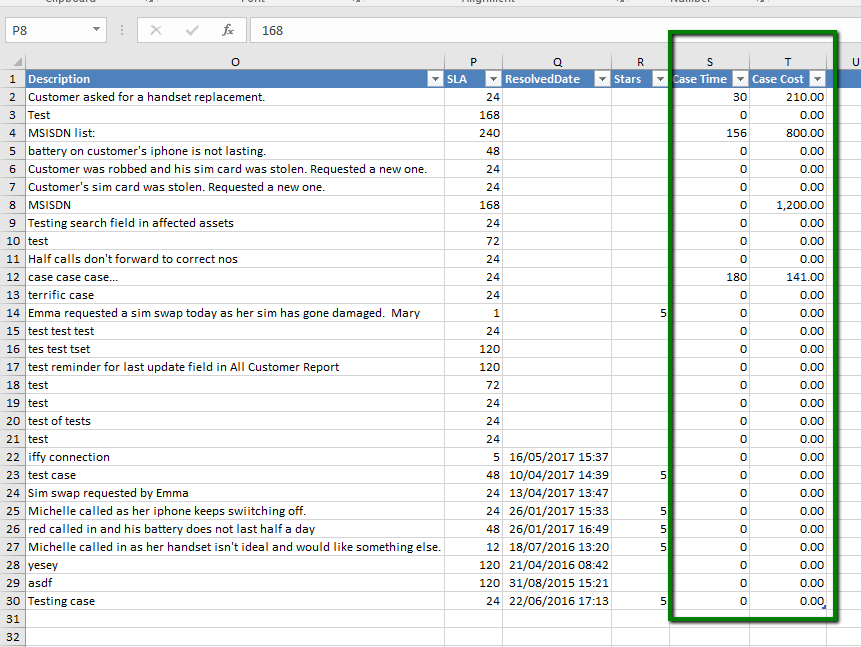
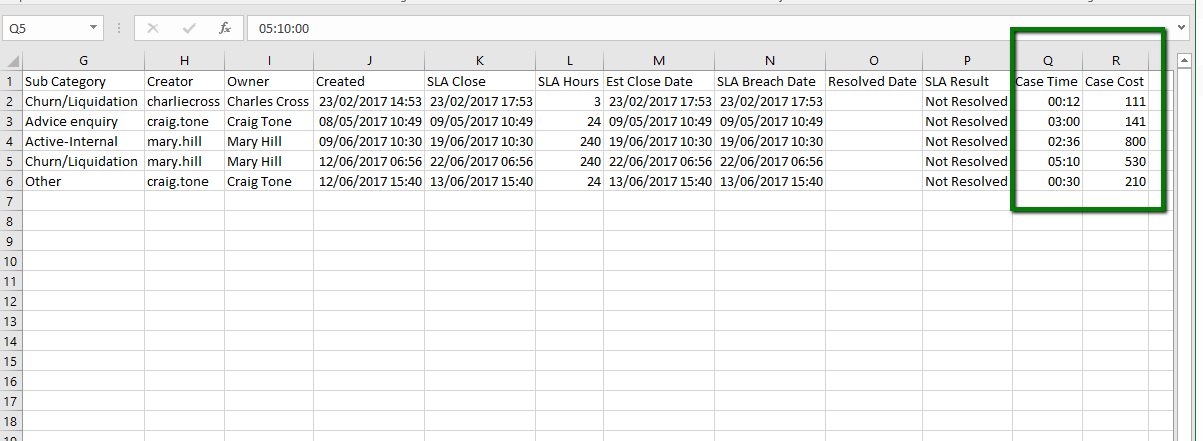
When you click on Export button on the workstack toolbar, an excel document will be downloaded containing all the data from the workstack. As per following image, look for the Case Time and Case Cost columns in the document to find the information about your case and time entries.
Case reports
Another area in The Layer, where you can find the information about Cost and Time entries within your cases, is the Case Reports. The reports that contain the data about Case Time and Case Cost are the All Cases report, All Cases by Customer report, All Cases By Customer - External report, report. Within the reports, just look for the Case Time and Case Cost columns, where you will find the relevant data, as you may see on the image below.