This knowledgebase article details how to download the Outlook Plugin to your users’ local machine.
Prerequisites
Microsoft Windows O/S: Please note we do not support Office for Mac at the current time
Microsoft Outlook 2013, Outlook 2010
Administrator rights on your server or the users machine
Admin privileges in The Layer with access to the Settings Zone
Users must be enabled to use the Outlook Plugin in The Layer via their role permissions accessed in User Accounts
Instructions
Step one
Once signed into the Layer please click on the ‘SETTINGS’ tab.
Ensure that the user has the relevant permissions in The Layer (check and save the Outlook plugin access permission in the User Account option in the Settings Zone)
Return to the Settings home page.
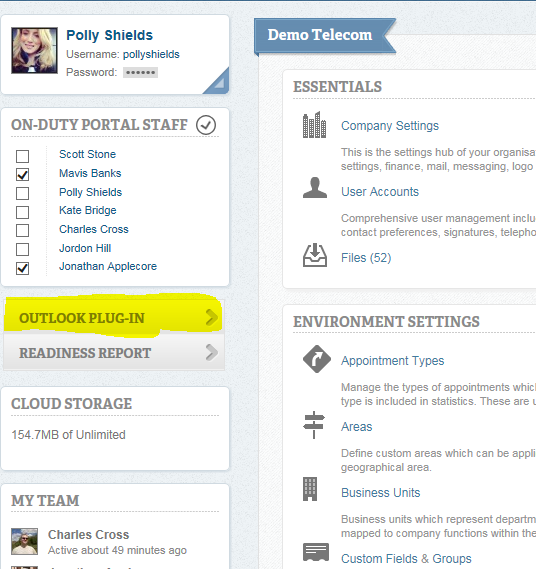
On the left hand side of the screen you will see the ’OUTLOOK PLUG-IN’ button, please click on this.
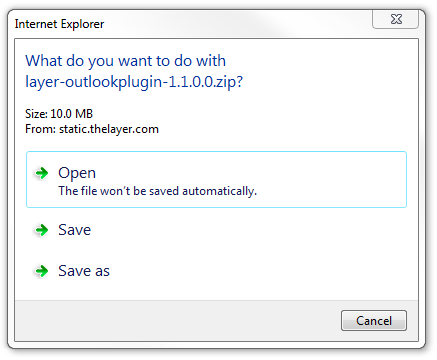
You should see the dialogue box below. Please click ‘SAVE’.
You'll then see the bar at the bottom of your screen confirming the time to download.

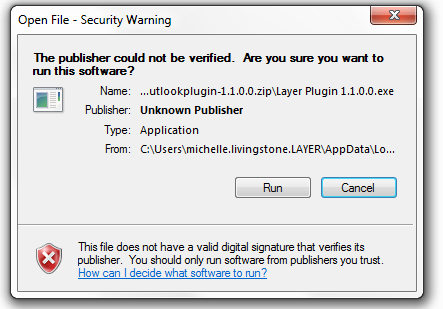
Once the folder has successfully downloaded, you will be prompted to open the file, select ‘Open’.

Double click on the icon above and then select ‘Run’
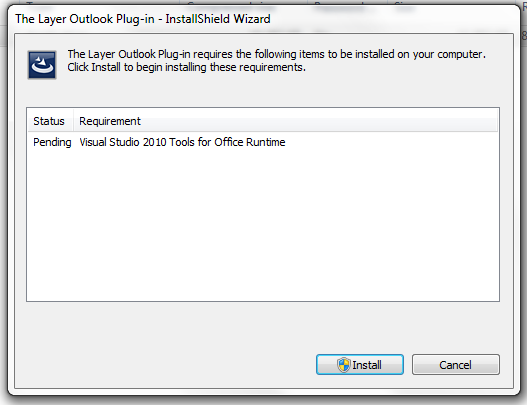
If there are any requirements that aren’t available on the users machine, you’ll see the window below. Simply select ‘Install’ to continue.
You may see a warning message, select ‘accept’ to continue.
Next, you'll be prompted to accept the terms and conditions relating to any additional software being installed.
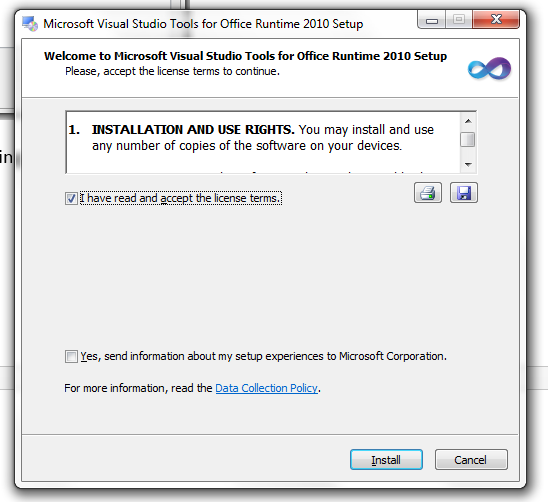
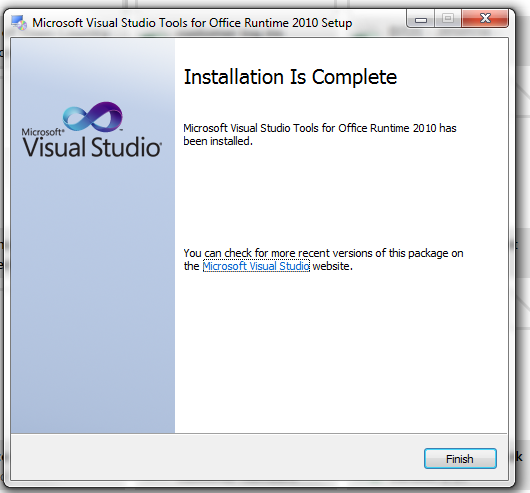
Accept the terms and then select ‘install’. You should then see the window below and select ‘Finish’.
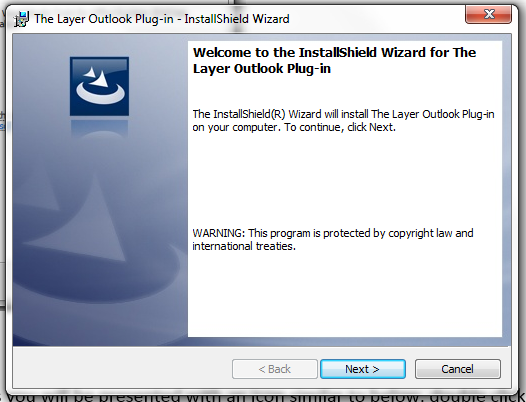
You’ll then see the below window, select ‘next’:
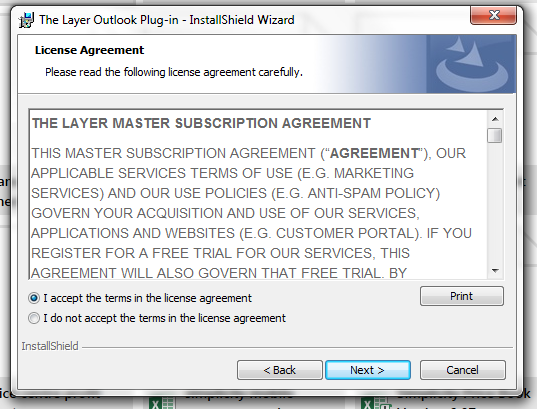
Accept the terms below, select ‘next’ and ‘install’
You’ll then see the screen below, if a warning message appears select ‘run’
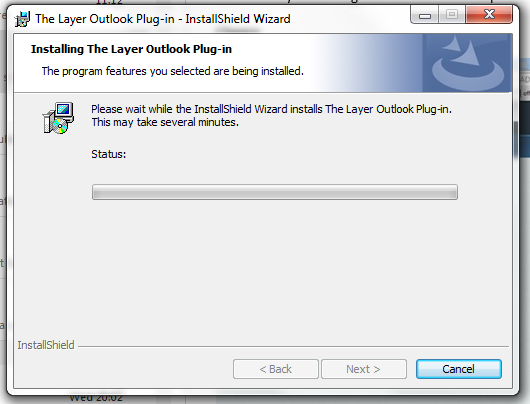
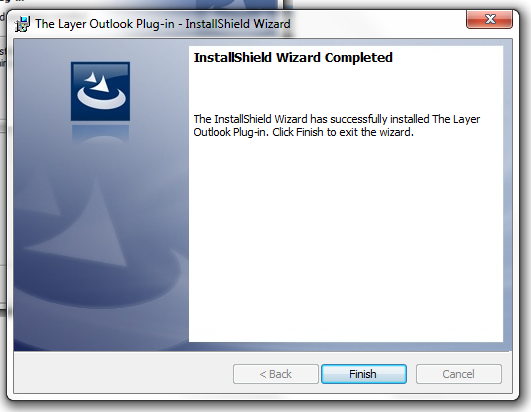
Select ‘finish’. You’ve now successfully downloaded the plugin.
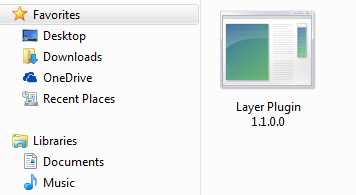
When the folder opens you will be presented with an icon similar to below, double click on this icon. Now follow the on screen instructions.
Please close Outlook before installing The Layer plugin!
Once the download is complete open Outlook. It may take slightly longer than usual to load as the new plug-in settings are updated.
When Outlook opens select ‘THE LAYER’ tab on the ribbon.
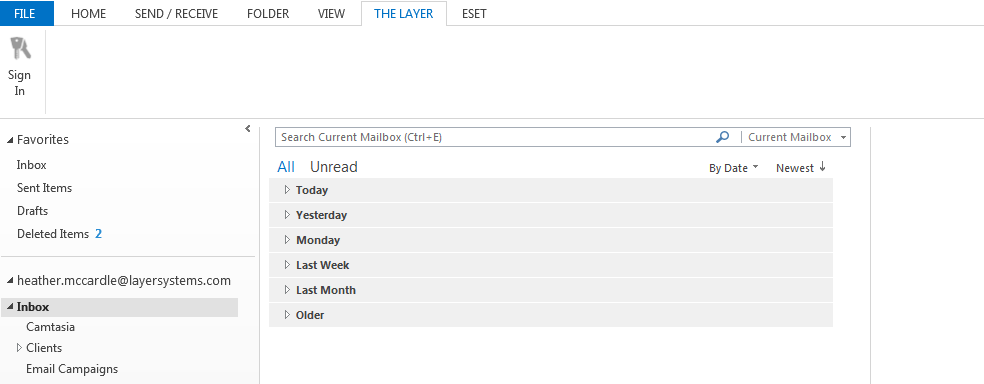
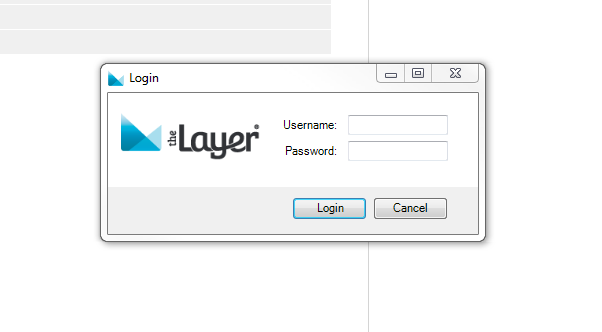
Select the ‘SIGN IN’ icon above. You can then populate the users Layer username and password in the box below.
The set up of The Layer Outlook Plugin is now complete. Please refer to your user handbook or one of our help files to find out more about the ways in which you can use the Layer plugin.
