How to send an email from the Layer to multiple people.
Within The Layer you are able to send an email to multiple people, please follow the steps detailed below on how to complete this action.
In the example we have created below, we will send the email to three of our existing contacts detailed in the company and we will also add two new contacts.
This functionality is available across the Layer therefore you can use it when sending quotation to the customer, updating a case or sales order.
Add existing contacts
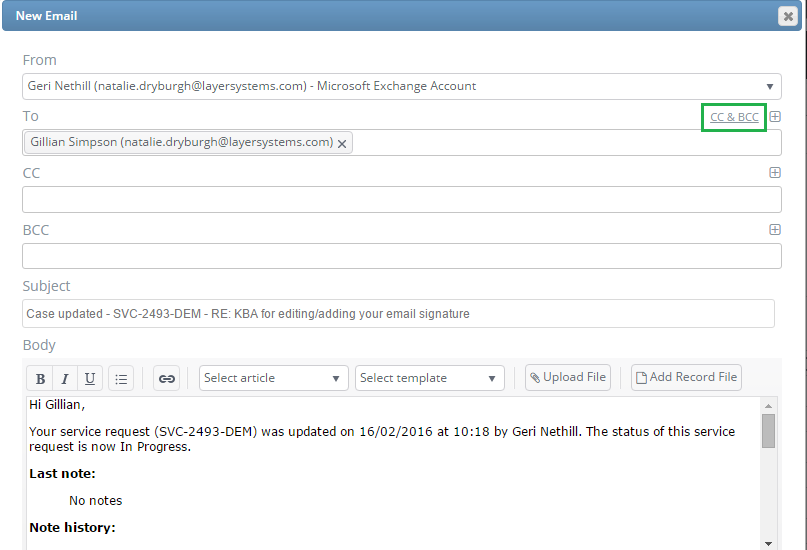
Firstly, you are able to select the CC and BCC option by selecting this as demonstrated below.
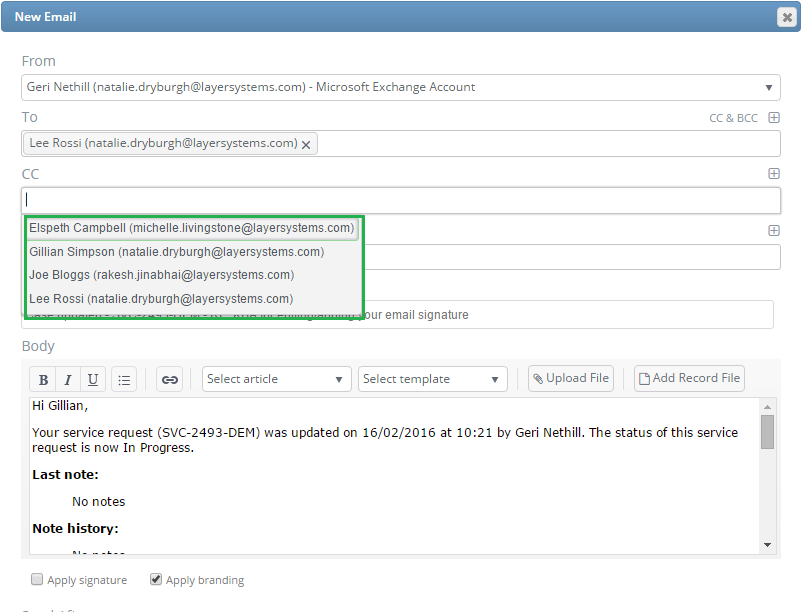
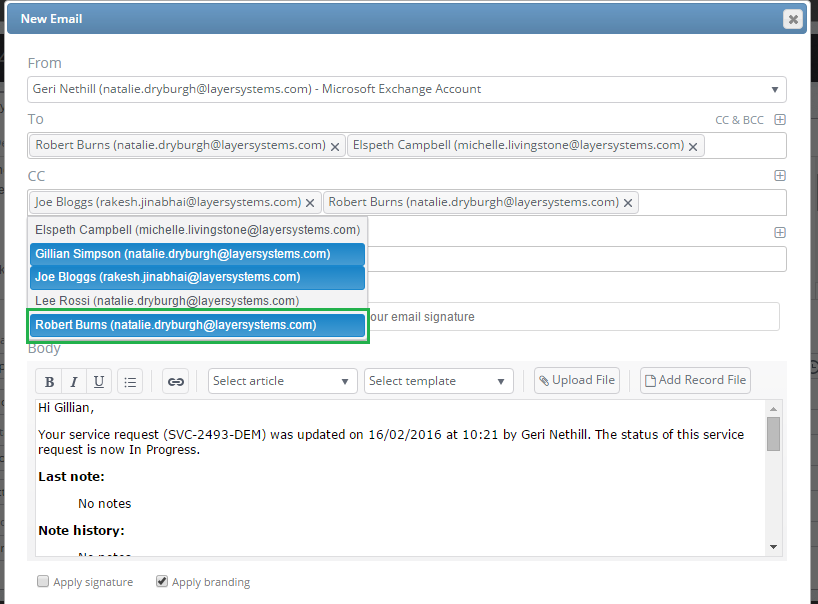
To select additional recipients, please click in the box you wish to enter the email address to, once you have clicked on the row this will produce a drop down box with the details of the additional contacts currently registered for this company.
Please see image below.
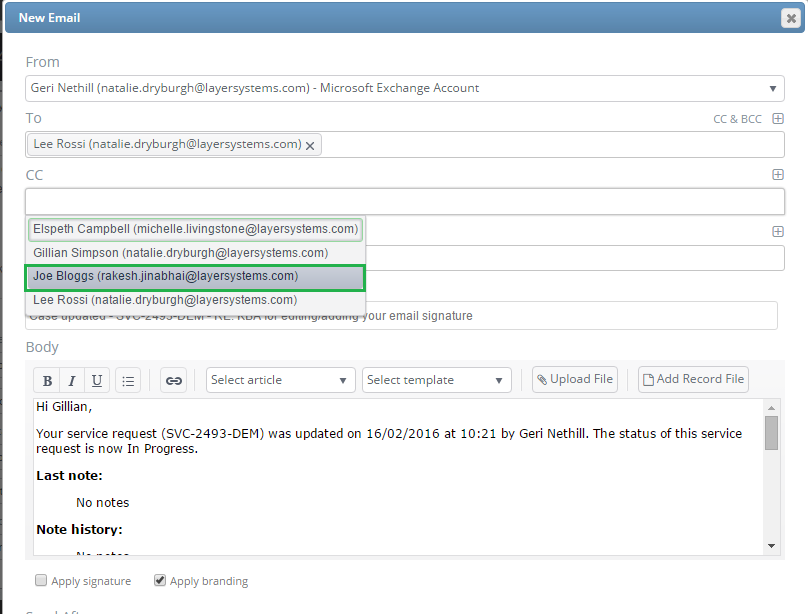
To select the additional recipient from the list, please click on the email address you wish to add from the list.
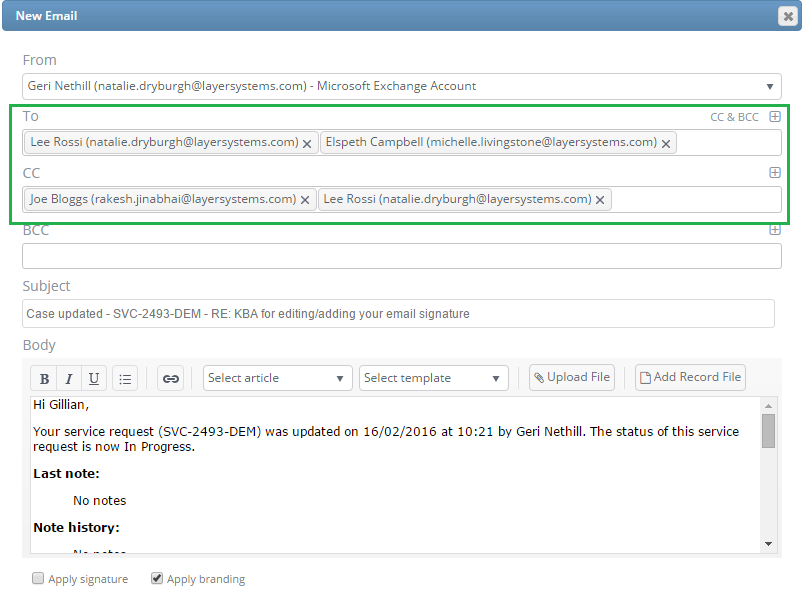
You are able to follow these steps to add all contacts as indicated below.
How to include new contacts and how to create a new customer contact
Should you wish to add a contact which isn’t on the list you now have two options, you are able to create a new contact from the email or alternatively if you only wish to copy them into this one email.
Create a new customer contact from email screen
Firstly, we will take you through the option of how to add a new contact directly from the email screen.
To add a new contact, please select the + icon at the end of the row you wish to add them as indicated below, we have selected the CC row.
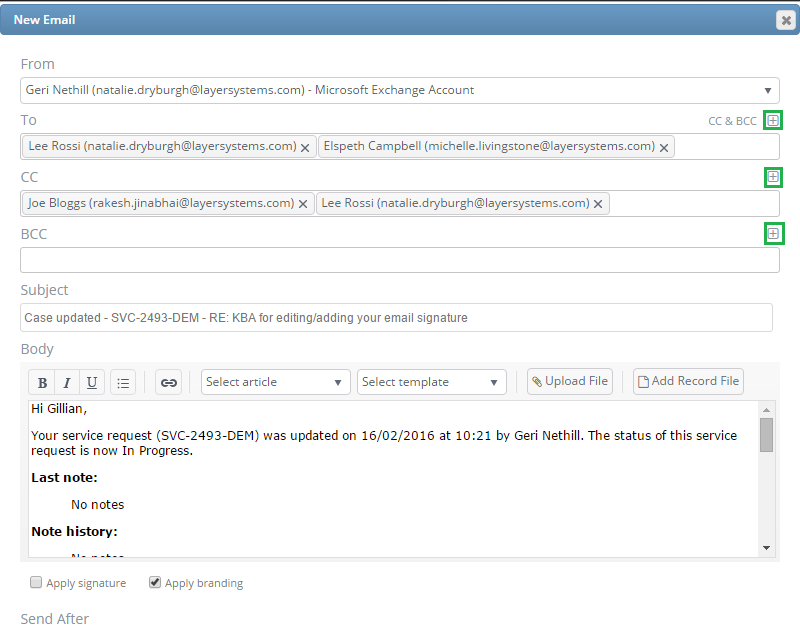
Once you have selected the + icon this will open a pop up screen for you to enter the contact details.
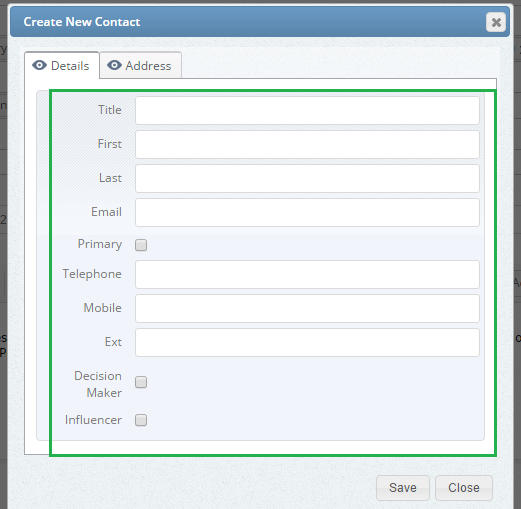
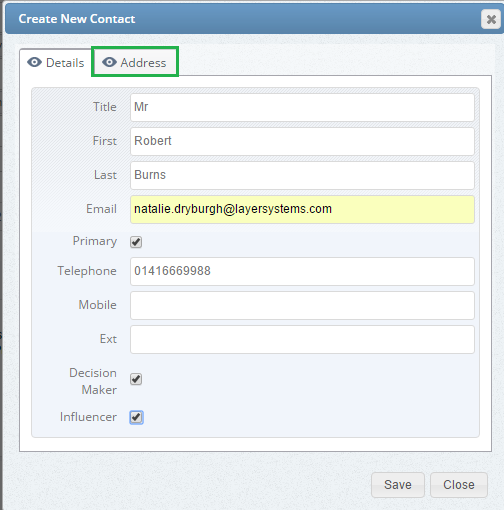
Please complete all details, including if the person is a decision maker or influencer. You are also able to complete the contacts address details by selecting the next tab.
Once you have entered all the relevant information, please click on Save as indicated below.
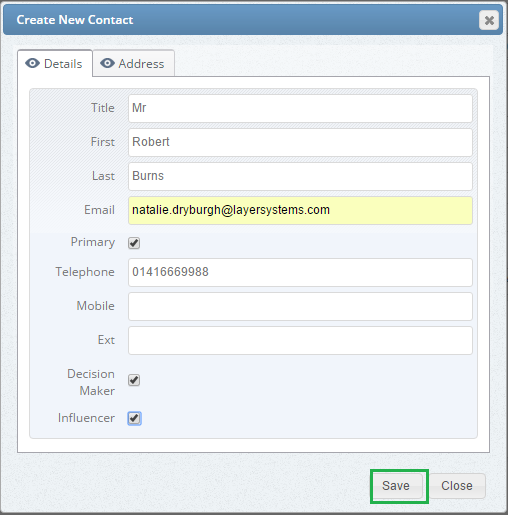
This will create the contact details within the customer record and also populate the email address in the drop down list as indicated below.
Add one off email address by typing or by using ‘copy’ and ‘paste’ function
Should you wish to only free type an email address for this email only you are able to do so.
Firstly, please click on the row you wish to add the email address to, in our example we have selected the To row.
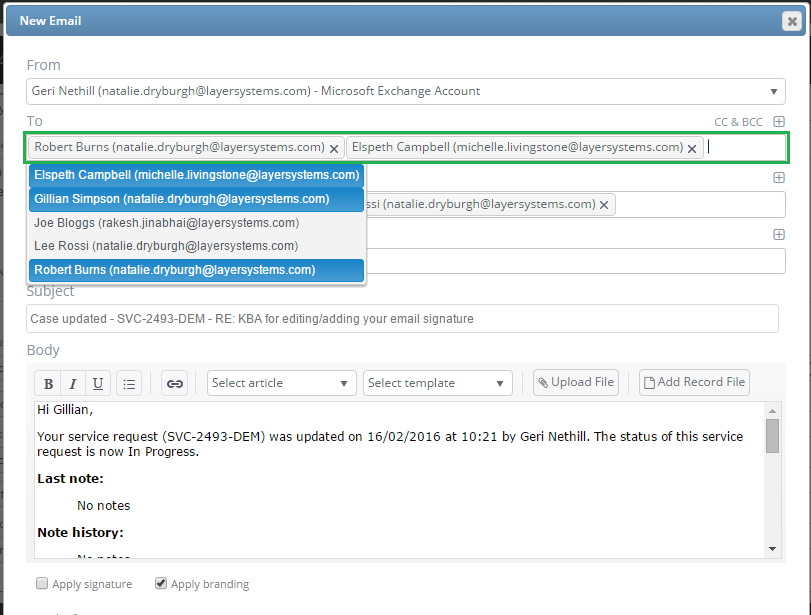
Now please free type the email you wish to add or paste the email from your outlook contact.
When you have typed the full email address you will see the email address populate under the column as indicated below.
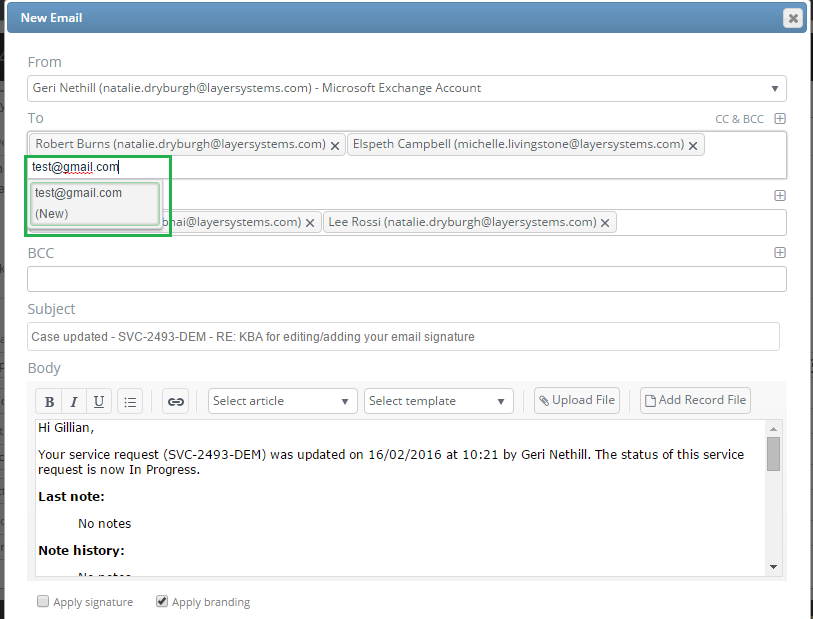
To include this email address, click on the pop up window underneath as indicated below.
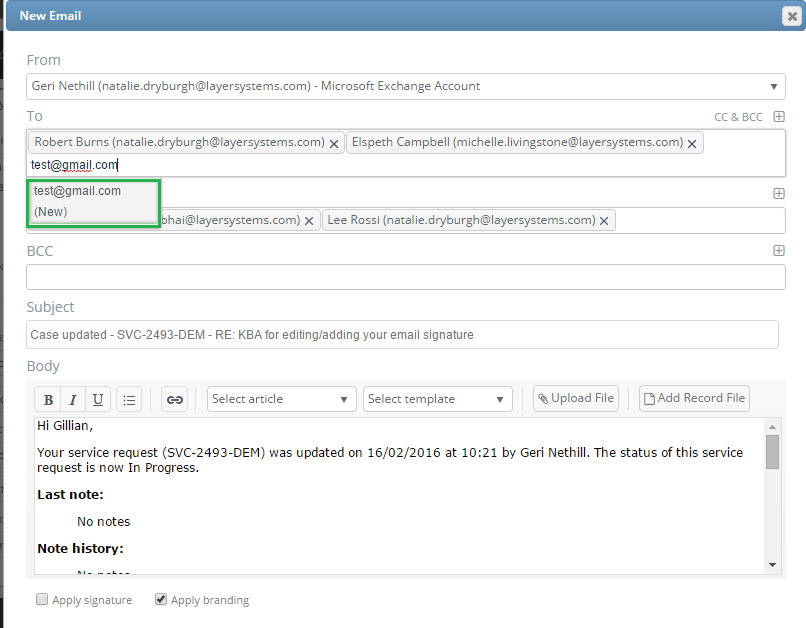
Now you have made all your selections please click on the send button at the bottom of the page to send your email.
