Return of Handset
STEP 1 Locate the IMEI number of the returned handset
Use IMEI search option to easily find out which customer and sales order this handset belongs to.
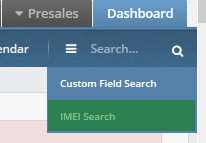
Add the IMEI number you are searching for
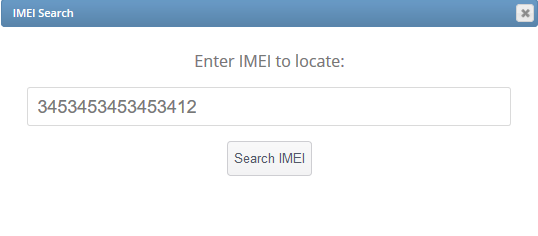
You will be presented with the similar results as shown below.

STEP 2 Remove asset from customer record or mark as not live
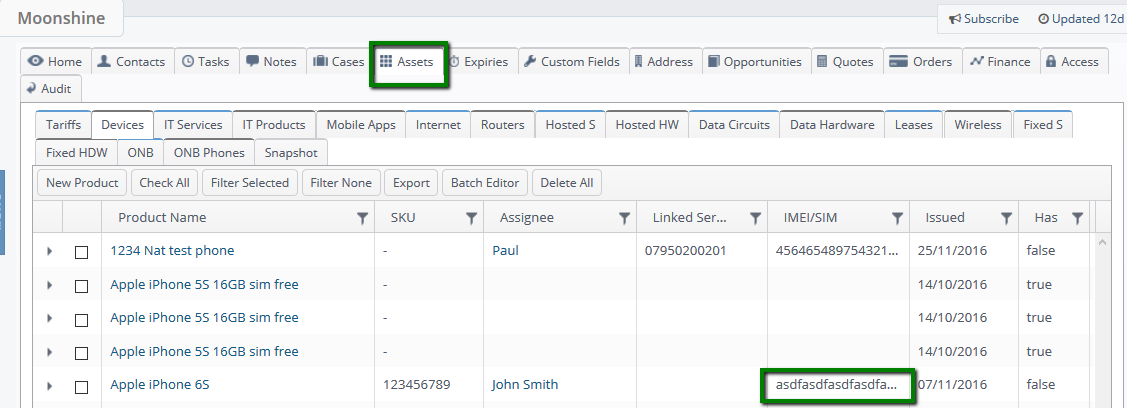
From the sales order click into the customer name to view their assets.
Depending on next action (exchange or return) remove or mark asset as not live.
STEP 3 Return the item back to stock
In sales order find the related delivery or use the IMEI search again and click into delivery link

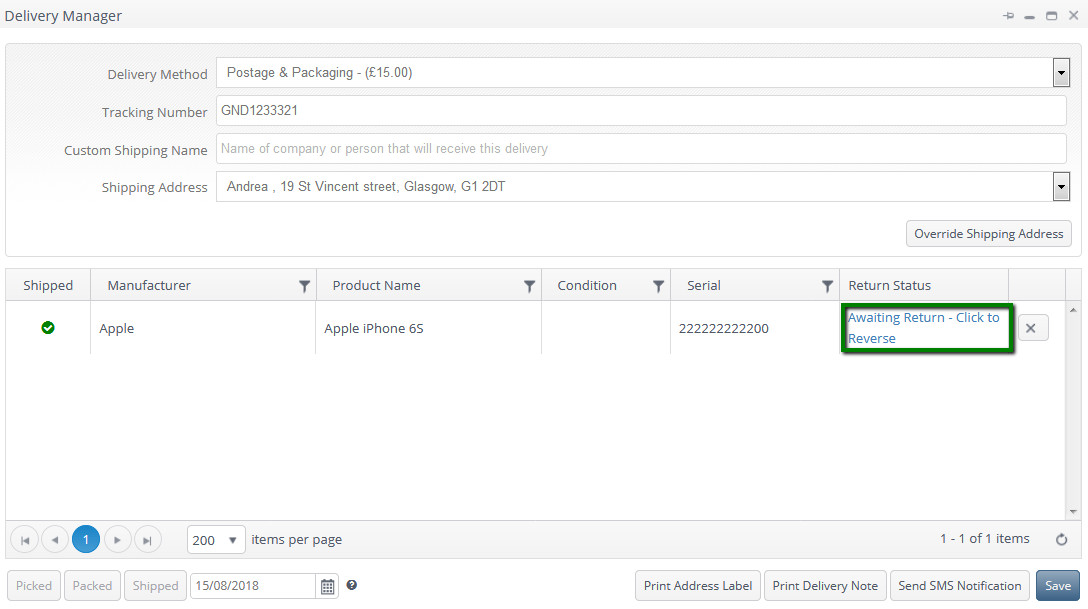
Open delivery details

Click Register Return
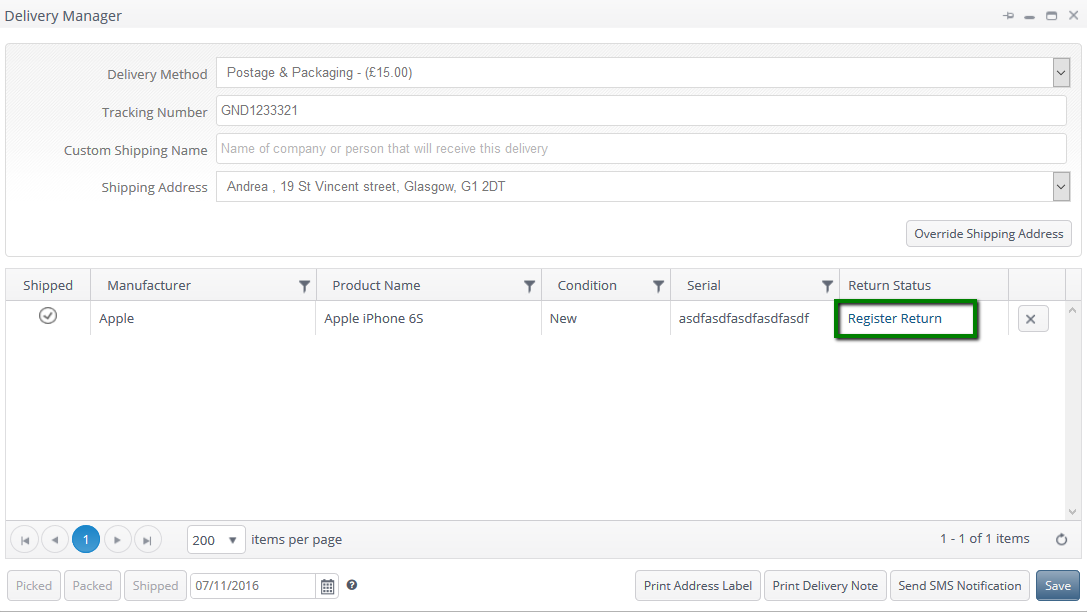

If this is ever clicked in error you can reverse the register of the return by clicking Awaiting Return - Click to Reverse.
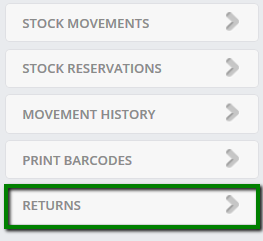
To proceed with the return you should go to Stock Module click on Returns
Mark the item as received this will book the item back into stock


Top Tip: If there are a lot of items to be marked as returned you can click the toggle button which will tick all the items and the click the mark received button at the top to book then back in bulk.
N.B. You can also reverse the registering of the return at this stage by ticking the boxes against the items (this can be done for all items in the list by clicking toggle) and then clicking reverse returns.
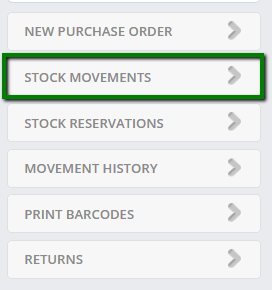
If the item has to be sent back to the supplier you will have to book it out of the Layer. To do this you will need to go to the stock module again then select ‘Stock Movements’ on the right side of your screen.
Please select ‘Create New Session’ and then select ‘Next Step’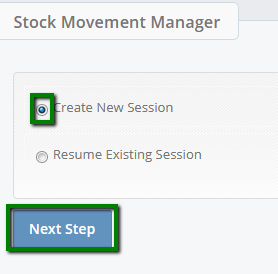
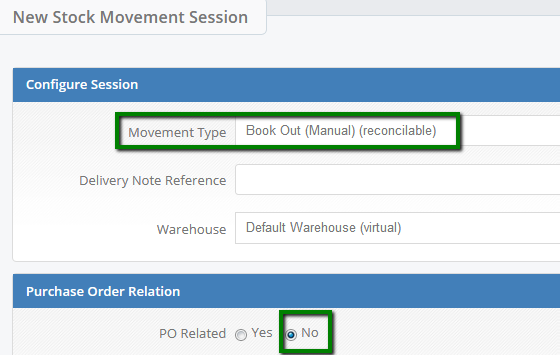
You will now need to select the stock movement type you wish to complete. As you wish to book out an item without a sales order please select from the drop down list ‘Book Out (Manual) (reconcilable)’ and ensure that the session is marked as not PO related then select next step.
Choose the item (s) you would like to return either by scanning them or manually typing them. Then click Process (Add Same) or Process (Add New)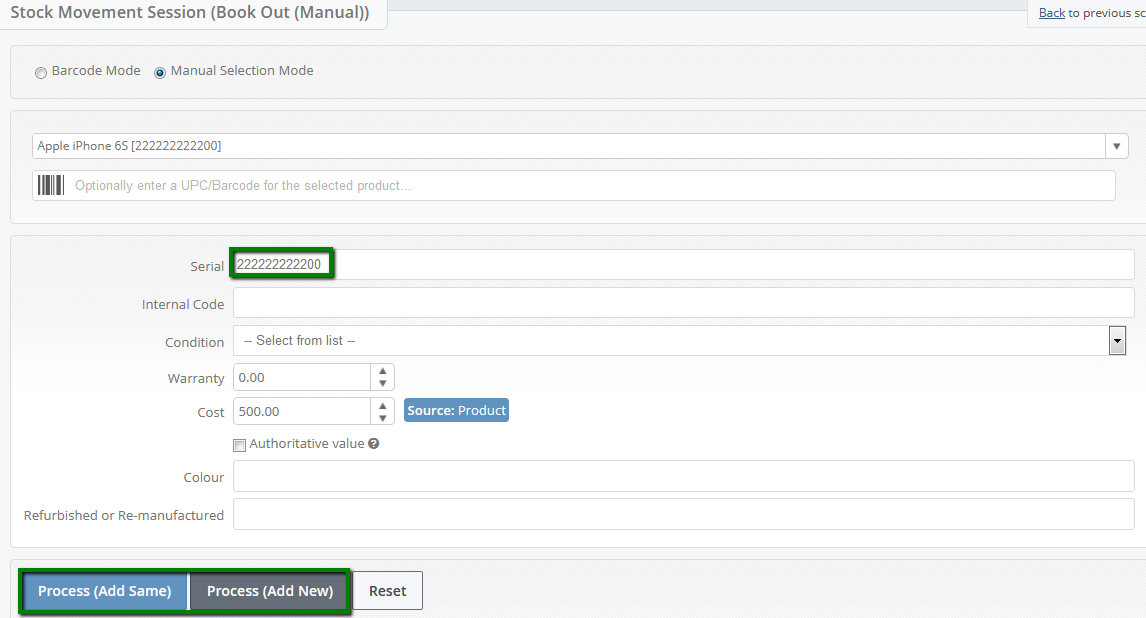
N.B. you must enter the IMEI number exactly
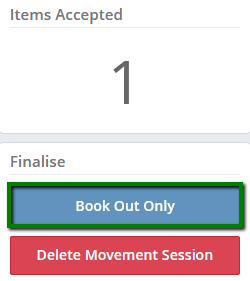
To complete booking the item back out of stock please select ‘Book in Only’ on the left of your screen.
Now you have completed the return of the faulty device you will need to update the customer’s account with the new handset details and also change the status of the existing device.
Before you are able to add the new device details to the customer’s account you will need to change the status of the existing device. To complete this you will need to go to the customer's record and then into assets. 
You will now be presented with a full list of all the devices registered to this customer, you will need to locate the device by using the product name and the IMEI or serial number.
As the asset is still live it need to be changed prior to adding the new device details in. To do this simply click on the product name and simply untick the ‘Live’ box towards the bottom of the screen and then save.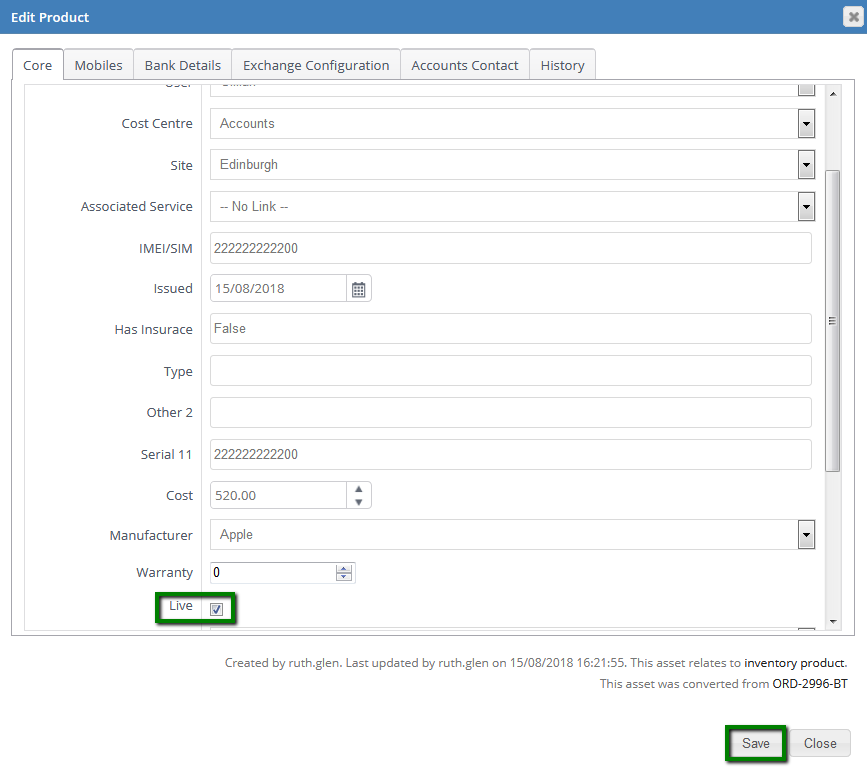
You now need to update the customer’s records to show the correct device and IMEI number. Once you have completed the above steps of returning the device and ensure it is no longer live on the customer’s record, simply select ‘New Product’ and add the new device details and click Save .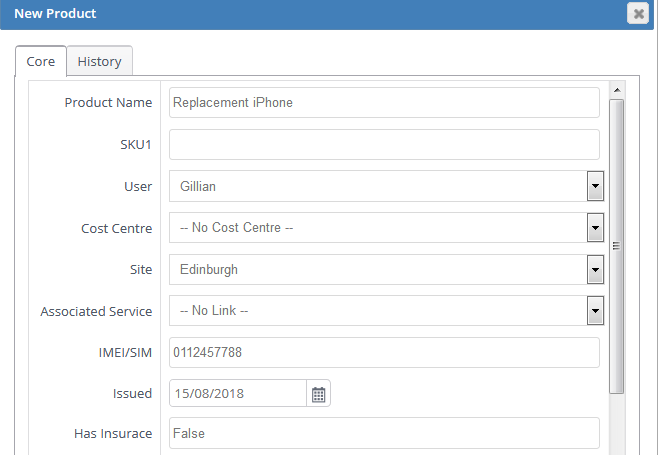
You have now successfully updated the customer’s account to reflect the correct asset.
