In the Layer it is possible to upload files to the Layer that can be used throughout your instance of the Layer, files that are uploaded to your instance of the Layer can be used in the following scenarios:
- Attach to email templates
- Attach to output templates e.g. within quotations you can attach documents that you may want your customer to have
Please note only users with the correct permissions enabled will be able to upload files for user throughout the Layer and these permissions are:
- CRM Administrator: This role is for users responsible for maintaining the CRM configuration on behalf of the company
- Settings: Users in this role have full access to the settings module (except users and company)
- Show Files Link in Navigation: Users in this group can see a public file link in navigation
If you want a user to be able to upload files that can be used in the Layer but nothing else then you would apply the Show Files Link in Navigation role only.
We will now demonstrate how to upload files to your instance of the Layer.
Uploading Files to the Layer
Depending on your level of access there are two routes to access files in the Layer and we will now discuss these:
1. Open the file manager from either of these options:
- From the Navigation Link: Select Files from the top navigation bar
- From the Settings menu this will be located under Essentials:
Both options are shown in the image below:

2. Selecting either of these options will open the File Manager and the following info will be displayed for any files that have been loaded previously:
- Filename: The name of the file that has been uploaded
- Creator: The user who uploaded the file
- Created: When the file was uploaded
- Link: This is important as this is the link that has been created for your file, this link can then be used for any HTML code that you then use within the Layer to create templates or add logos etc.
- Public: This will show that your file can be sent to your contacts outside of the Layer e.g. files that you many want to attach to a quote will need to be public
- Info: This will allow you to attach your file to email templates.
- Delete: This will allow you to delete any old files or files that have been uploaded in error
All of this information will allow you to use your file once you have uploaded it
3. To upload your files you can either press Select Files or drag and drop your files into the space to upload:

OR
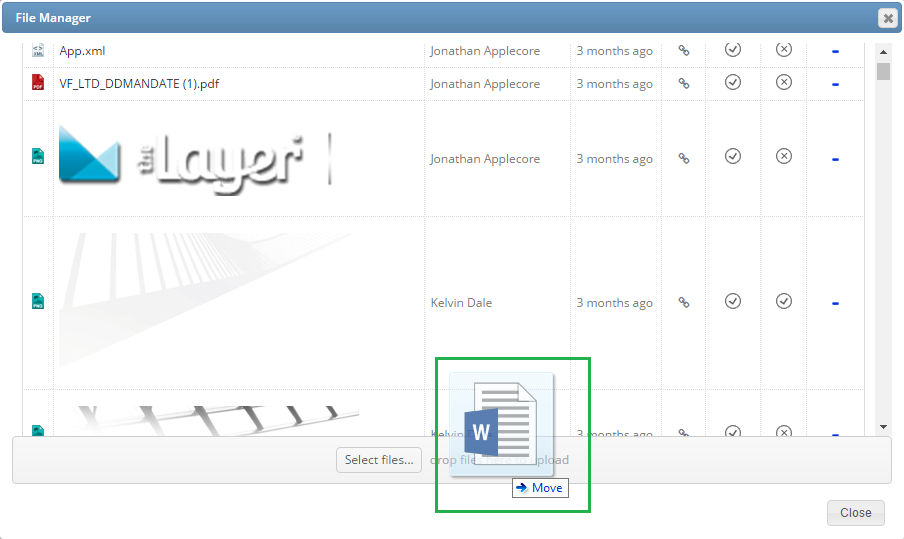
4. You have now uploaded your file to the Layer successfully.
Using File Links within the Layer
In the file manager above users will have noted that once a file has been uploaded the file manager will generate a link for the file. Typical examples of where you would use this link include:
- Adding the link to your output templates can allow whoever receives the template to then access the document via the link such as company brochures of forms etc.
- Users who understand HTML code and can be used to link images into your output templates, email templates and any general HTML code within the Layer. When in the Layer wherever you see the HTML
 icon you will be able to enter in or edit any HTML code and this is where you can apply your links such as images to ensure they output in the Layer.
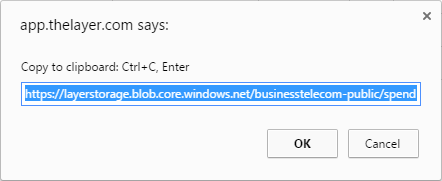
To access this link simply press the link symbol  this will then populate the link, simply copy the link and paste into your desired location e.g. output template, html or email to send to contacts.