Within the Finance module of The Layer, you are able to create a commission workstack, that will help you manage, or reconcile your commissions.
In this KBA we will create an example of a commission workstack, that will help us keep an eye on the upfront commissions that are still to be paid. However, we will look at all the options that are available for the commissions workstack.
Step 1: Create a new Commission Browsing Session Template
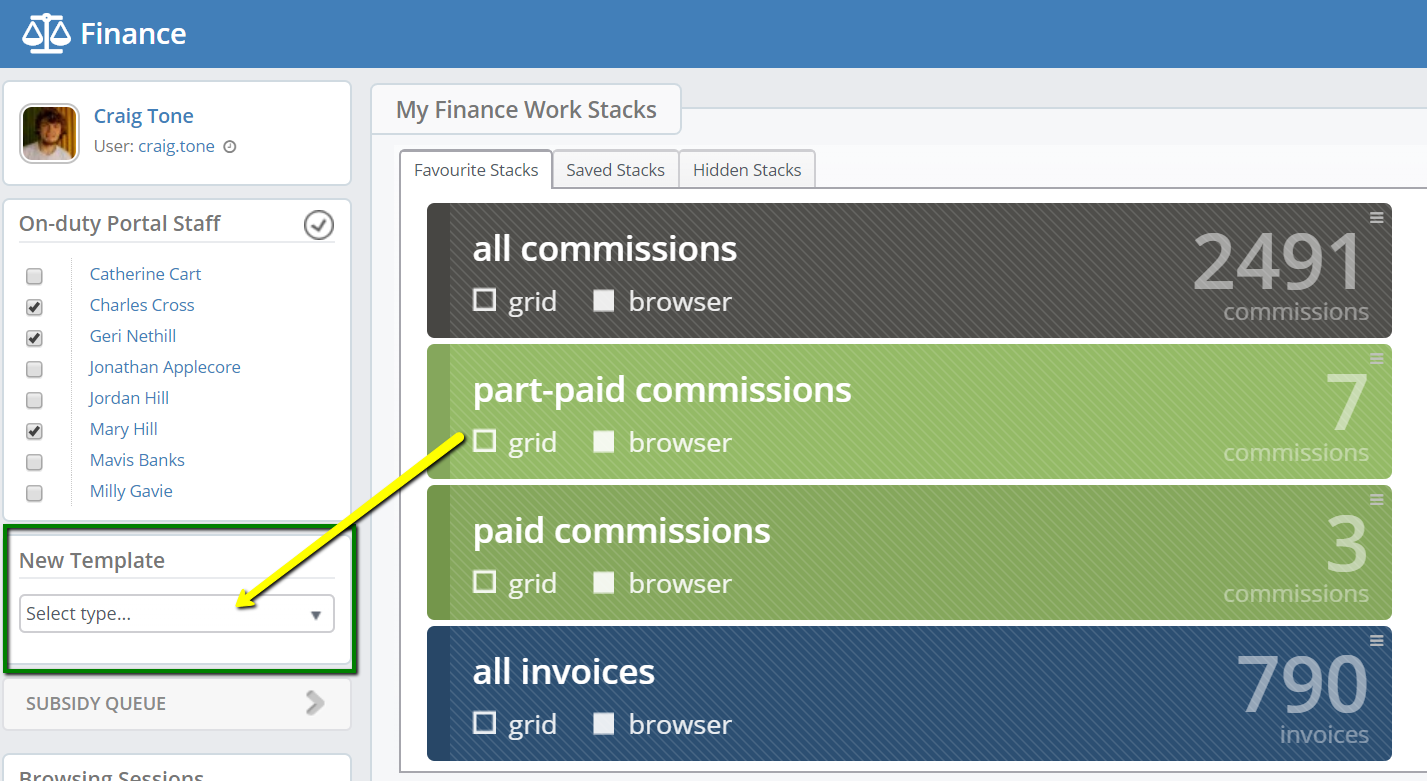
Go into the Finance module and on the left hand side click on the drop down menu under the New Template, as per image below:
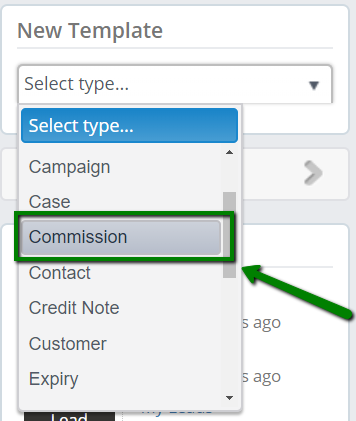
From the drop-down menu, choose the Commission template.
Step 2: Fill in the Core Options of the Template
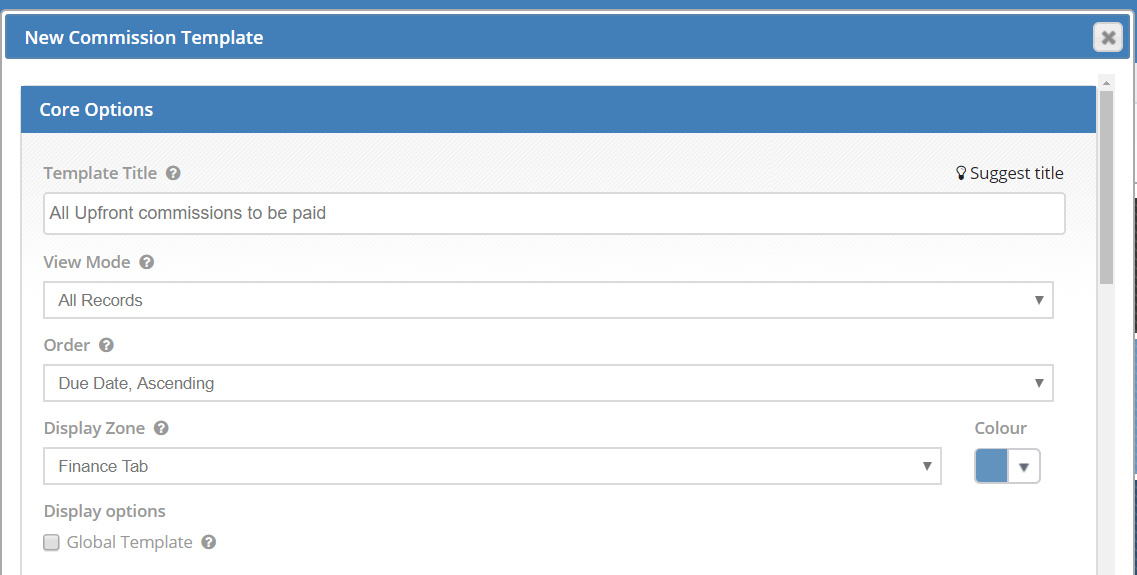
Fill in the following fields:
- Template Title – in our case we will call the workstack “All Upfront commissions to be paid”
- View Mode – My Records or All Records – this depends on whether you only want to see the commissions against customer records owned by you, or you would like to see the commissions of all the customer records within your customer base. In our case, we’re going to create a workstack that will be used the manage all the commissions, regardless of the customer owner, so we’re going to choose All Records.
- Order – Select the way in which the records should be sorted in your workstack
- Display Zone – select the module in which the workstack will be stored by default. You will still be able to promote the workstack to a different module. By default, this will be set to a module from which you are actually creating the workstack. In our case this is Finance Tab.
- Colour – If you have any specific color-scheme to help you manage your daily workstacks, you can choose the default color of the workstack from here.
- Display Options – tick Global Template if you want to make the template available for other users.
Step 3: Fill in the Commission Options of the Template
Fill in the following fields:
Days Future – insert values for Days Future and Days Past, if you want to use a specify time range for the connection dates of the sales orders linked with the commissions
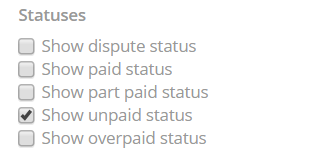
Statuses – In this section you are going to specify the commissions by their status. The list of available statuses goes as below:
- Dispute status – commissions that have been disputed via the Supplier Payment Manager tool
- Paid status – commissions that have been fully paid
- Part Paid status – commissions that have been paid only partially
- Unpaid status – commissions where no payment has been received yet
- Overpaid status – commissions that have received payment, however this was higher than the expected value
In our case, we are going to choose the Unpaid status.
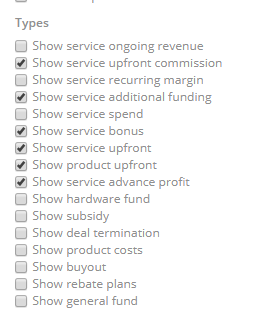
Types – choose the Type of the commission you want to appear in your workstack. You are able to choose multiple types. In our case, as we want our workstack to display all upfront commissions, we will choose the below:
- Show Service upfront commission – if there’s any upfront commission added against the service in price books, this will pull through to the commission workstack
- Show service additional funding - if there is an additional funding requested in sales order, this will pull through to the commission workstack
- Show service bonus– if there’s any bonus added against the service in price books, this will pull through to the commission workstack
- Show service upfront – if there’s any margin on upfront prices in services, this will pull through to the commission workstack
- Show product upfront – if there’s any margin on upfront prices in products, this will pull through to the commission workstack
- Show service advance profit – if there are advance payments added against a service in price books, these will pull through to the commission workstack
See image below for the filters set, as well as for the other commission types that are available in commission stacks:
Suppliers – if you want to specify your commissions by supplier, click the tick button next to the supplier name. You can choose multiple suppliers, if required. Leaving all fields blank denotes no filter.
Classifications – if you would like to see the commissions in your workstack filtered by the classification of the service, choose one or multiple types of classifications here to do so. Leaving all fields blank denotes no filter.
Base Categories – if you would only like to see for instance only the commissions created by your mobile services, you are able to filter your work stack by base categories. You can choose multiple categories, if required. Leaving all fields blank denotes no filter.
Once you’re happy with the work stack settings, click Save. This will make your work stack to appear in the Saved Stacks tab of the Layer module you have specified earlier.
Step 4: Promote your workstack
To make your work stack appear on a home screen of a specific Layer module, go into the module you’ve created the work stack from and click into Saved Stacks tab.
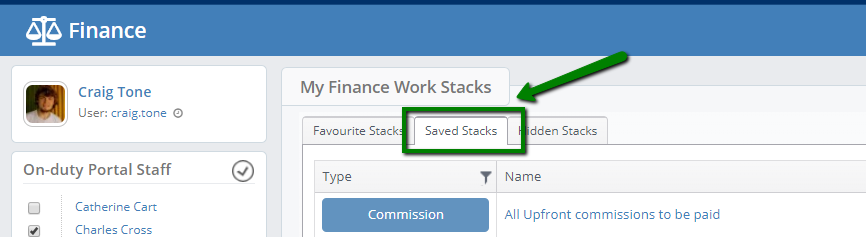
Find the work stack you want to promote and click the Promote button, as per image below.

The Promote Work Stack window will appear. Choose the Colour, Position, Display zone and Order and click Save.
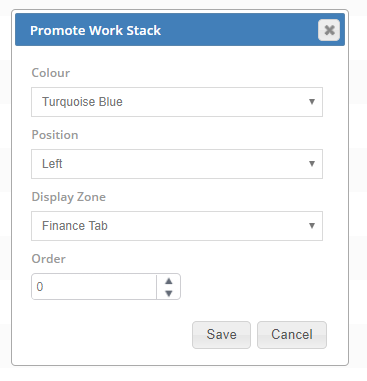
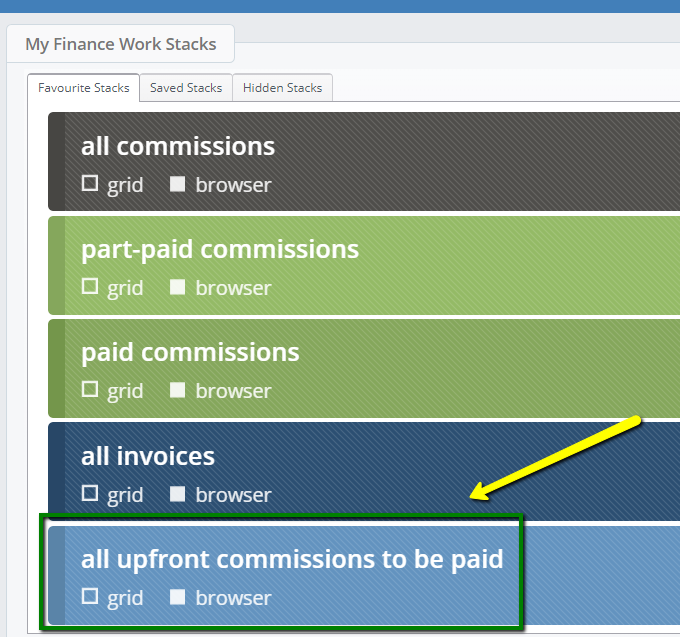
The workstack will now be promoted: