
There are two ways that permissions can be applied to a user’s account. Either by deciding and selecting these separately for each individual user or by applying a role group to that user/users.
Setting up or amending an individual's user permissions
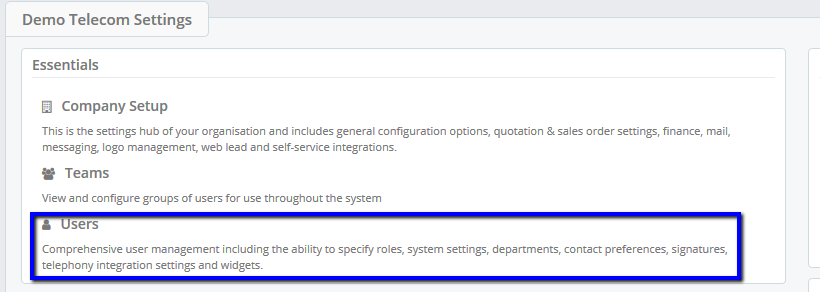
To set or amend permissions for individual users first access the user area from settings. Select the user then click on roles.

Next manually tick/untick the permissions you want applied ensuring you press save after this for any changes to take effect. Note: if you are amending permissions and this user previously had a role group applied, this will only affect that user not the role group itself.

Creating and applying role groups
The recommend approach to applying permissions to a user/users is to create or update existing role groups.
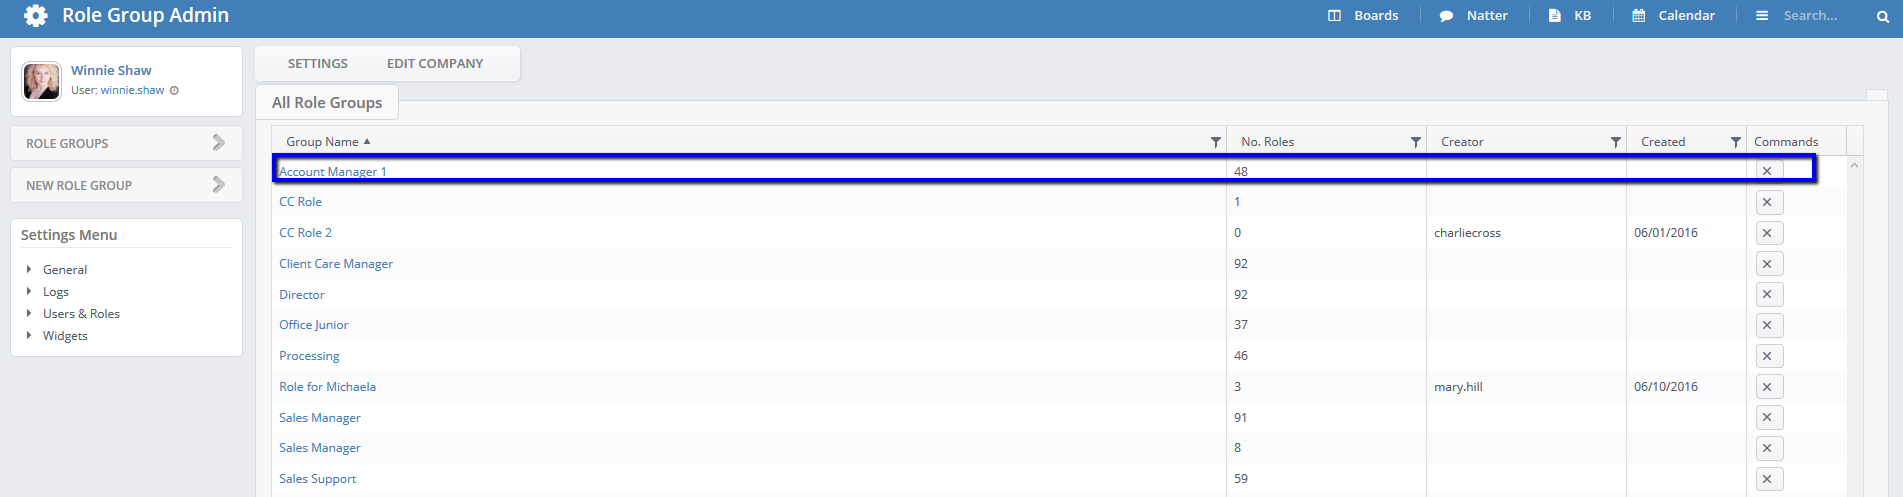
To create a role group, go to ettings annd then Role Groups.

This will take you to the Role group admin page. To create a new role group click New role group on the left hand side, and then name your role group. As a general rule, we recommending matching role groups to the users' role within the business i.e. Director, Admin
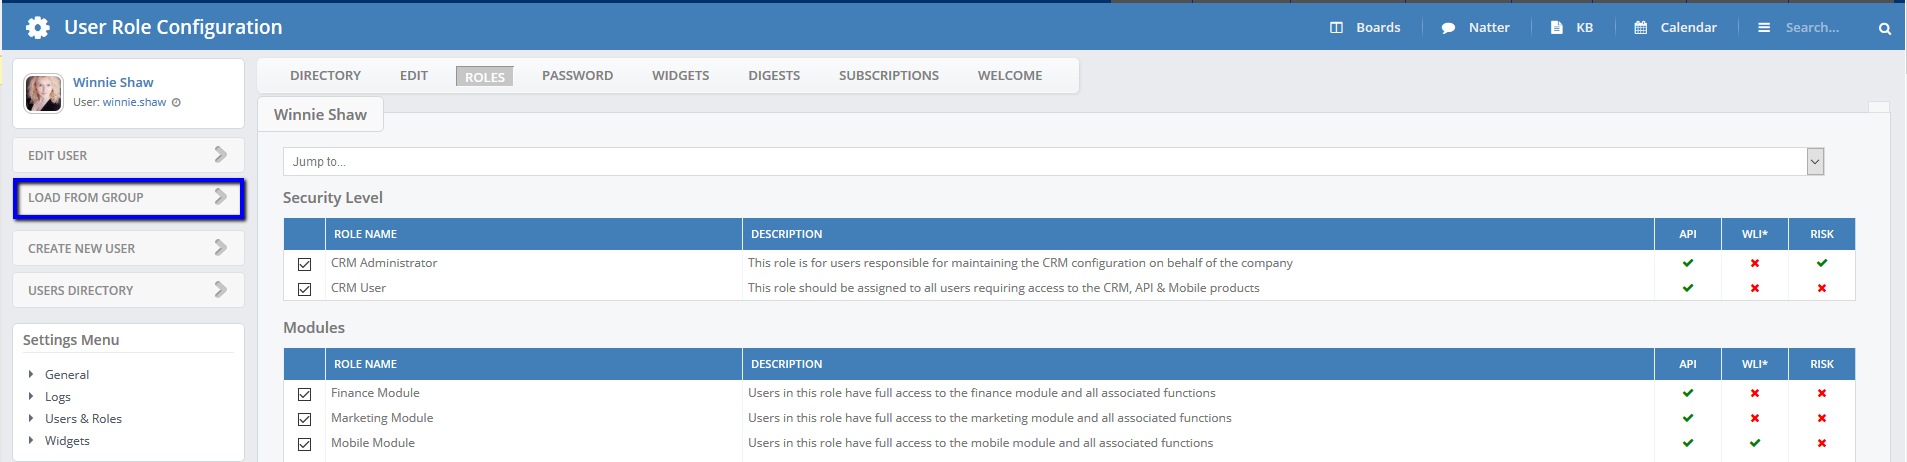
After creating your role group, the next stage is selecting the permissions you’d like this role group to have. This is done by clicking the Roles tab to the right which will bring up a list of all available permissions.

Note: it’s important to remember after selecting the permissions to press save to ensure that the settings are applied.

After creating the role group it can be amended from the role group admin page by clicking the role group title to access the permissions. The role group can also be deleted by pressing the X on the far right
The next stage is applying the role groups to users. To apply role groups to an individual user, access the user in the same way as before, settings, users, select user. Then from the roles page click load from group on the left hand side.

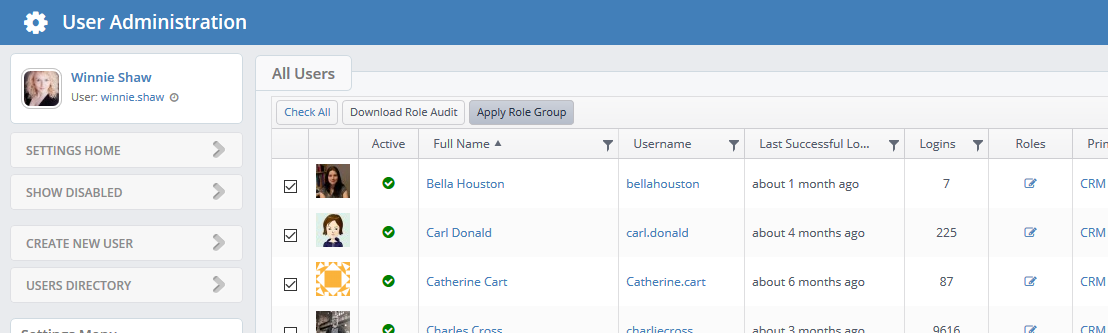
The quickest way to apply role group permissions, is to do this in bulk. On the All Users page in settings, select the users you’d like to apply the role group to via the tick boxes on the left. Then click apply role group and select the role group to apply
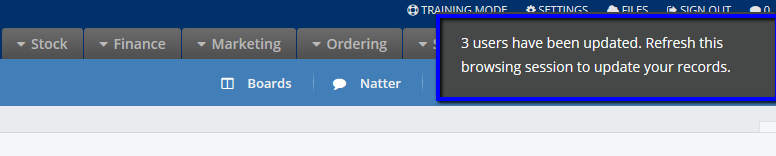
After this you'll see a confirmation pop up, confirming how many users were updated
Role Audit
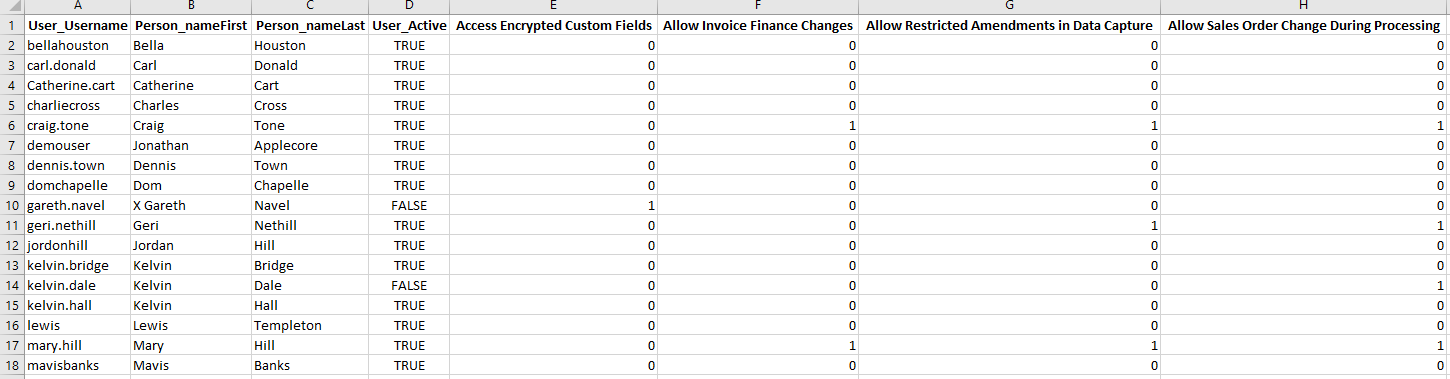
You can see an overview of permissions that have been given to each user by downloading the role audit. This is done from the All users page by clicking the role audit button at the top, this will then download a spreadsheet with each user and their permissions. Cells populated with a 1 means they have that permission where as a 0 means they don’t. This is used to review roles only.
N.B. Anytime you update a given role group permission settings, you must update all users in that group. If you don't do this, the permissions won't be applied to the relevant users.