
Appointments are used within the Layer to manage any appointments that a user needs to sit with your contacts associated to any lead or customer records.
Different appointment types can be created and will vary depending on your company's instances of the Layer, however regardless of appointment type appointment data is used to manage a users' work load as well as measure performance. Performance is measured via appointment feedback and appointment targets.
- Appointment widgets
- My Daily Appointment Bookings
- My Neglected Appointment Feedback
- My Recent Appointment Feedbacks
- Team Appointments vs. Target MTD
- Team Daily Appointment Bookings
- Team Neglected Appointment Feedback
- Team Recent Appointment Feedback
- User Appointments vs. Target MTD
- Appointment work stacks
- Task Templates: Can be used to create work stacks based on appointments
- Feedback Template: Can be used to monitor appointment feedback in the Layer
So that a user's performance can then be measured and work load managed we need to create the different appointment types that will be applicable within your instance of the Layer.
N.B. Once an appointment type has been created and used it is not possible to delete it as there will be data attached to that appointment type that will be reflected in your stats and targets.
Accessing Appointment Types in the Layer
1. Log into the Layer
2. Select  from the top right hand side of the screen
3. Under Environment Settings select Appointment Types
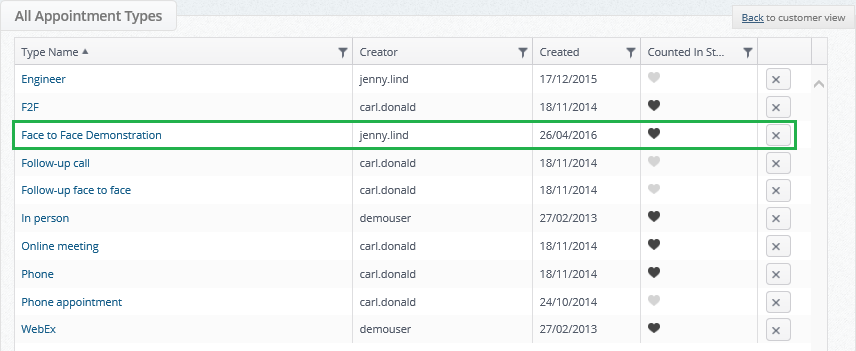
4. You will now be directed towards the Appointment Type Admin page and you will be presented with the following information:
- Type Name: The name of the appointment type e.g. In Person
- Creator: The user who created the appointment type
- Created: The date of when the appointment type was created
- Counted in the Stats: A black heart symbol denotes that this appointment type is part of a user's appointment targets which are measured in the widgets etc.

Creating Appointment Types in the Layer
To create an appointment type:
1. Select  from the left hand side of the screen
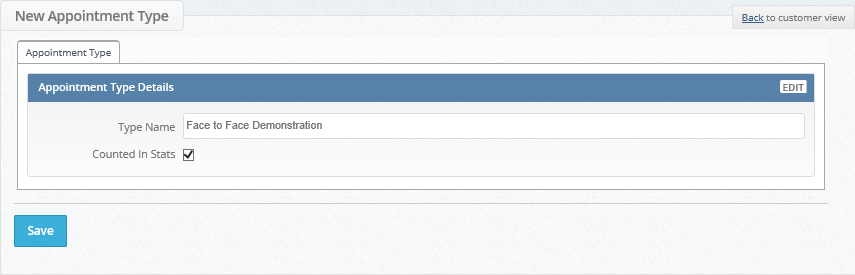
2. Enter the following details:
- Type Name: The name of your appointment type
- Counted in Stats: Ticking this box will ensure that this appointment type is included in any appointment targets that have been set.
3. Press 
4. The following message will be displayed once your appointment type has been created:

5. Press  and you will now see your appointment type has been created:
Appointment Targets
When creating appointments in the Layer you will note in the above screen that not all appointments are targeted this is because only certain appointment types should be targeted depending on your companies requirements.
Please view our article on how to set appointment targets.
Editing Appointment Types in the Layer
Appointment types can be edited in the Layer however this should only be done in instances whereby there is a typo for example. If you edit an appointment type that has been previously been used then this will mean that any data associated with that appointment type will also be edited.
To edit an appointment type simply click on the appointment type name from the All Appointment Types home page above, make your edit and press save.
Deleting Appointment Types in the Layer
To delete an appointment type simply press the  button on the far right of an appointment type.
N.B. Only appointment types that have no appointment/s associated with them can be deleted.