
This article will tell you how to create a new case category.
Why Do I need Case Categories
Case categories allow you to classify what area an issue falls into. You can then see what kind of cases are brought up most often.
Also if there is a set procedure for a certain issue you can attach a checklist to that specific category's sub-category.
How to Create a New Case Category
N.B. If you do not have access to Settings you will not be able to create a new case category.
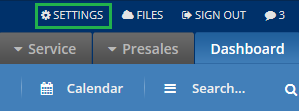
Firstly you should go to the settings section of the Layer. This can be accessed via the settings button in the top right hand corner.
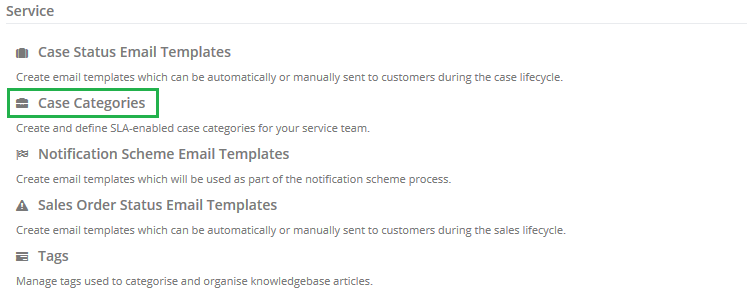
Once in settings scroll down to the Service section and click on Case Categories.
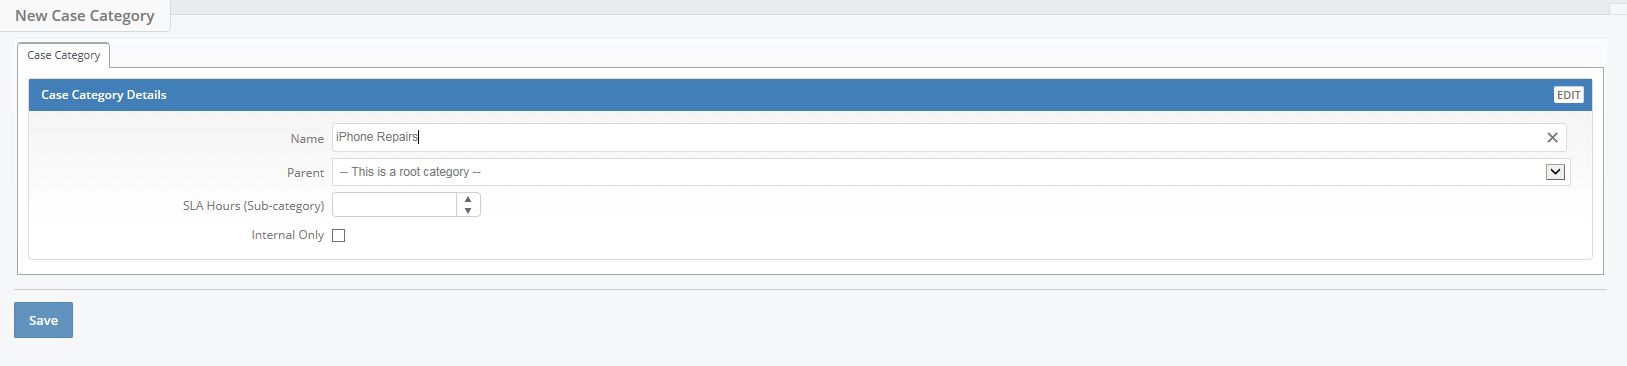
Now click on New Case Category on the left hand side. Type in the desired name of the new category in the Name Section. As this example is to create a new main category we have kept the default "This is a root category" in the parent section. Similarly as this is a main category we have left the SLA Hours blank. The Internal Only box should only be ticked for case categories that will have no contact with the customer. When finished click Save.
After you have clicked Save, the All Case Categories button will appear on the the left hand side which will take you back to list of case categories.
How to Create a New Sub Category
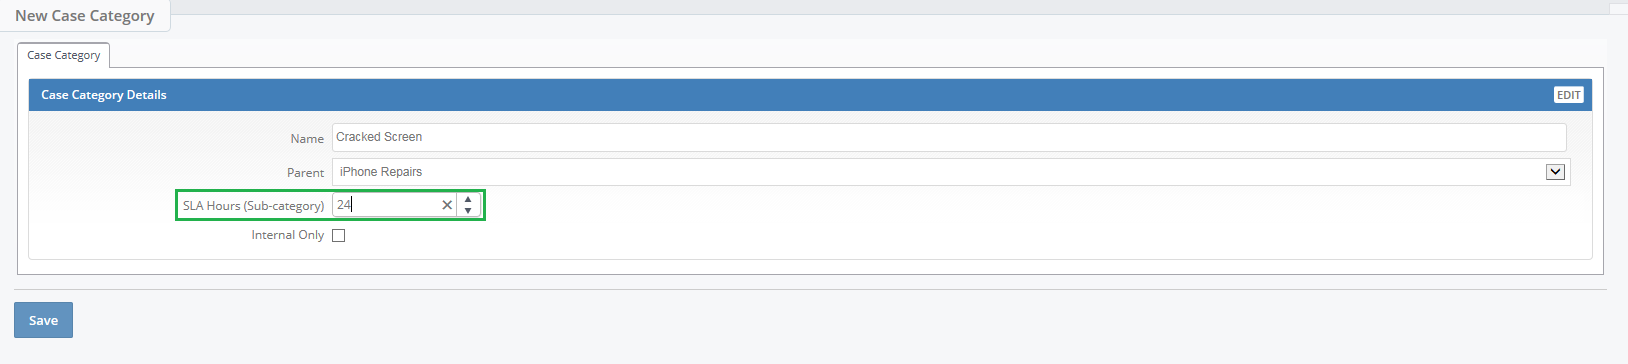
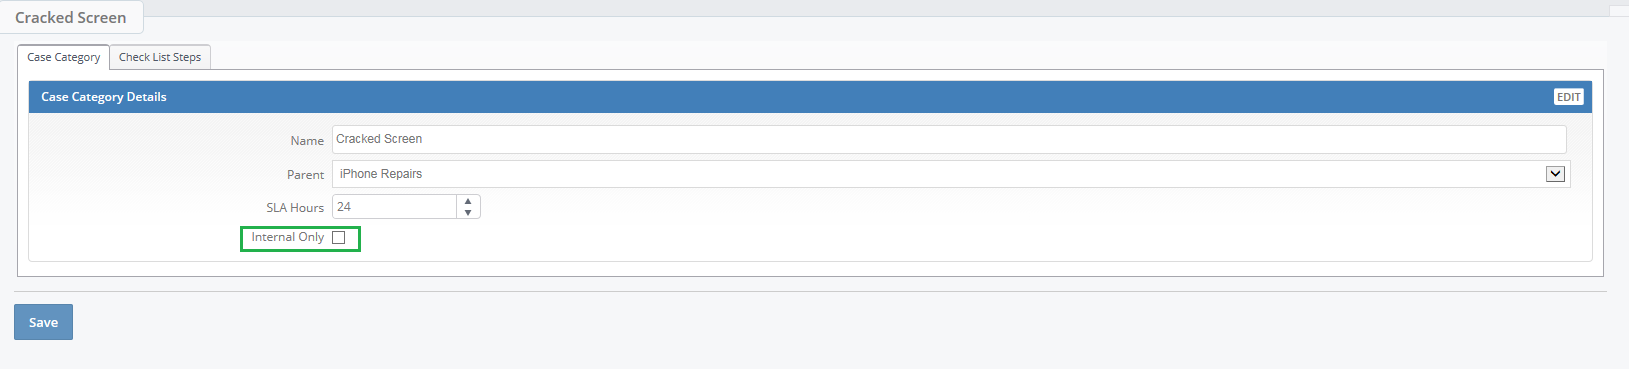
From the All Case Categories page click New Case Category and again type in the desired name of the sub category into the Name section. As this is a Sub Category it will need a root/parent category that it is attached to, you can pick this from the drop down menu.

Once you have selected a parent category you can attach SLA Hours to this particular sub-category, simply type in the hours into the box or alternatively use the arrows.
A case that has this sub-category will change to overdue (show red in the grid view) when this time is up. Cases will also turn amber when they are with in the last 24 hrs of the SLA. See the example below.

The Internal only box should only be ticked when there will be no need to contact the customer regarding the case e.g. an internal audit of a customer or internal staff suggestions etc.
Once you have gone through these components and complete the ones necessary to your particular sub category click save. Once again the All Case Categories button will appear and you can click it to go back to that page. Your sub-category will now be visible when you click on the arrow beside the parent category.

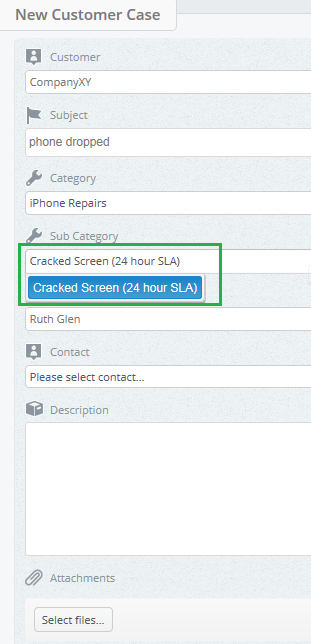
It will also appear in the sub-category drop down menu when the parent category is chosen when creating a case.
Useful Links
If you want to attach a checklist to a case sub-category learn to do so here.